Ever felt like you stepped into a foreign country where everyone speaks in softboxes, strobes, and light ratios? We’ve been there too. When we first started exploring studio light in photography, the terminology felt like a secret code. Softboxes, strobes, LEDs, key lights… Our heads were spinning, and yours might be too. But here’s the reality: you don’t need a Hollywood budget or a massive warehouse to create images that sell. What you actually need is the right knowledge stacked with gear that earns its place in your room.
We’ve stripped away the gatekeeping and the nonsense to give you the real-world insights we’ve learned from shooting hundreds of products. Whether you are clicking your first frame or managing a massive catalog, this guide is your roadmap from “meh” to “wow.”
So let’s build your confidence from the ground up. No fluff. Just what actually works.
Why Studio Light in Photography Changes Everything
We’ll put this plainly: lighting isn’t just part of photography. It IS photography.
You can own the best camera on the market. You can style the perfect product. But if your lighting is off, the image falls flat, and so do your sales.
The right studio lighting for photography does three things every single time:
- Eliminates harsh shadows and uneven contrast
- Brings out textures, true colors, and fine product details
- Keeps your images consistent across an entire catalog
That consistency builds brand credibility. It makes an e-commerce store look polished and professional. And it separates product images that convert from images that get scrolled past without a second glance.
Types of Studio Lights: Your Three Core Options
Credit: katebackdrop.com
This is where most people freeze. Too many options, too much conflicting advice online. We’ll cut through the noise.
There are three main types of studio lights photography professionals rely on:
a) Continuous Lights: What You See Is What You Get
Continuous lights stay on the entire time you shoot. No sync, no burst, no guesswork. You see the light exactly as your camera captures it, which makes it the most beginner-friendly option in light studio photography. LED panels are the go-to choice today. They run cool, consume less power, and give you precise, real-time control over your scene.
Best for: Product photography, video content, flat-lay shooting, and anyone just starting out.
b) Strobe / Flash Lights: The Power Players
Strobes fire a short, intense burst of light the moment your shutter fires. They’re incredibly powerful, freeze motion cleanly, and deliver that crisp, high-contrast look you see in premium campaigns. The trade-off? You need to understand camera sync speeds and read the light before you shoot.
Best for: Commercial product shoots, fashion, and professional studio work.
c) Speedlights: The Portable Option
Think of speedlights as compact, portable flash units. They’re affordable and flexible, but they can’t match the raw power of a dedicated studio strobe. Great if you move between locations or need a lightweight travel-friendly setup.
Best for: On-location shoots or hybrid studio-and-field setups.
Understanding Light Modifiers: This Is Where the Magic Happens
Credit: jdinstitute.edu.in
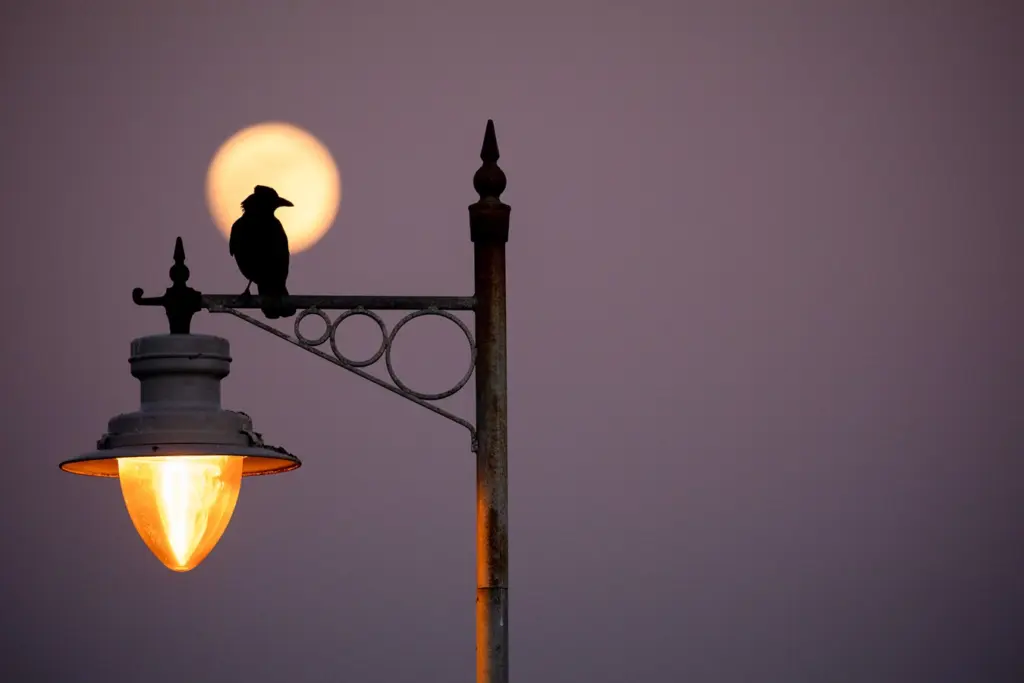
Picking your lighting equipment is only half the equation. Shaping that light is the other half, and that’s where modifiers come in. Here are the ones we use most:
- Softbox: Diffuses light evenly, eliminating harsh shadows. Our go-to for almost every product shoot.
- Umbrella: Bounces light for a broader, more natural fill across larger products.
- Reflector: Bounces existing light back onto your subject. Cheap, powerful, and often underestimated.
- Beauty Dish: Creates a punchy, crisp light with soft edges. Ideal for beauty and skincare products.
- Grid: Narrows the light beam so it only hits exactly where you point it. Perfect for precise, controlled shots.
Pro tip: Start with a large softbox. It’s forgiving, flexible, and delivers consistent, commercial-quality results without overcomplicating your workflow.
The 3 Studio Photography Lighting Setups You Need to Master
Whether you’re building a basic photography studio lighting setup or expanding a full professional space, these three configurations handle nearly every scenario you’ll encounter.
i. One-Light Setup: Simple, Powerful, and Underrated
Don’t write off one light. A single softbox at a 45-degree angle to your subject, combined with a white reflector board on the opposite side, creates genuinely professional results.
This is where we tell every beginner to start. Understand how shadows fall. Learn how distance changes intensity. Master one light, and everything else clicks into place naturally.
ii. Two-Light Setup: The Sweet Spot for Product Photography
This is the workhorse studio photography lighting setup for most product shoots. One light acts as your key (dominant source), the other acts as your fill (softer, opposite side to balance shadows).
Here’s how to position it:
- Key light: 45 degrees from subject, slightly above product level
- Fill light: 1 to 1.5 stops dimmer than your key light
- Distance rule: Closer = softer. Further = harder.
The result? Even, shadow-balanced images that look clean, sharp, and conversion-ready.
iii. Three-Light Setup: The Professional Standard
Add a backlight (also called a rim or separation light) behind your subject, and you instantly add depth and dimension. This is the photography studio lighting setup you see in premium product campaigns and high-end brand imagery.
The three-light breakdown:
- Key light: Your dominant source. Most light falls here.
- Fill light: Softens shadows. Should always be subtler than the key.
- Backlight: Separates the product from the background, adding visual depth.
These lighting setups aren’t rigid rules; they’re frameworks you build on and adjust for each unique product.
How to Control Ambient Light in Your Studio
Credit: colorexpertsbd.com
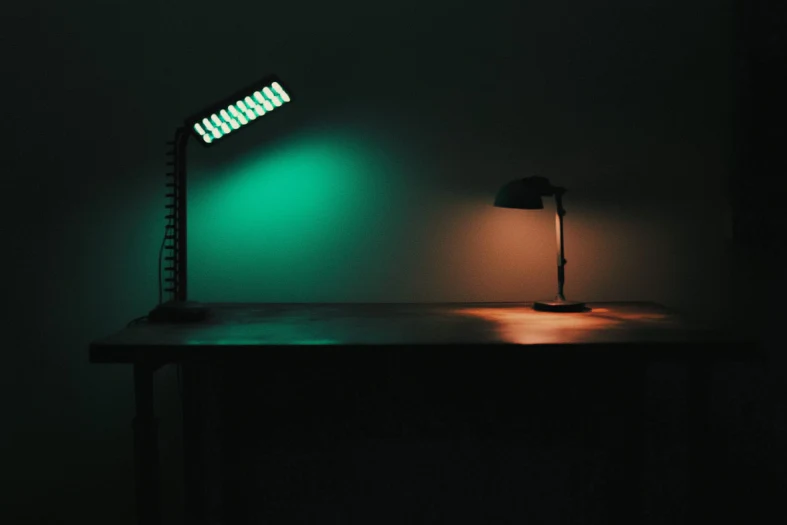
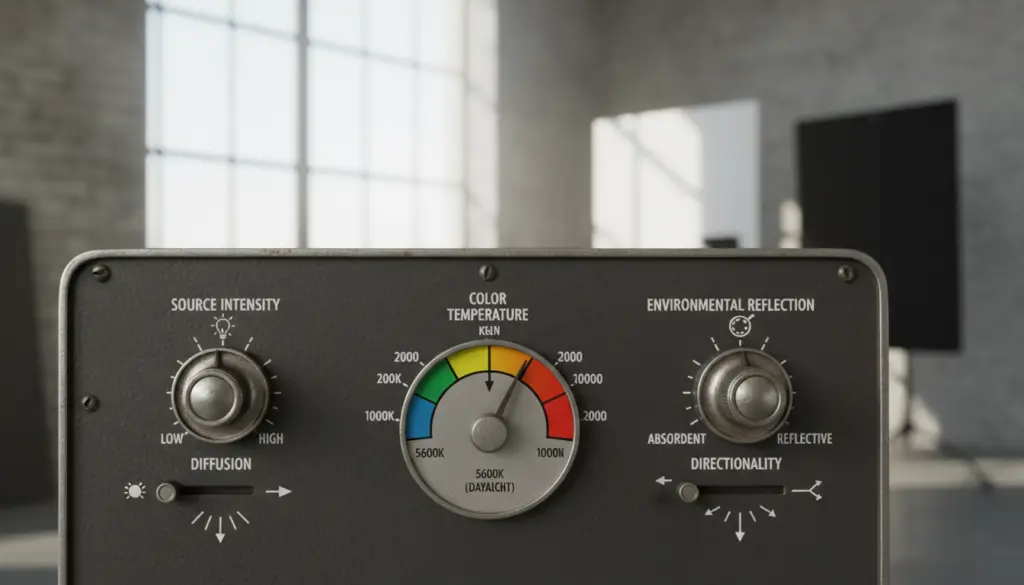
Ambient light is the natural or existing light in your space, such as sunlight, overhead fluorescents, or desk lamps. And in a controlled studio? It’s your worst enemy if you ignore it.
Here’s how we control it on every single shoot:
a) Block all windows
Use blackout curtains. Sunlight shifts color temperature throughout the day and destroys your consistency.
b) Kill the overhead lights
Fluorescents and incandescents have different color temperatures than your studio lights. Mixing them creates color casts that cost you hours in post.
c) Set your ISO low
Shoot at ISO 100-200. A low ISO makes your camera far less sensitive to ambient light, giving your studio lights complete control over the exposure.
Controlling ambient light is one of the most underrated skills in lighting in photography studio work. Nail this, and your shoot consistency improves dramatically.
Your Studio Lighting Equipment Checklist
Before any shoot, run through this list. Missing one item slows down an entire session:
- 2x LED Softbox Lights (or a professional strobe kit)
- 2x Adjustable, heavy-duty light stands
- 1x Large reflector or white foam board
- 1x Lightbox (for small product items)
- Daylight-balanced bulbs at 5500K
- Sandbags to secure your stands (safety first)
- Extension cords and surge protectors
- Light meter (optional but a genuine game-changer)
This is the core studio lights kit that handles 90% of professional product shoots without overcomplicating your workflow.
3 Mistakes That Kill Great Studio Shots
Credit: bohemiabaystudio.com.au
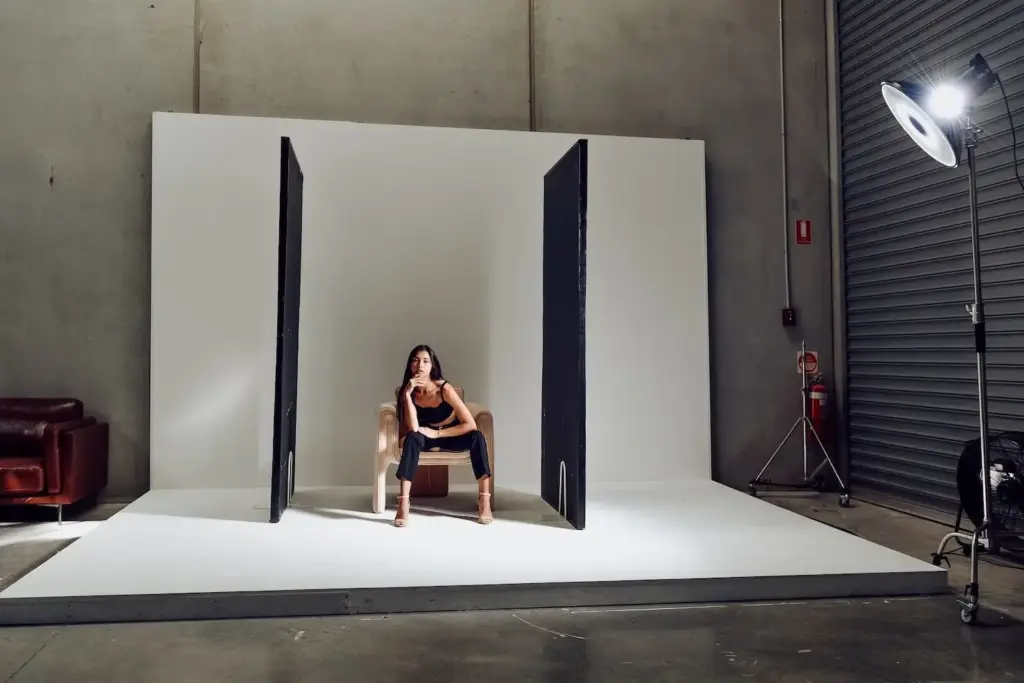
We’ve made all three. Learn from our experience.
i. Placing lights too far from the subject
Light intensity drops off fast with distance. The farther your light source, the harsher and weaker it becomes. Move it closer and add a diffuser if the light feels too intense.
ii. Ignoring color temperature
Mixing warm and cool light sources creates color casts you’ll spend hours trying to fix in editing. Stick to one consistent temperature. 5500K daylight is the industry standard for product photography techniques.
iii. Forgetting your fill light
A key light with no fill creates dramatic, one-sided shadows. That works for moody portrait photography. For product photography? It kills detail and confuses buyers. Always balance your setup.
When to Go Professional
We believe in building your own skills, and this guide helps you do exactly that. But there comes a point where your time, your brand, and your conversion rates demand professional-level results. If you’re launching a product line, pitching to retailers, or scaling your store, professional studio light in photography handled by experts makes a measurable difference. It’s not just about the gear. It’s about knowing how every piece of lighting equipment works together to produce images that actually drive sales.
That’s exactly what we do at Product Captures. We shape every shoot around your brand, your product, and your goals, from background choice to final retouching. See how we build the perfect product photography lighting setup for brands like yours.
The Bottom Line
Wrapping up, mastering studio light in photography isn’t about having the fanciest gear or the biggest budget; it’s about understanding how light behaves and using that knowledge to tell your product’s story. Start with one softbox and a reflector. Experiment. Break the rules once you know them. Before you know it, you’ll be creating images that don’t just look professional; they convert. That’s when you’ll realize the real magic wasn’t in the equipment. It was in you.
FAQ’s
Let’s answer some of the questions that trip up every product photographer.
What is the best studio light for beginner photographers?
LED softboxes. They’re affordable, cool-running, easy to position, and give you real-time feedback, making them the ideal starting point for anyone learning studio light in photography.
How many lights do I need for a basic studio photography setup?
Two lights cover most product shoots professionally. A key light, a fill light, and a reflector give you a clean, balanced result without overcomplicating your setup.
What’s the difference between continuous light and strobe?
Continuous light stays on constantly, great for beginners and video content. Strobes fire a powerful burst at the moment of capture, ideal for freezing motion and high-end commercial shoots.
How do I remove shadows in a studio product photo?
Use a two-light setup. Set your fill light 1 to 1.5 stops dimmer than your key light. Add a white reflector opposite your key light. A large softbox diffuses light naturally, which reduces harsh shadows even further.
What color temperature should my studio lights be?
5500K, daylight balanced. It gives you neutral, accurate colors that match across your full product catalog and are easy to fine-tune in post-production.