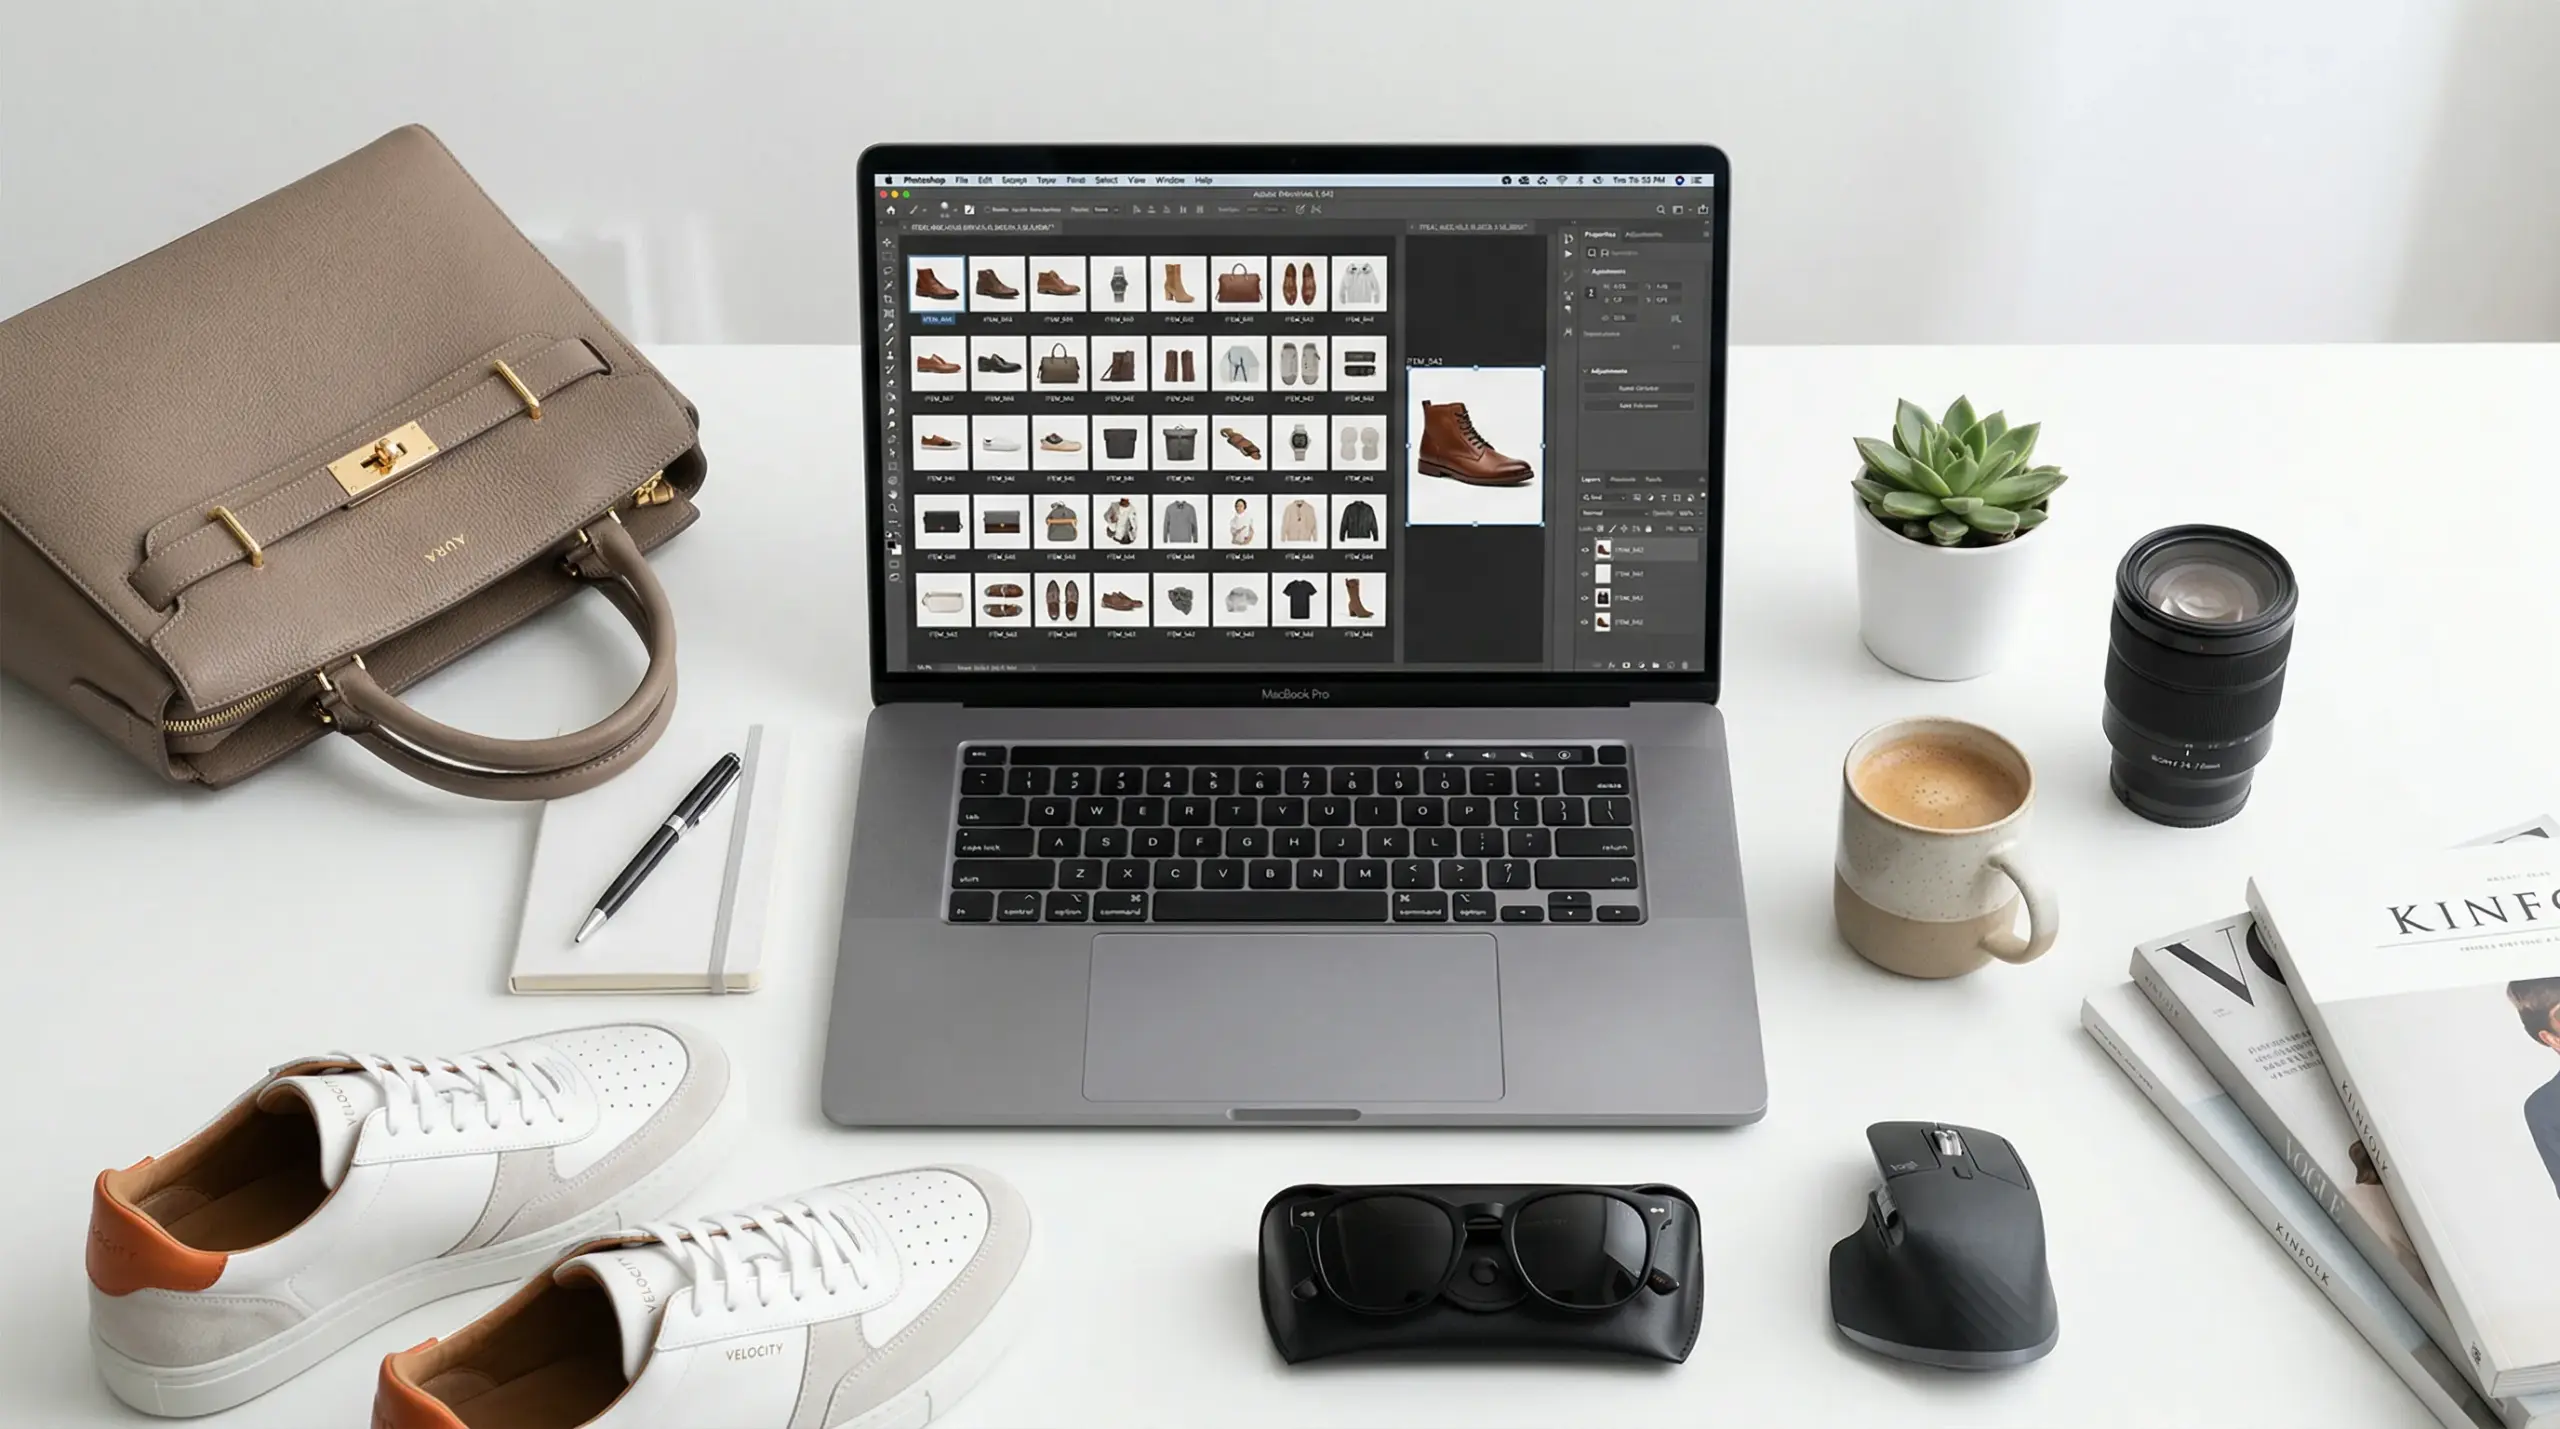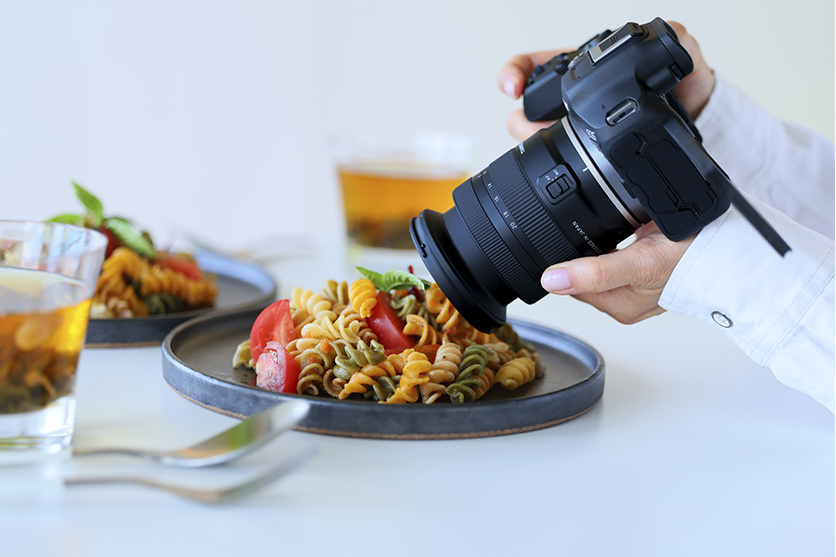
Your product photos are losing you money right now. Not because they’re terrible, but because they’re inconsistent. You take a killer shot at 10 AM. By 2 PM, the same product looks completely different under natural light. Your customers notice; your brand looks scattered, and your colors don’t match across your catalog. This is the number one reason e-commerce stores struggle with product photography. And there’s a simple fix: flash for product photography. Once you understand it, everything changes.
Let’s get into it.
Why Flash Is Important for Product Photography
Credit: bhphotovideo.com
Natural light is beautiful, and nobody’s arguing that.
But it has a serious problem: it’s unpredictable.
You nail a shot at 10 AM. You try again at 2 PM. The light looks completely different. Now you’ve got two product images that don’t match. That’s a branding nightmare for any e-commerce store.
Flash solves this completely. When you compare natural light vs flash photography, flash wins for product photography consistency. Here’s why photographers who are serious about product photography make the switch:
- Consistency — Your camera flash delivers the same flash power every single shot.
- Color accuracy — Flash produces a neutral, consistent color temperature. Your whites stay white, and product colors are true to life.
- Depth of field — With flash, you can shoot at f/8 or f/11. Everything from the front to the back of your product stays sharp.
- Freeze motion — Pouring a liquid? Splashing water? Freezing motion with a flash burst is incredibly short. It stops action cold.
- Shoot any time — Flash doesn’t care if it’s midnight, raining, or overcast. You’re always in control.
- Repeatability — Set it up today, come back in three months, and get the exact same result.
According to Michael’s Camera Hire, the flash setup wins hands-down when comparing natural light vs flash photography product options because it’s clean, consistent, and requires almost no editing. That’s the goal.
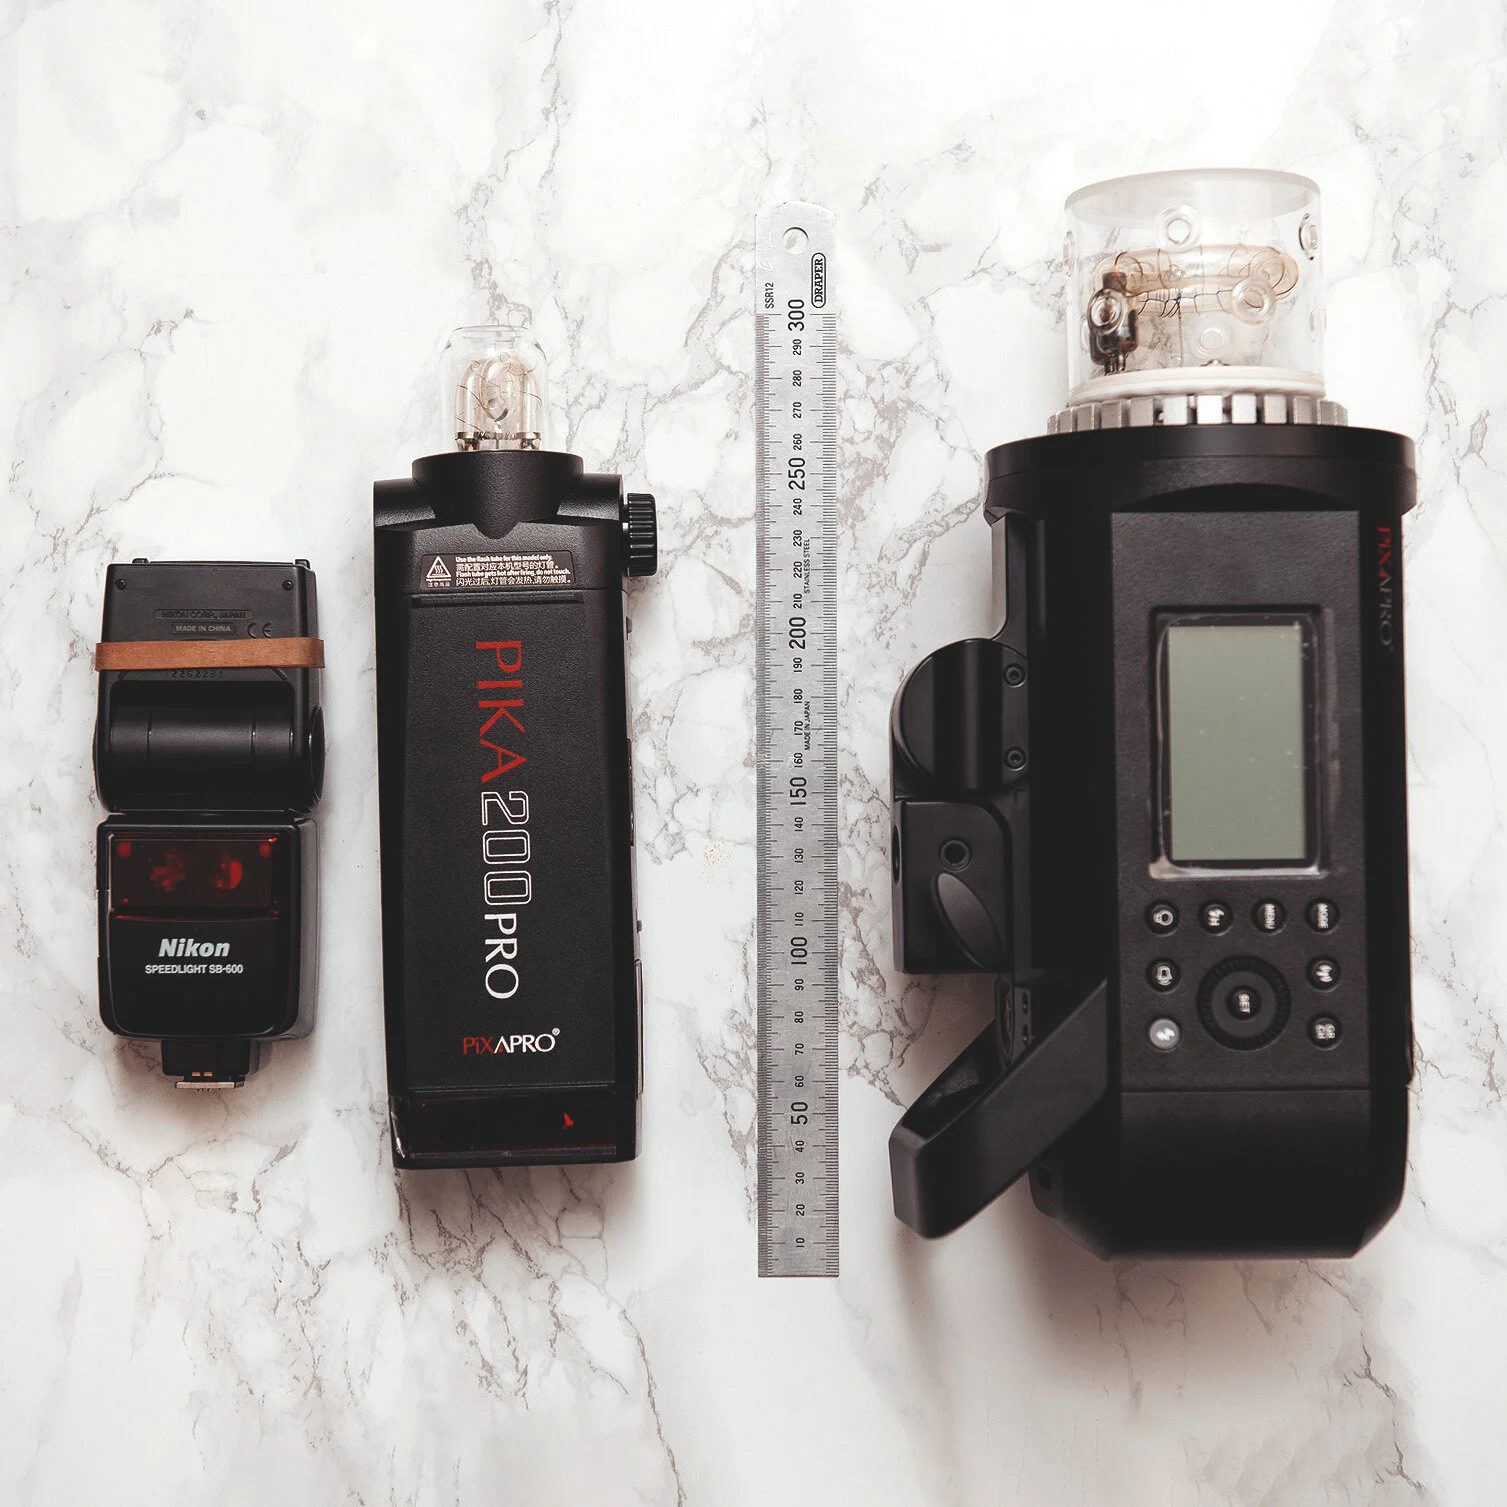
Speedlight vs Studio Strobe: Which One Do You Need?
Credit: jakehicksphotography.com
This is the first big decision. And it trips a lot of people up. Let’s break it down clearly.
What Is a Speedlight?
A speedlight, also called a speedlite or flashgun, is a small, battery-powered flash unit. It mounts to your camera’s hot shoe. Or you can take it off-camera using a trigger. Brands like Godox, Canon, Nikon, and Yongnuo all make them. This is often the best choice for the best flash for product photography when you’re starting out.
What Is a Studio Strobe?
A studio strobe, or monolight, is a larger, more powerful flash unit. Unlike a speedlight, it plugs into the wall and delivers significantly more flash power. It also includes a modeling light to help preview lighting before capturing the shot.
So Which Should You Pick?
Here’s the honest answer from SLR Lounge: strobes win for serious product photography. The modeling light alone makes a massive difference. You can see exactly where the shadows fall before you shoot, and you can adjust.
But here’s the thing: start with speedlights. They’re affordable and teach you the fundamentals. A Godox TT520II costs under $60. That’s your entry point for the best flash for product photography on a budget.
Then, as you grow, invest in strobes. And eventually, use both. Many professionals keep speedlights as accent or fill lights alongside their strobes.
The Gear You Actually Need
Credit: shotkit.com
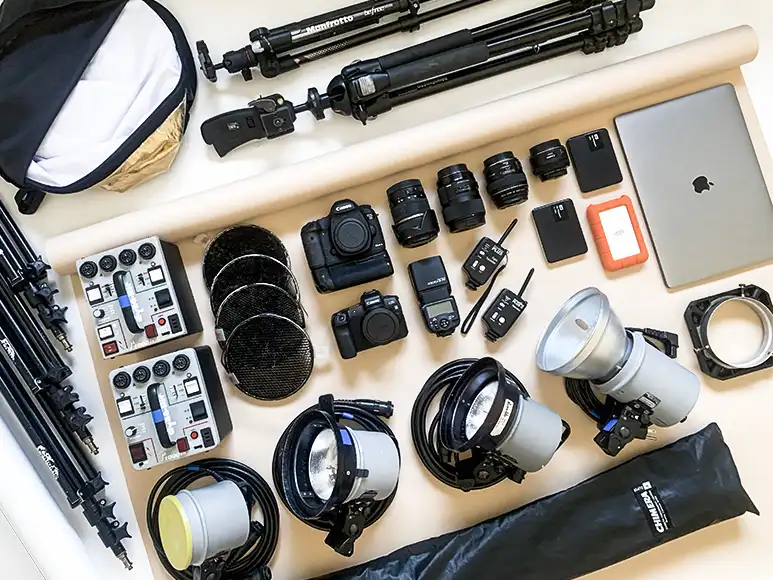
You don’t need a truckload of equipment. Here’s a clean breakdown for your product photography flash setup:
Essential Gear
- Flash unit — Speedlight or strobe. Start with what fits your budget. This is your primary light source.
- Wireless trigger — This fires your external flash off-camera. The Godox X2T or XPro series is solid and affordable.
- Light stand — Your flash needs somewhere to sit. Basic stands run $20–$40. Essential for any photography lighting setup.
- Softbox — This is your most important modifier. It turns harsh light into soft, wrapping light. Start with a 60cm softbox for controlled lighting.
- Tripod — Always, consistent framing. Sharp images. No camera shake.
- Backdrop — White seamless paper is ideal for e-commerce. A 1.35m wide roll is enough for most products.
Optional but Useful
- Bounce cards/foam board — White cardboard to fill in shadows. Costs almost nothing. Great for controlled lighting without extra equipment.
- Boom arm — Lets you position your flash directly overhead without a stand in frame.
- Polarizing filter — Cuts reflections on glossy products. Bottles, screens, and packaging love this.
- Reflector — Bounces existing light back onto your product.
- Light meter — Takes the guesswork out of exposure. Used by product photography professionals daily.
Camera Settings for Flash Product Photography
Credit: skylinefba.com
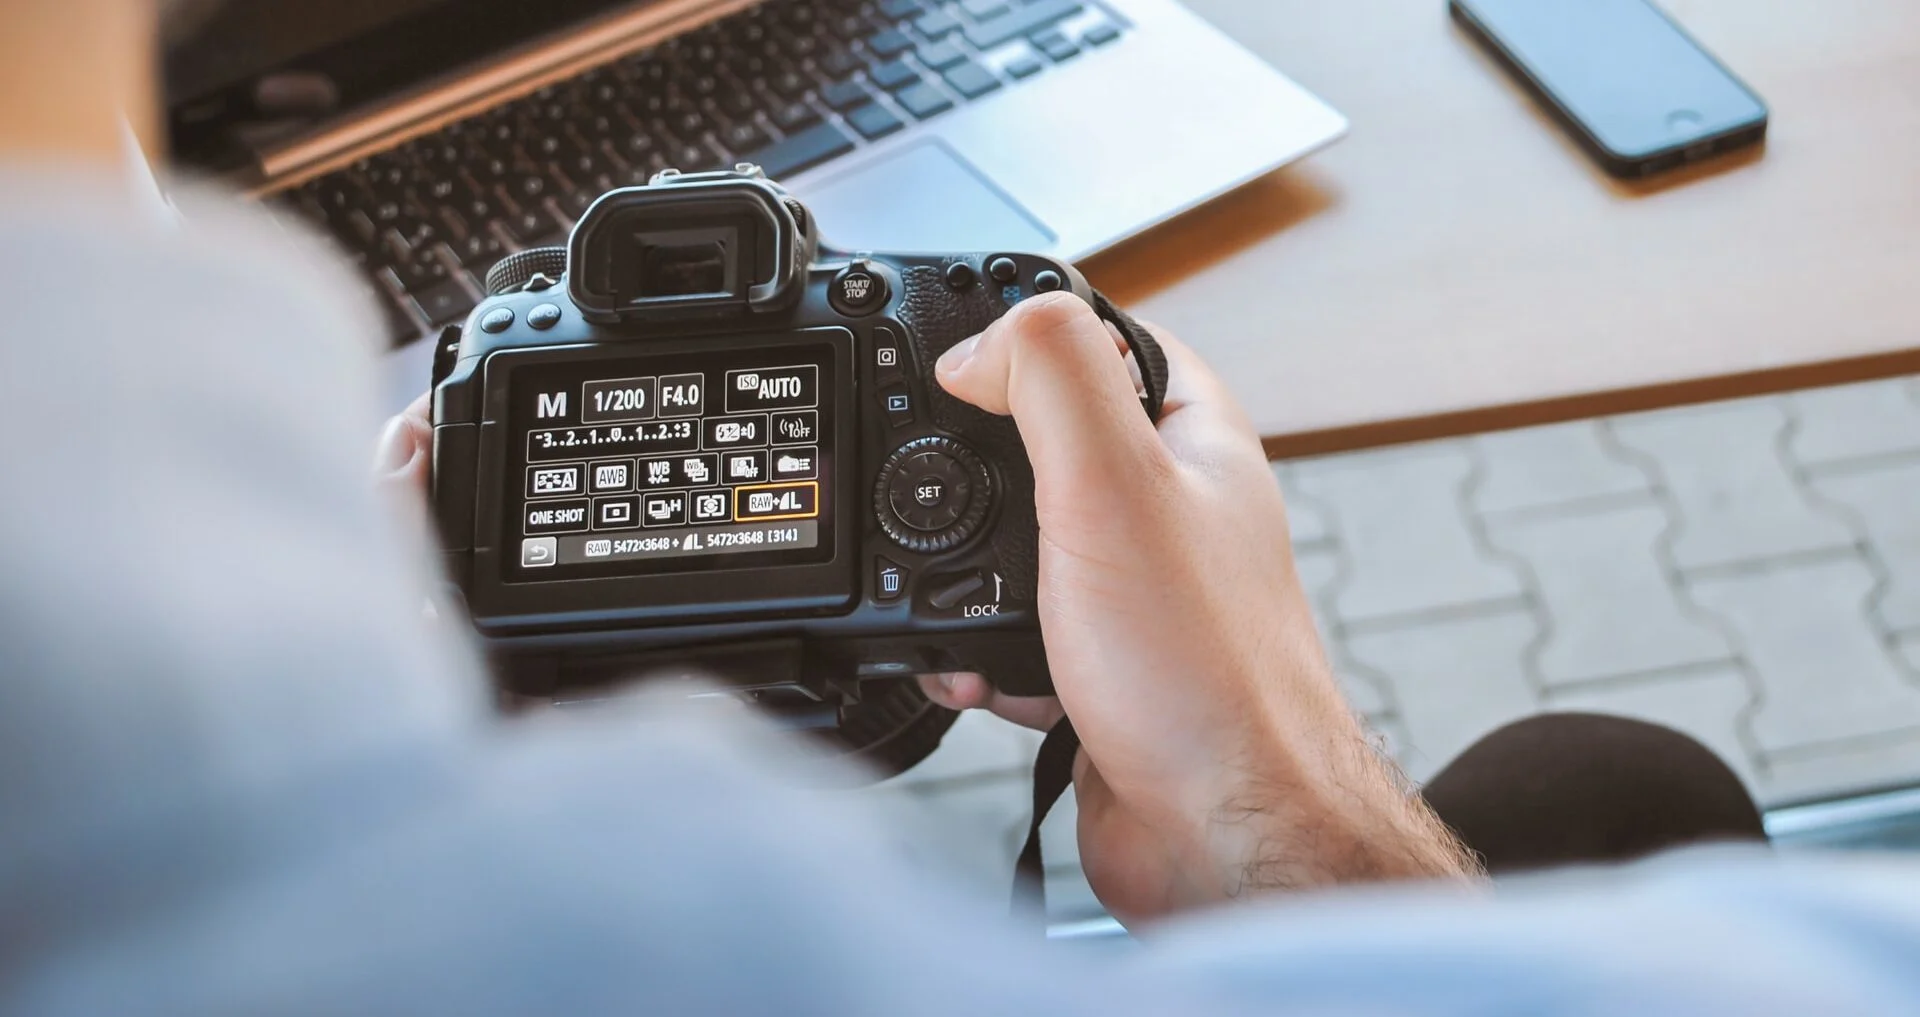
This part matters a lot. Get this wrong and even great photography lighting looks bad.
Here are your baseline settings for flash product photography setup, straight from what Michael’s Camera Hire recommends:
| Setting | Value | Why |
|---|---|---|
| Mode | Manual mode | Full control. No auto surprises. |
| ISO | 100 | Lowest noise. Cleanest image. |
| Shutter Speed | 1/200s, flash sync speed | Prevents dark bands from sync issues. |
| Aperture | f/8 to f/16 | Deep depth of field. Full product sharpness. |
| White Balance | Flash or 5500K | Accurate colors under flash. |
| Focus | Manual focus | More reliable for static products. |
Aperture by Product Size
- Large products → f/8
- Medium products → f/11
- Small products → f/16
Once your camera settings are dialed in, adjust your flash power to match, not the other way around. Start at 1/4 power. Take a test shot, and check your histogram. You want a clean spike sitting close to the right side, but not clipping into the edge.
The Best Flash Setups for Product Photography
Credit: cutoutquick.com
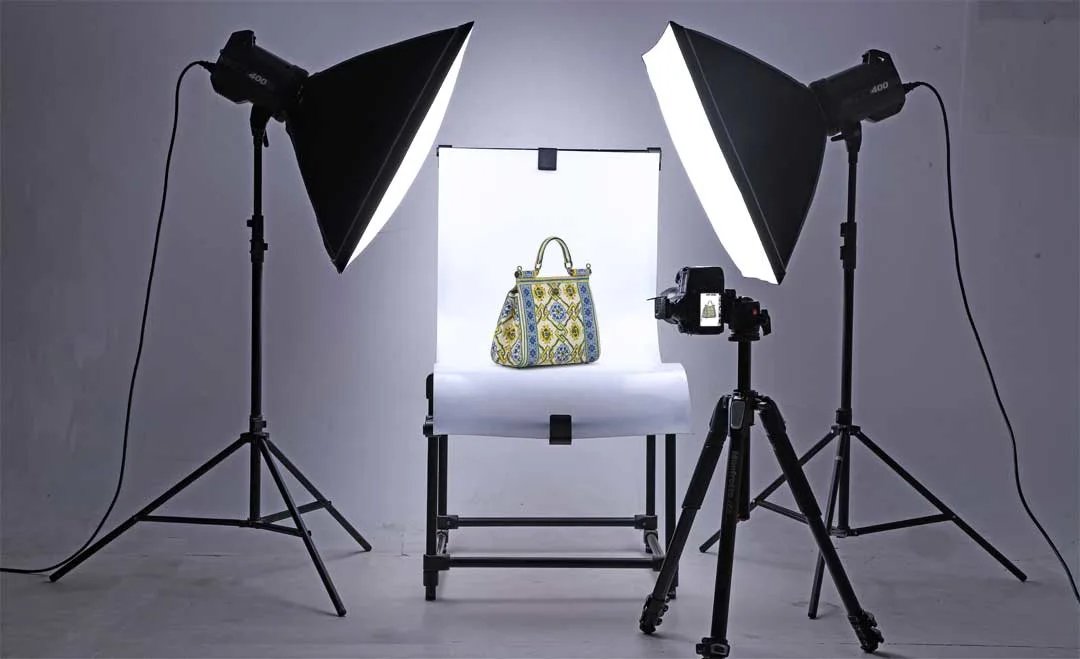
Now, these are the best ones when we talk about setups.
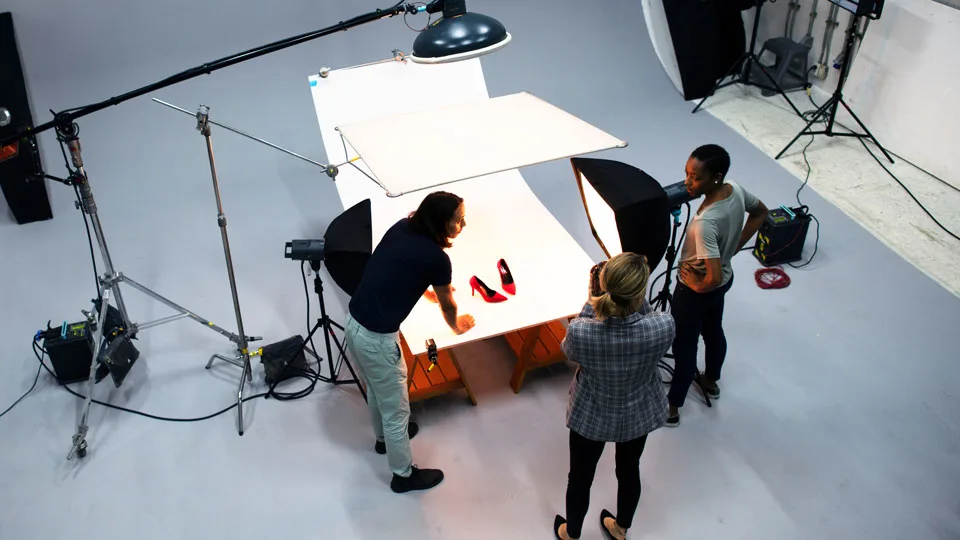
Setup 1: Single Overhead Light, Direct Flash Setup
This is the cleanest product photography with a flash setup for beginners. One flash. One softbox. One boom arm.
Place your external flash directly above the product. Point it straight down. The light hits your backdrop evenly. It eliminates harsh side shadows. It creates that pure, flat, e-commerce look.
This direct flash product photography method works beautifully for white-background shots where you want a clean, professional appearance.
- When to use it: White-background product shots, Amazon listings, Etsy stores, e-commerce photography.
- Pro tip: Add white bounce cards on either side of the product. They reflect the light back in and fill in the dark sides. You don’t need a second camera flash at all. This gives you excellent results with product photography with one flash.
Setup 2: 45-Degree Single Light
Place your external flash at a 45-degree angle to your product. Position it slightly above. Point it down toward the product.
This creates beautiful directional light. One side is bright. The other side has a soft, gradual shadow. Your product looks three-dimensional. It has depth. This is one of the most popular best flash for product photography techniques.
This is the most versatile product photography flash setup. It works for almost any product type.
- When to use it: Cosmetics, food, lifestyle products, bottles, candles, and any product photography where you want dimension.
- Pro tip from Digital Photography School: Start at a 1-meter distance from the product. Set flash power to 1/4. Adjust from there. This method of product photography with flash is industry-standard.
Setup 3: Two-Light Setup, Main + Background
This is where things get elevated. Two strobes and two purposes. This is the foundation of professional 2-flash product photography work.
- Light 1, Main: Positioned at 45 degrees to the product. Large softbox, and this is your key light source. Controls your primary controlled lighting.
- Light 2, Background: Positioned behind the product, aimed at the backdrop. It creates separation, and your product pops off the background.
Add a grid to your background light. This controls the spill. It keeps light off your product and only on the backdrop. The result? A bright background with a beautifully lit product sitting in front.
This 2-flash product photography approach is exactly what pro teams use, and it creates that premium, commercial look with excellent build quality to your lighting.
- When to use it: Bottles, packaging, luxury products, hero shots, and any premium product photography work.
Setup 4: Ring Flash for Product Photography
A ring flash is a specialized light source that circles your lens. It provides even, shadow-free ring flash product photography lighting. Perfect for jewelry, watches, and detailed products.
The ring flash produces very soft, even light with minimal shadows. It’s ideal when you want absolutely perfect controlled lighting without direction or dimension.
For a complete overview of every product photography lighting setup we recommend, check out our product photography lighting setup guide.
- When to use it: Jewelry photography, watches, detailed small products, and macro product photography.
- Note: Ring flash is less common for general product photography but exceptional for specific applications.
Setup 5: Rim Light Setup, High-Impact Product Photography
This one is for drama and visual impact in your product photography flash setup.
Place your main light to the side. Add a second light behind the product at a low angle. It creates a rim lighting effect along the edges.
Your product separates from the background. It gets a luminous glow along its edges and looks expensive. This high-speed flash technique works beautifully with high-speed sync capabilities.
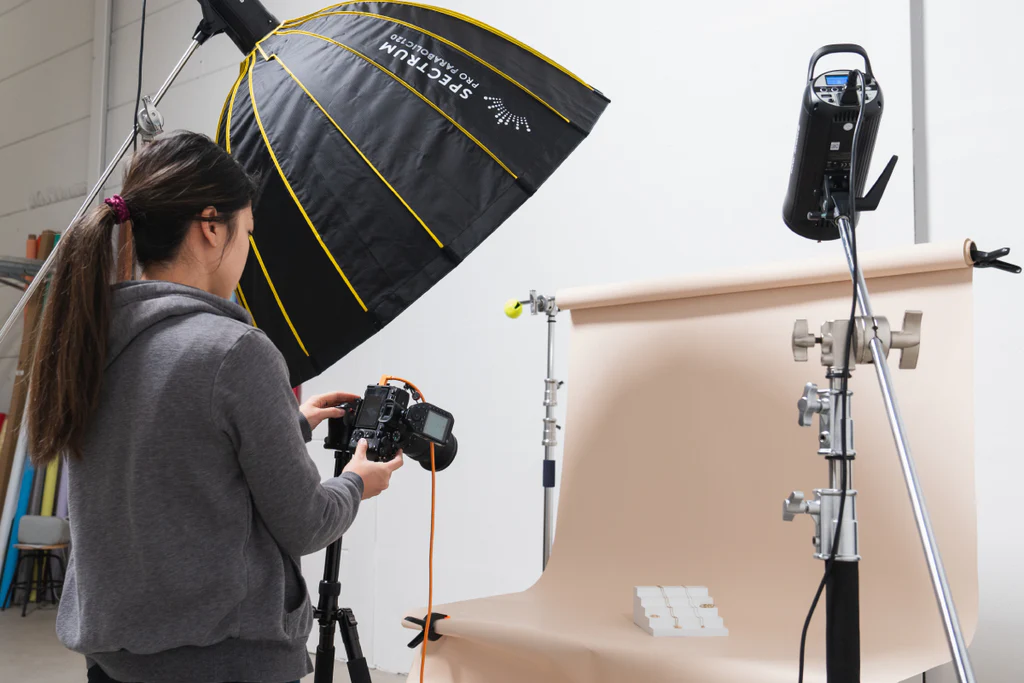
Combining Flash with Natural Light
Credit: spectrum-brand.com
Here’s a technique that most beginners overlook.
You don’t have to choose between flash and natural light. You can use both at the same time.
Here’s how the process works, step by step:
- Set your camera to expose for the background first. No flash, just ambient light. Find settings that make your background look the way you want it.
- Lock those settings in. Don’t touch your aperture, ISO, or shutter speed.
- Introduce your flash. Use it to light your product. Start low and adjust up.
- Adjust flash power until your product looks perfectly exposed against the natural background.
Ending Remarks
Here’s the bottom line.
Flash for product photography is a skill that builds over time. But the fundamentals are simple, and they work.
The difference between average product photography and professional-looking ones almost always comes down to controlled lighting. Flash gives you that control, all of it, on demand and any time of day.
Frequently Asked Questions
If you’re new to flash product photography, these FAQs will save you time and money.
Do I need expensive gear for the best flash for product photography?
Not at all. A Godox TT520II speedlight costs under $60. Pair it with a cheap trigger, a light stand, and a softbox, and you have a capable product photography flash setup.
What’s the best aperture setting for product photography with flash?
f/8 is a great starting point for larger products. Move to f/11 for medium products and f/16 for small items like jewelry. These apertures give you enough depth of field to keep your entire product sharp.
Should I use TTL or manual mode for flash product photography?
Always use manual mode for product photography with flash. TTL, through-the-lens flash, is designed for fast environments like weddings. For product photography, you need the exact same exposure every single shot. Manual mode locks that in. TTL doesn’t. This is critical for consistent flash product photography.
Can I mix flash with natural light for product photography?
Absolutely, and it can look stunning. Expose your background using ambient light first. Lock those settings. Then bring in your external flash to light your product.
Why are my product photographs too dark even with flash?
A few things could be causing this. Your flash power might be too low; increase it in small increments. Or your flash might be too far from the product; move it closer, remembering the inverse square law. Also check your aperture. Always check your lighting setup positioning and camera flash output when troubleshooting.