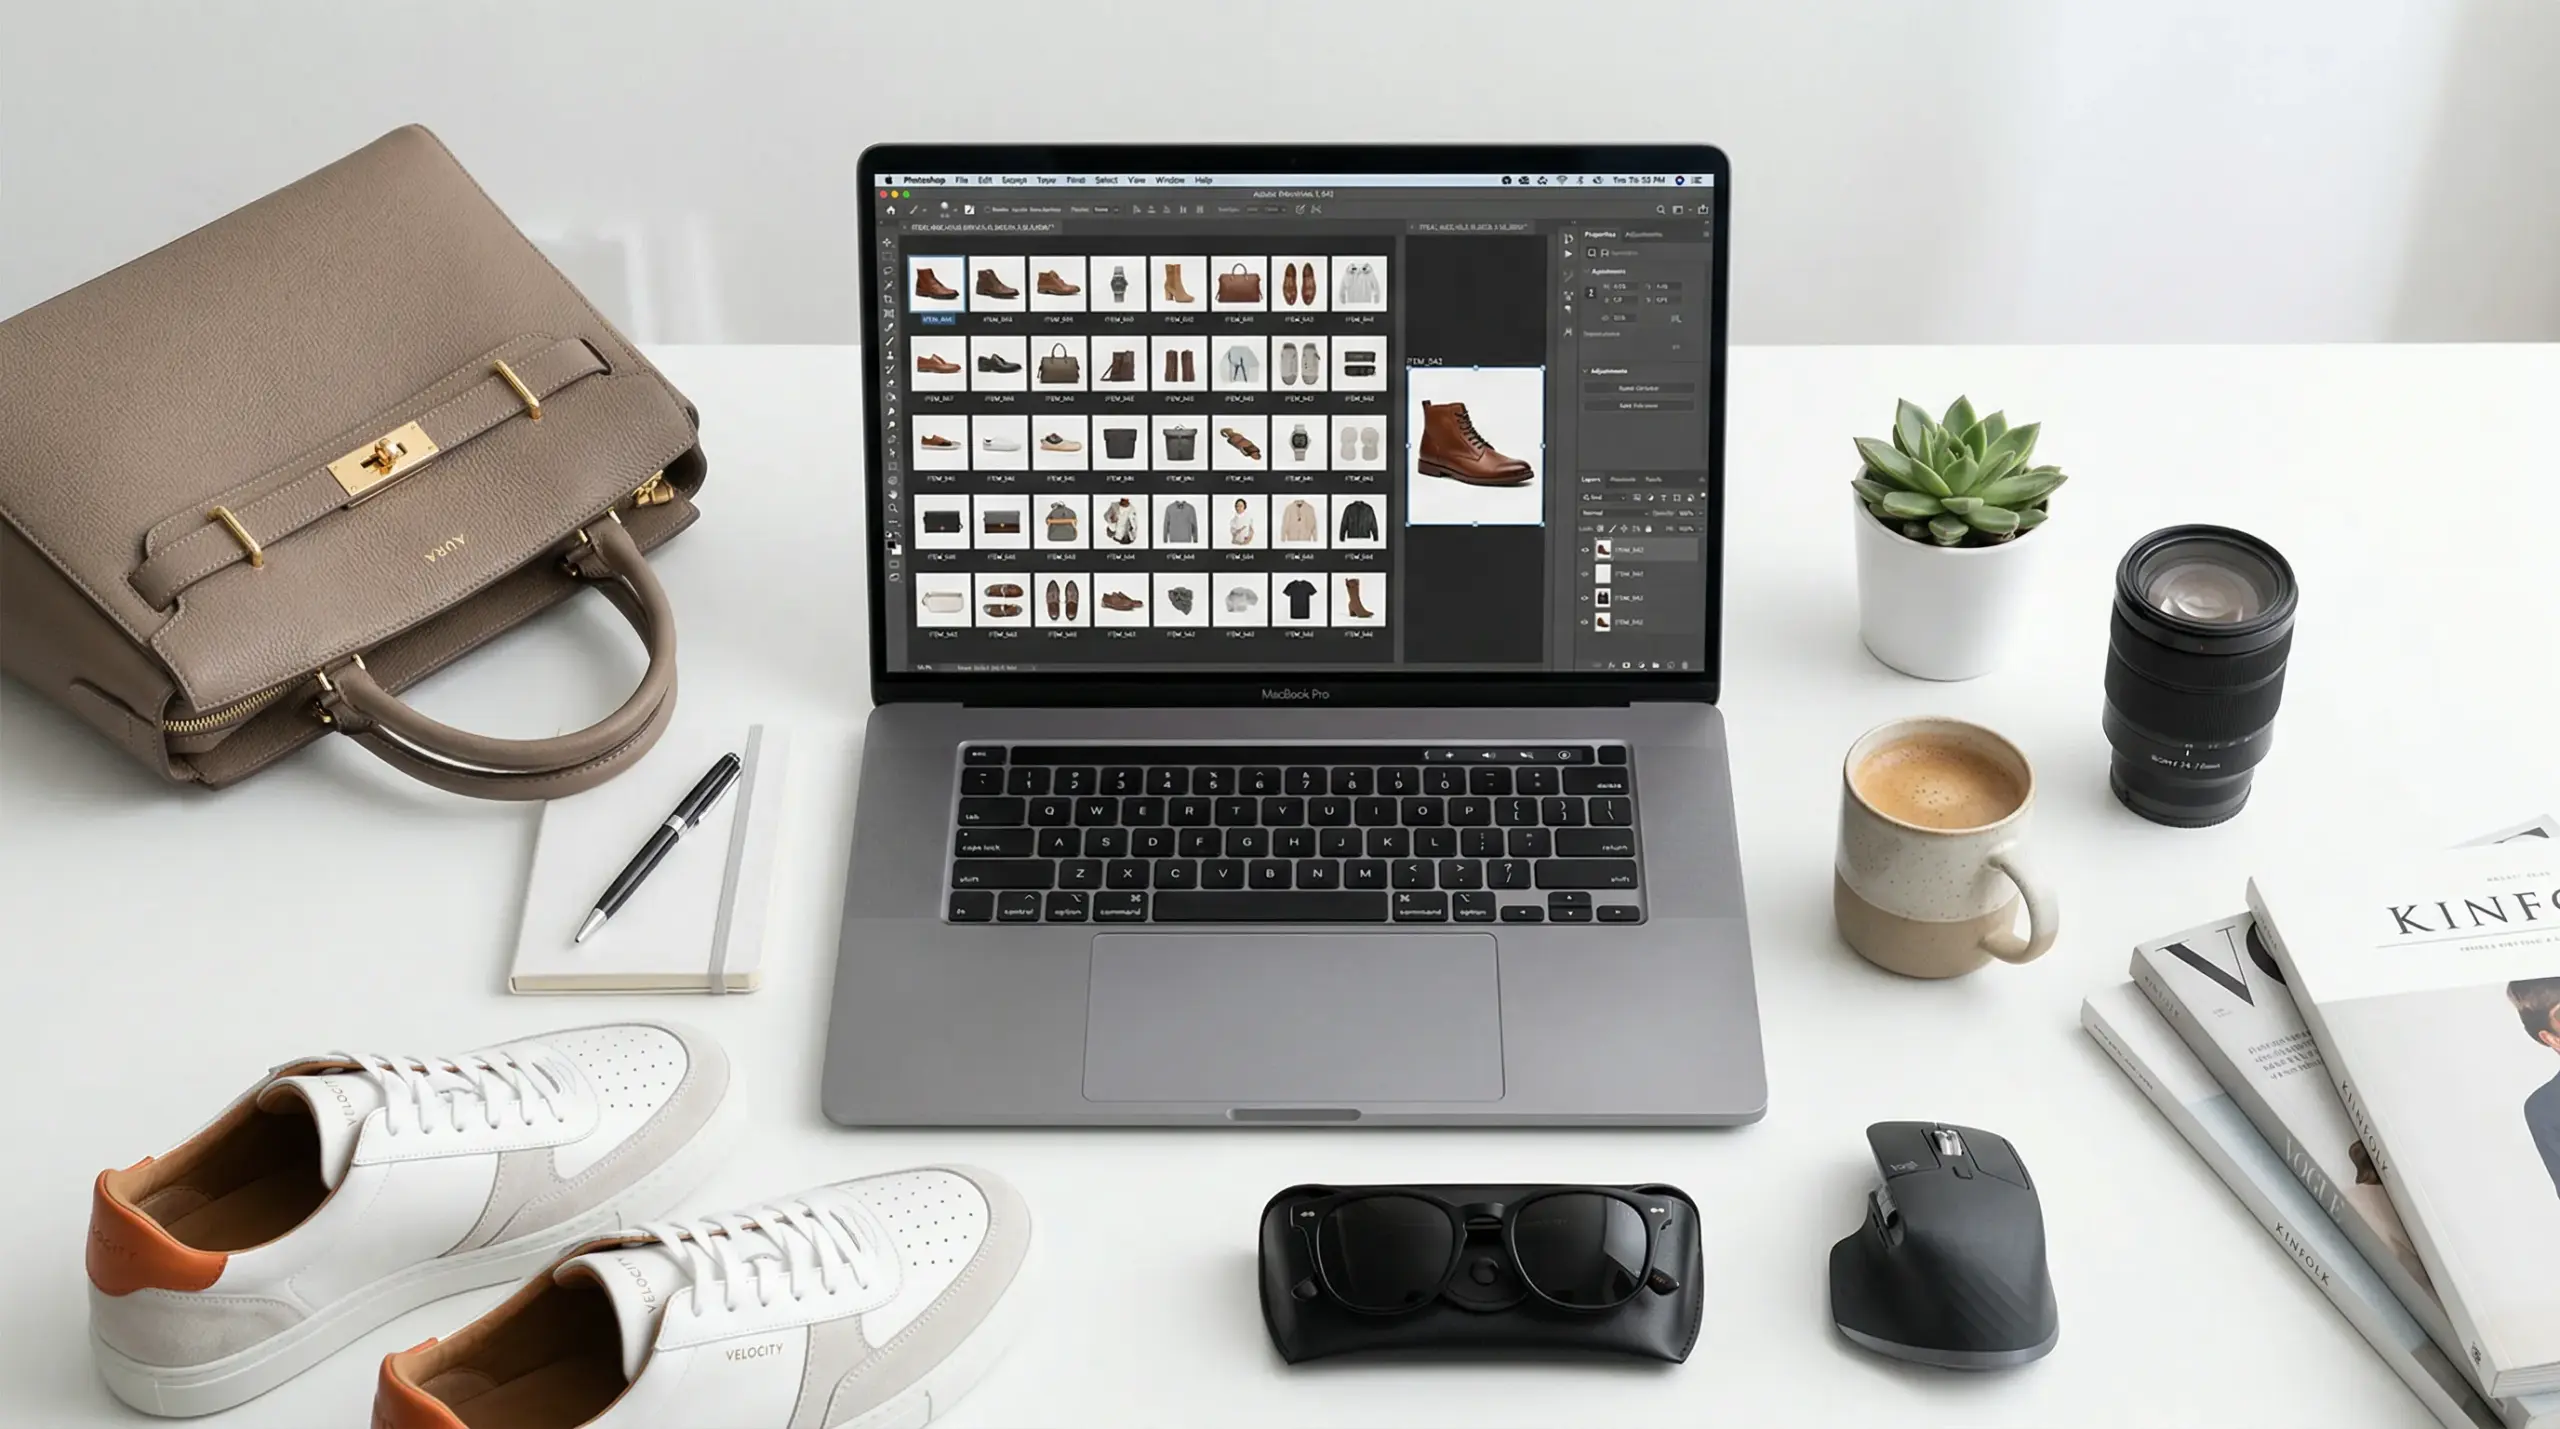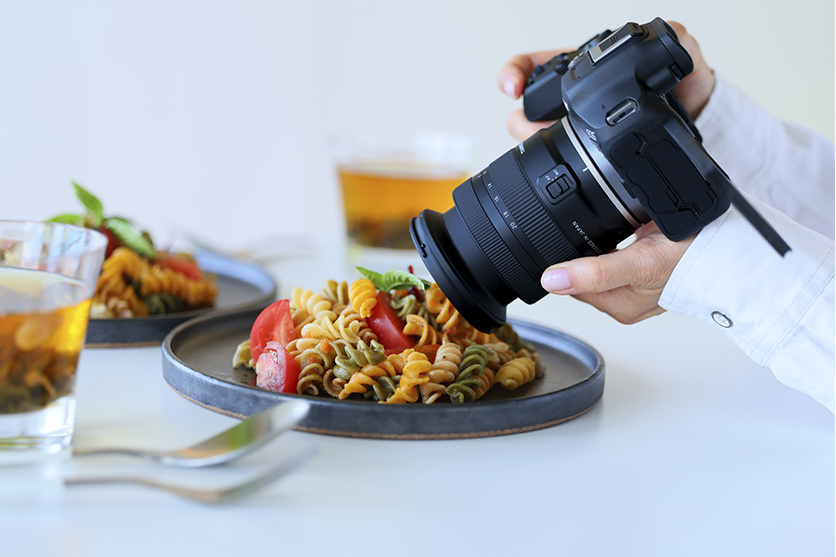
Walk into any serious photography studio, and you’ll notice it’s not about the camera; it’s about the light. Light modifiers turn harsh, raw light into something intentional: soft, controlled, and shaped to sell. The right modifier can make the difference between a flat, forgettable shot and an image that stops buyers mid-scroll. This guide covers the types of light modifiers for photography that actually work, how to use them, and which ones belong in your studio. So, let’s begin.
What Are Light Modifiers in Photography and Why Do They Matter?
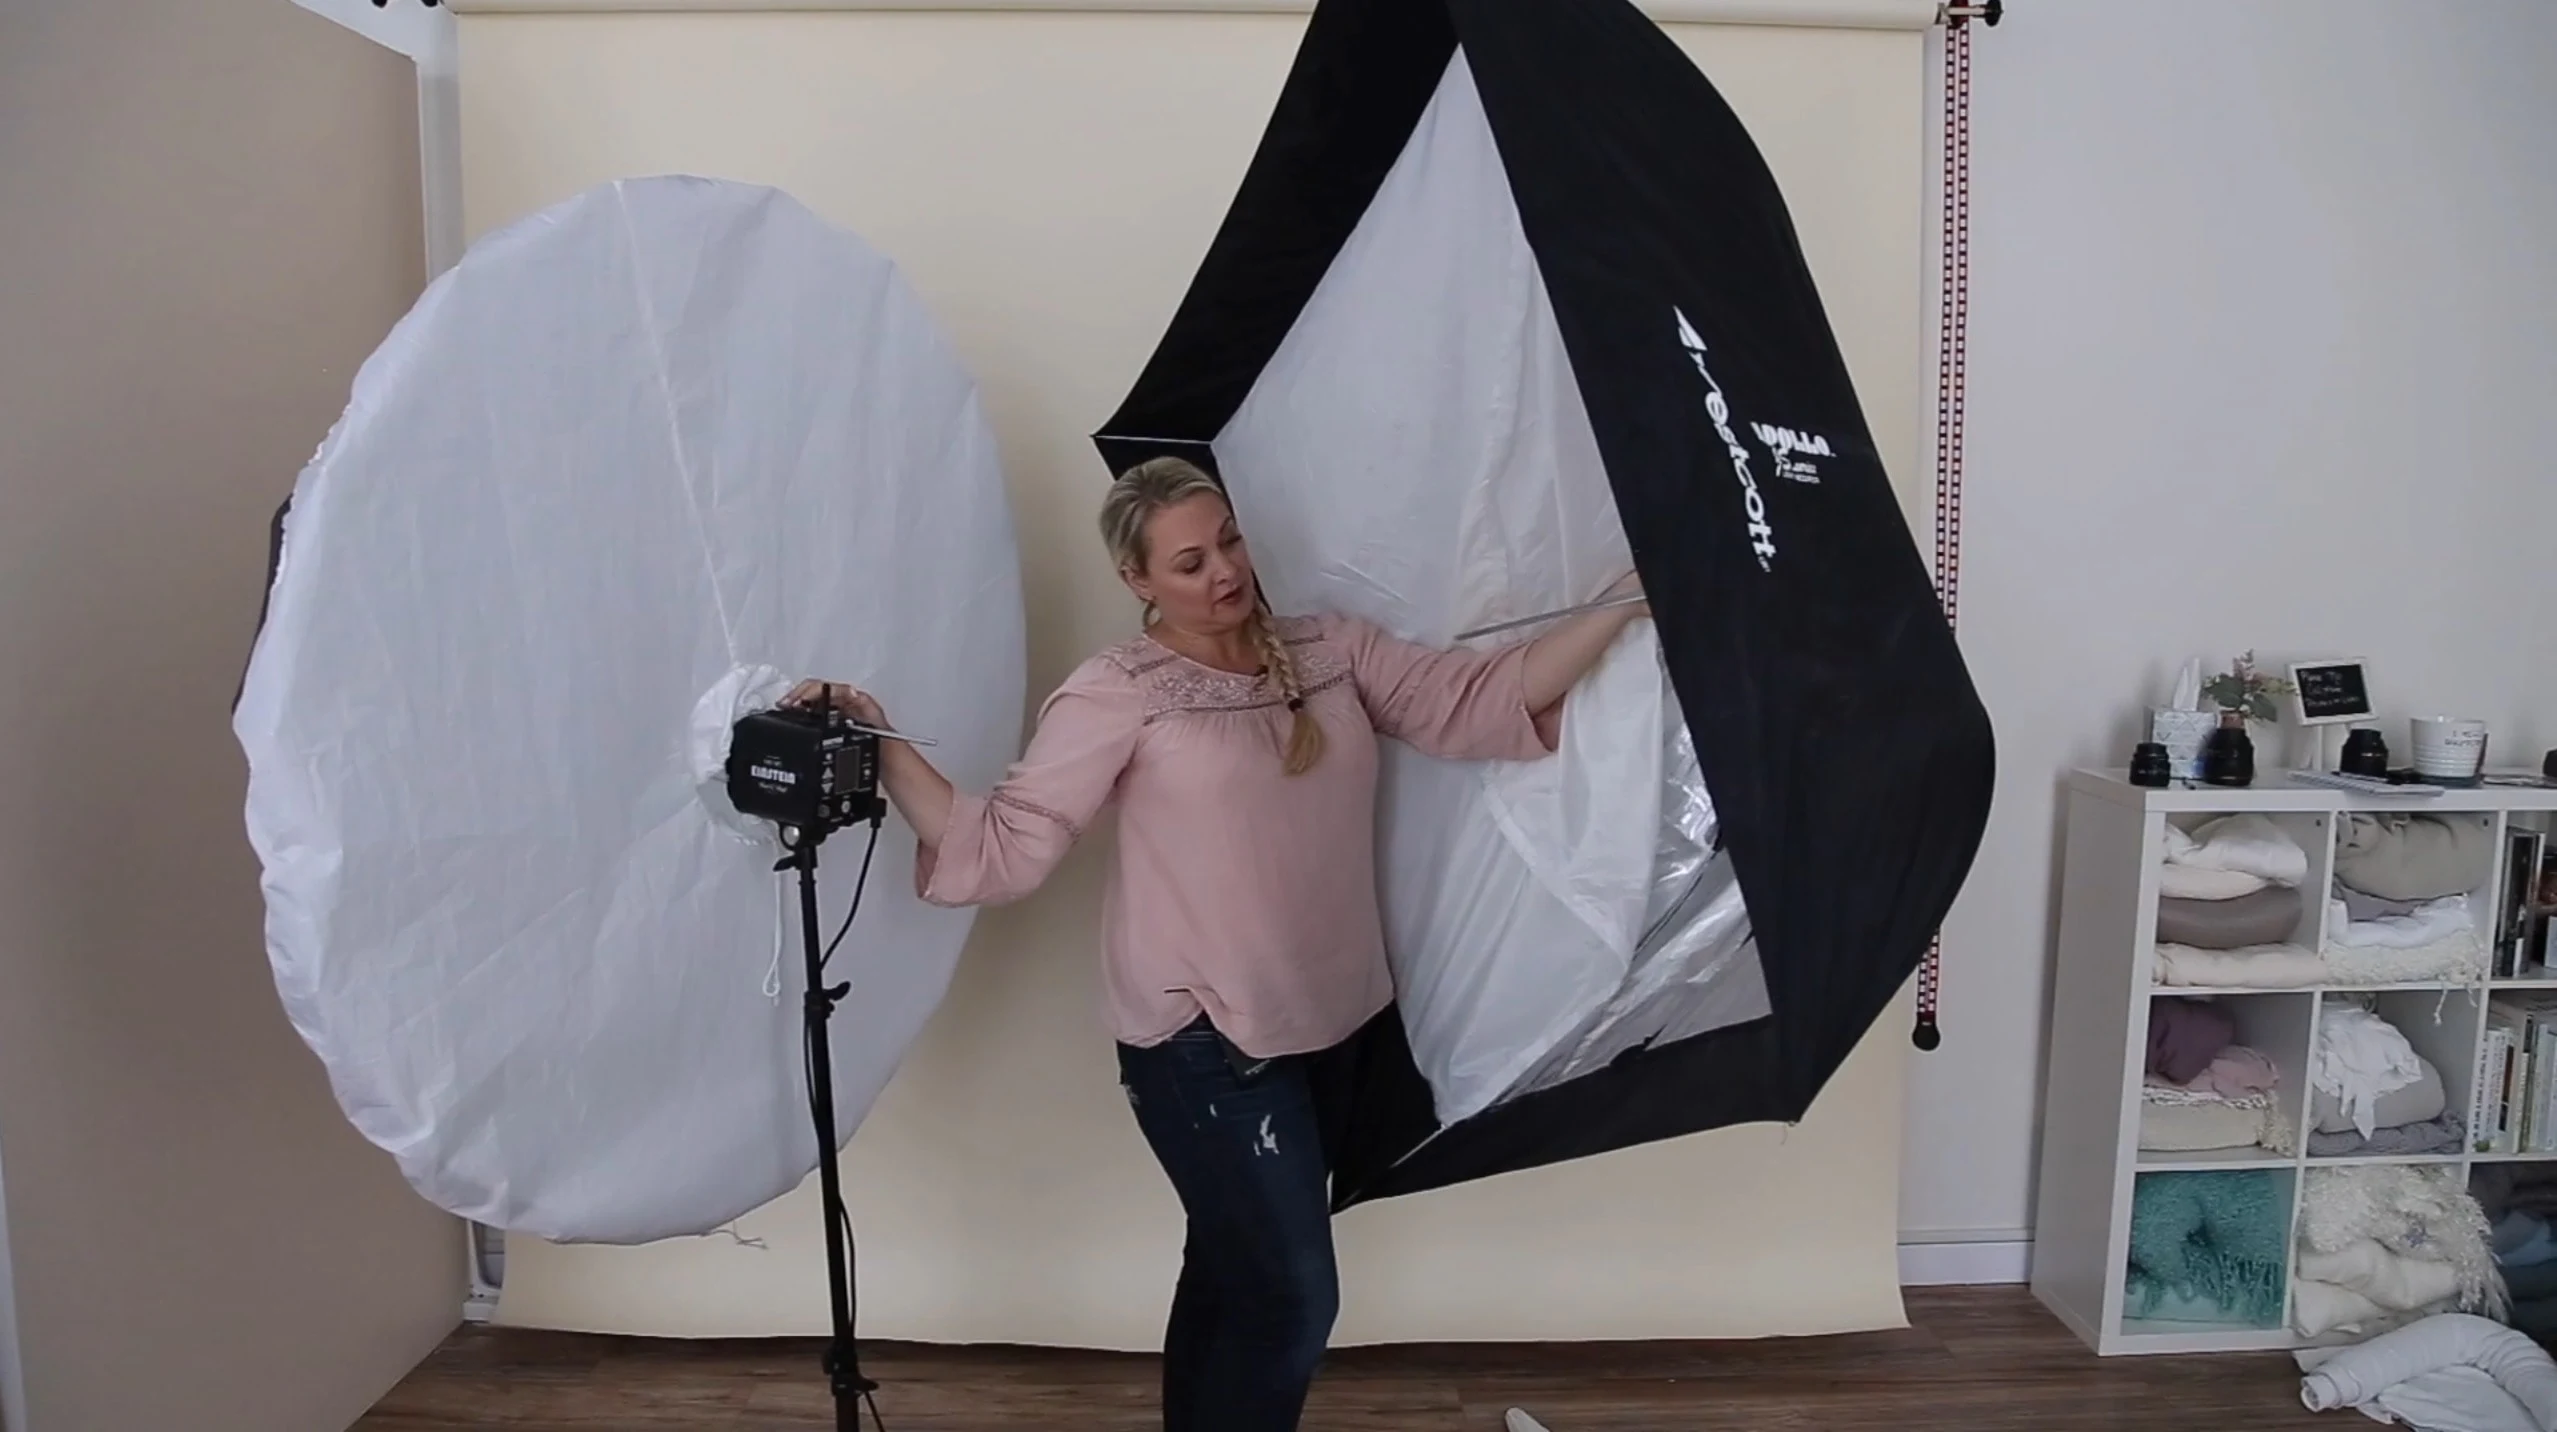
Credit: themilkyway.ca
Light modifiers are any tools that alter the quality, direction, size, or intensity of a light source. Your strobe or continuous light on its own produces raw, often harsh light. Modifiers help to soften, redirect, diffuse, or shape that output into something intentional.
In product photography, the stakes are higher than in most other genres. Clients aren’t looking for drama for drama’s sake; they need images that sell. That means catching the right highlight on a glass eyewear frame, showing the actual texture of a knit fabric, or revealing the clinical precision of a medical device without unwanted glare.
The modifier makes all of that possible. It’s not a luxury; it’s infrastructure. Whether you’re working with soft light for gentle diffusion or controlling the intensity and recycle time of your strobe light, the right modifier transforms your entire workflow.
Types of Light Modifiers For Photography
Now, there are so many types, and this section will help you identify which one is for your upcoming project.
Softboxes: The Workhorse Modifier
Credit: spectrum-brand.com
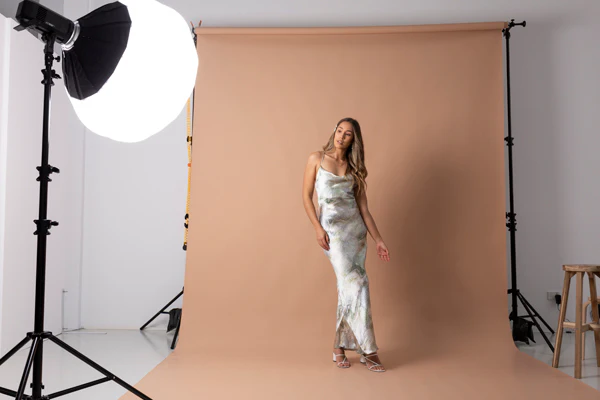
Softboxes are the most widely used light modifiers for photography setups, and for good reason. They produce soft light that’s even, directional, and controllable. The light passes through one or two diffusion panels, which spread it across a broader area and eliminate harsh shadows.
Where we use them most: For apparel, skincare packaging, healthcare products, and general e-commerce, for flat-lay apparel shots or packshots on white, a large rectangular soft box gives us that beautiful, wrap-around softness that doesn’t overpower fabric texture or wash out label details.
Types to know:
- Rectangular softboxes: Versatile, great for most product categories, and fundamental to any light modifier collection
- Octaboxes: Produce rounder, more natural-looking catchlights; excellent for products with curved surfaces like bottles or helmets
- Strip softboxes: Long and narrow, ideal for adding edge lighting on tall bottles, apparel on mannequins, or eyewear frames
Best pick: For studios handling multiple product categories, a 60×90 cm rectangular softbox paired with a 150 cm octabox as the key light covers about 80% of your scenarios and offers exceptional value in terms of light modifiers photography prices.
Umbrellas: Portable and Affordable
Credit: hypop.com.au
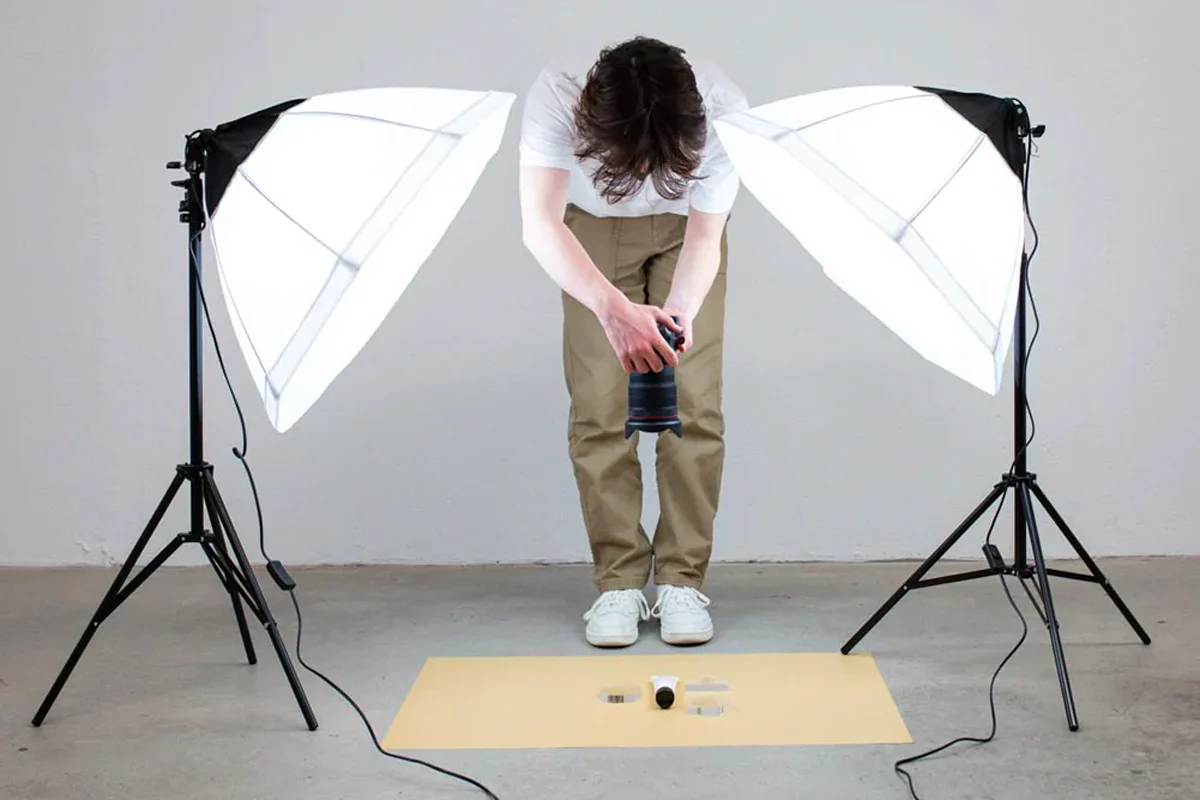
Umbrellas are one of the most affordable DIY light modifiers or commercial options available. They come in two main varieties: shoot-through and reflective umbrella designs. Shoot-through umbrellas diffuse light forward, creating a broad, soft output. Reflective umbrellas bounce light back toward the subject, increasing the spread even further.
They’re not our go-to for high-end product work because they’re harder to control: spill light goes everywhere. But for on-location shoots, large group setups, or when you need to bounce light across a scene with soft ambient light, umbrellas are fast, lightweight, and effective.
Where we use them: Behind-the-scenes lifestyle product shots, pop-up campaign shoots, or as fill lights in a multi-modifier setup. Understanding how to control bounce light with umbrellas is essential for photographers working with limited gear.
Beauty Dish: Precision and Dimension
Credit: freeavmhzwr.click
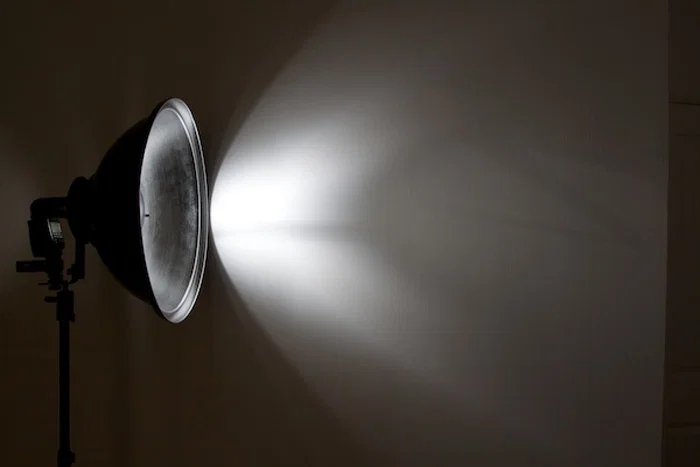
Don’t let the name fool you; the beauty dish isn’t just for portraits. It produces a unique quality of light that’s somewhere between a bare strobe and a softbox: semi-hard, punchy, and with a distinctive wrap that flatters shape and dimension.
The light from a beauty dish has a slightly harder edge than a softbox but falls off quickly, which creates gorgeous contrast and depth on three-dimensional products; think luxury watches, sculpted skincare bottles, or premium eyewear. It’s one of the most effective types of light modifiers for products where the qualities of light matter as much as even illumination.
Where we use them: High-end product categories where we want to convey premium quality and dimensionality. A beauty dish positioned slightly above and in front of a product can make a perfume bottle look like it belongs in a luxury editorial.
Best pick: A 55 cm beauty dish with a diffuser sock gives you more flexibility; use it bare for harder light and add the sock when you want to soften the transition.
Reflectors and Fill Cards
Credit: tabletopphotography.com
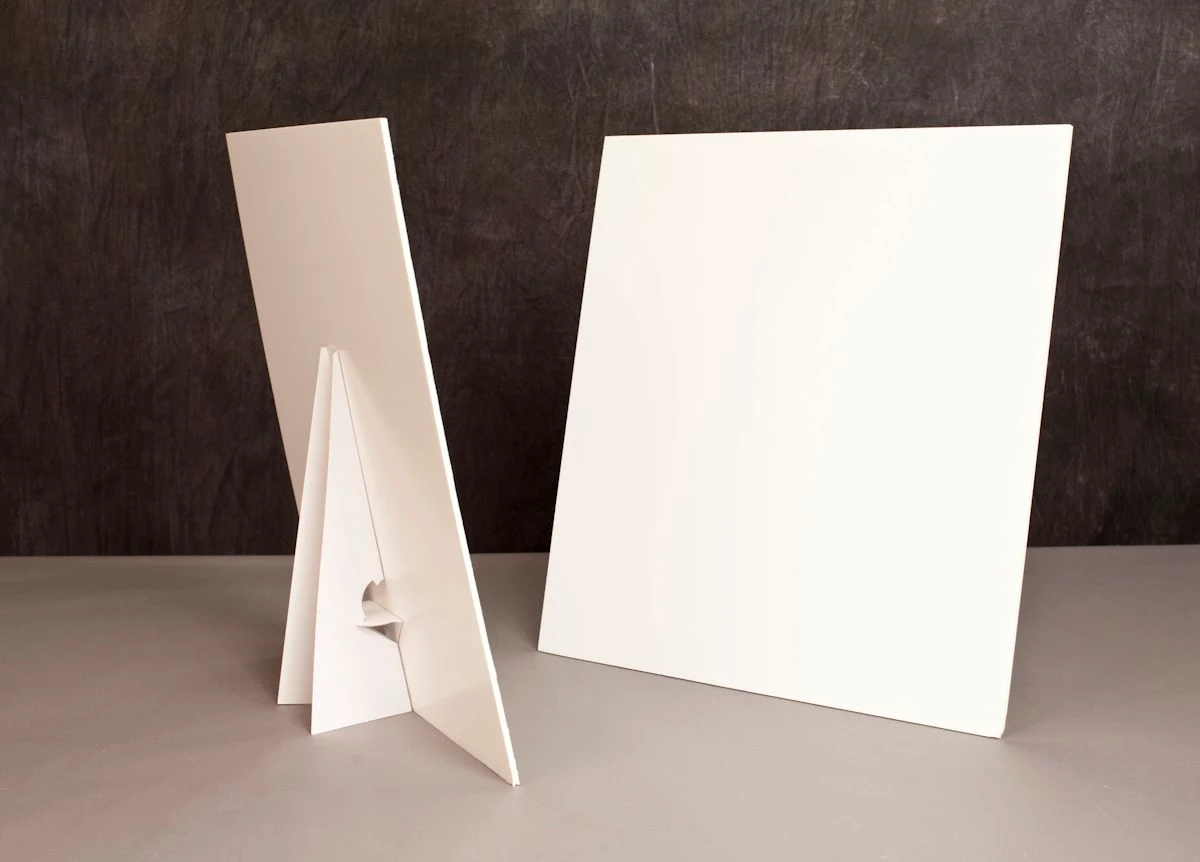
They are passive light modifiers and don’t connect to a light source; they bounce light back toward the subject. White foam boards, silver reflectors, and gold reflectors each have a distinct effect.
- White foam boards: Clean, neutral fill; our most-used tool on table-top setups
- Silver reflectors: Brighter, slightly cooler fill; useful on metal products or when you need more punch
- Gold reflectors: Warm fill; occasionally used in lifestyle or food-adjacent product shoots
In our studios, it’s rare to see a table-top setup without at least one foam board propped up on the shadow side of the product. They’re cheap, effective, and endlessly adjustable, making them essential for budget-conscious photographers exploring DIY light modifiers.
Diffusion Panels and Scrims
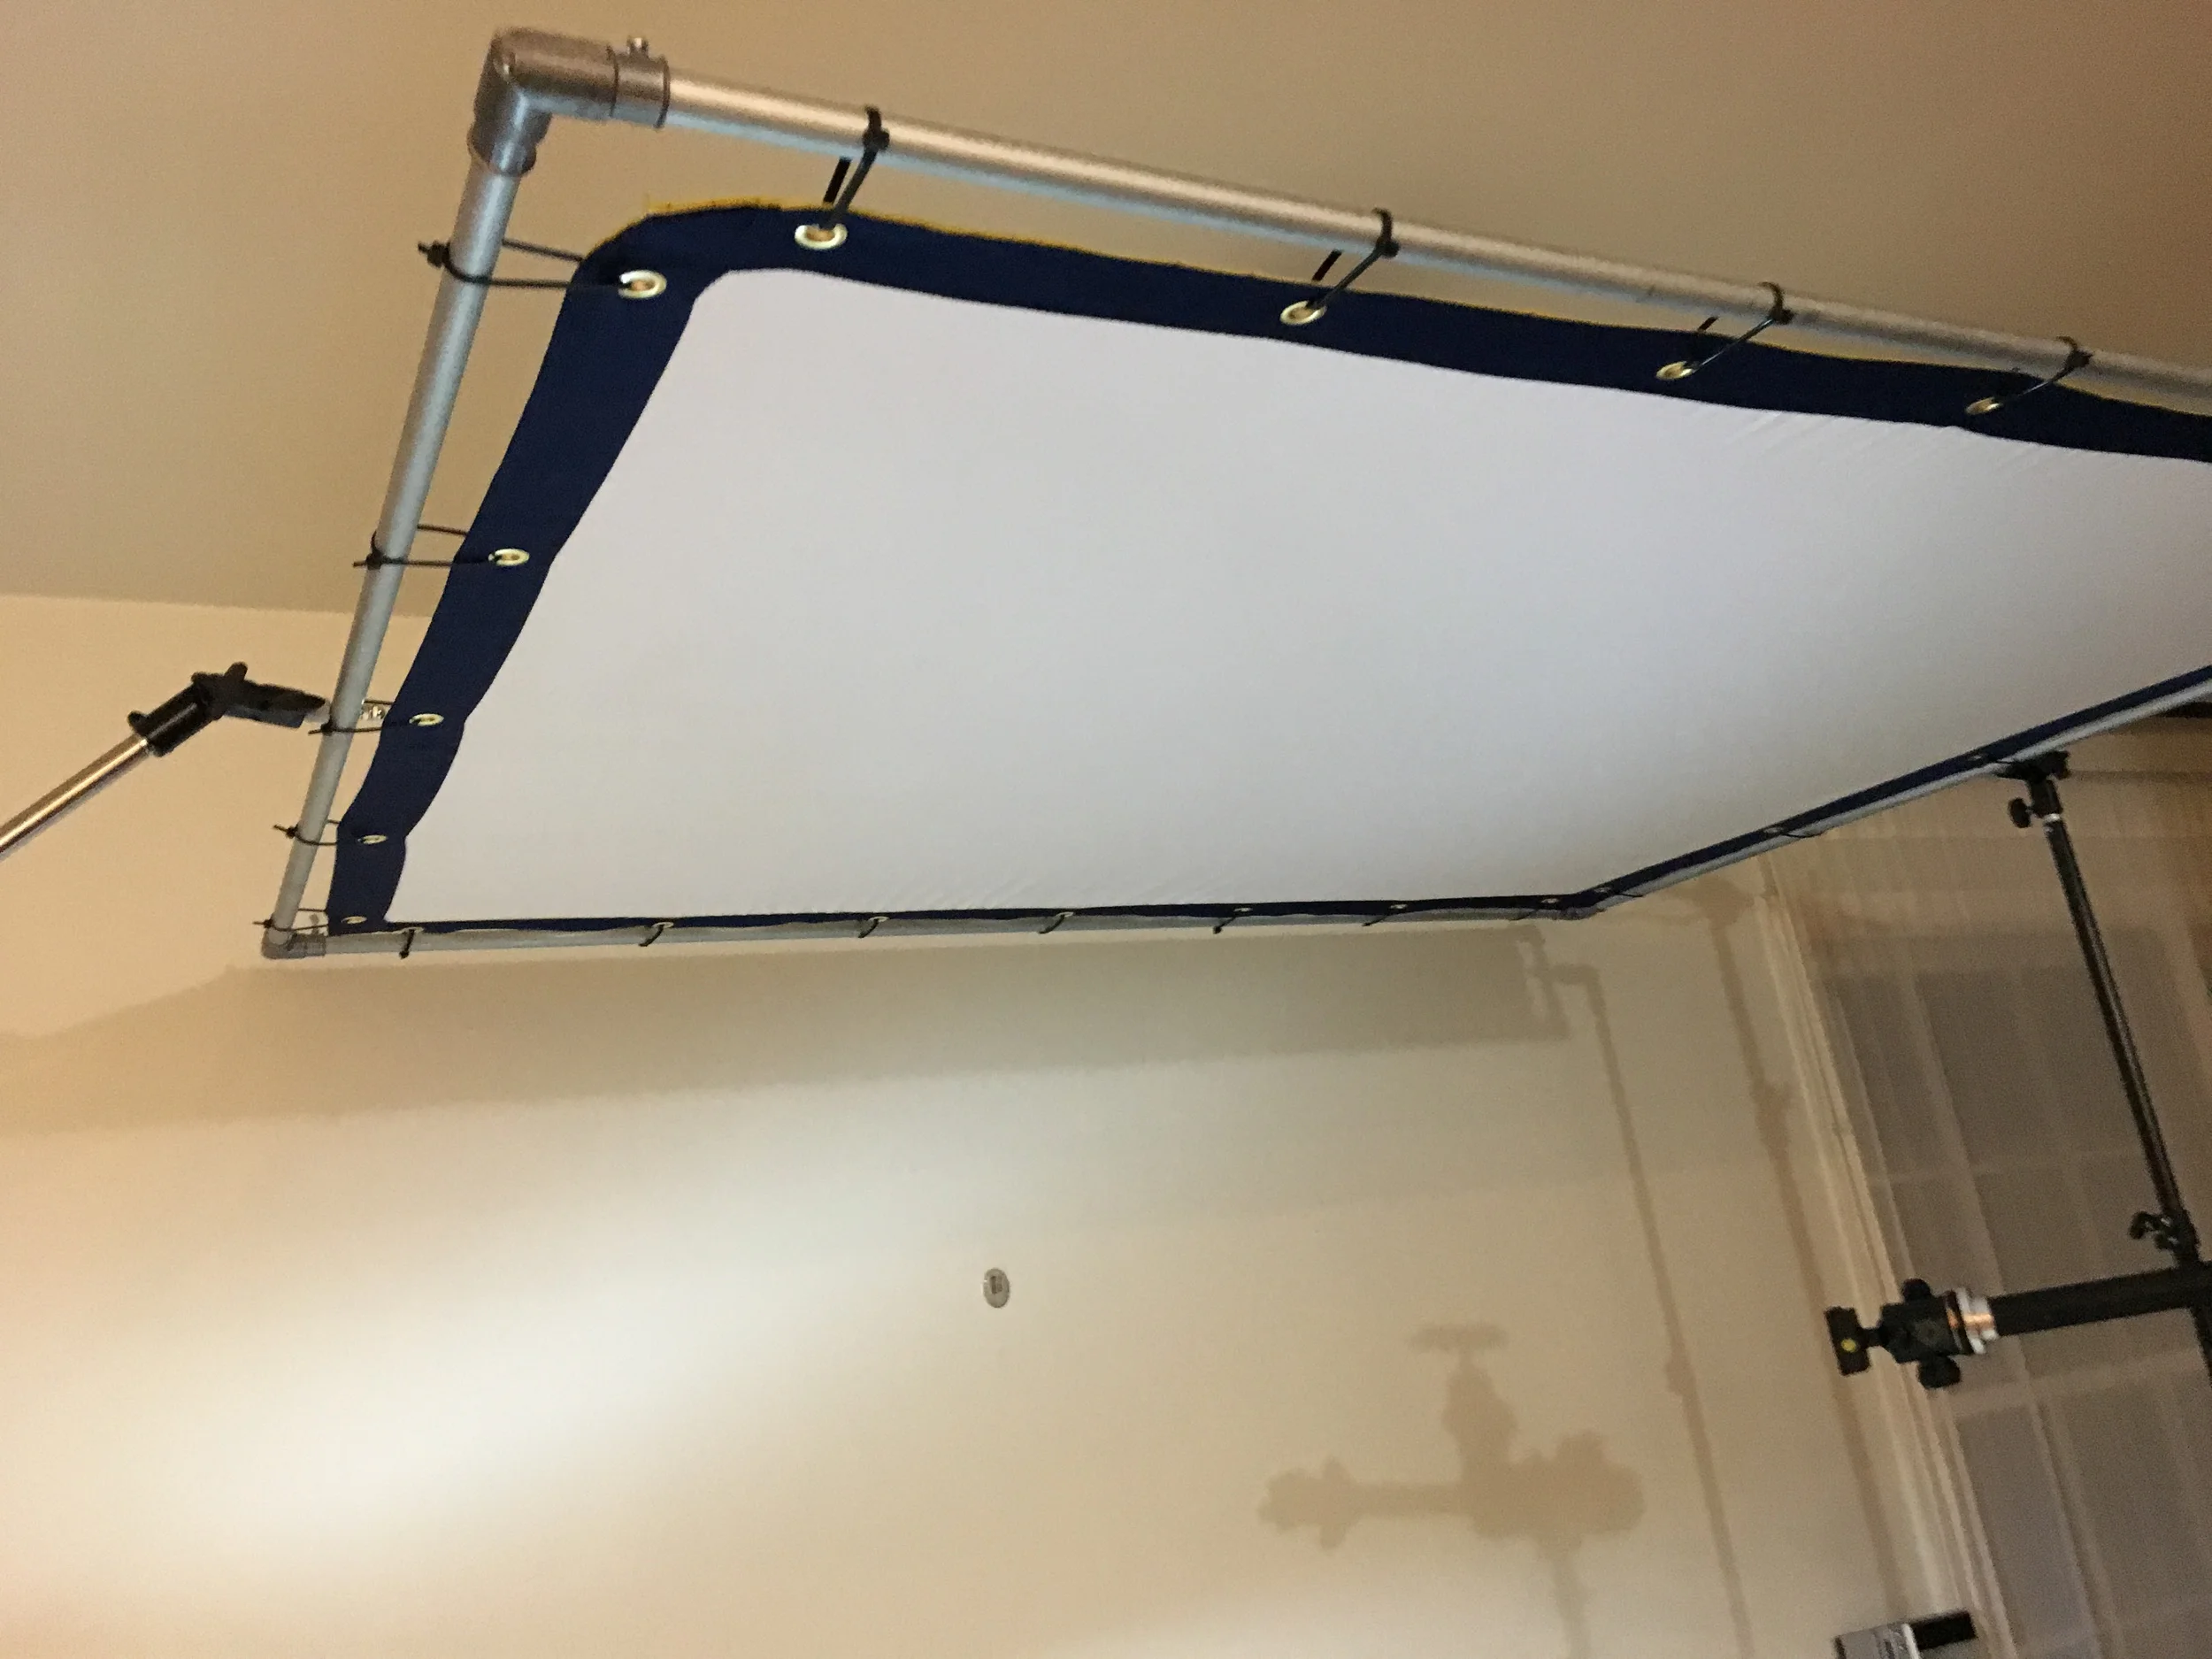
Credit: allanwallsphotography.com
A diffusion panel is essentially a large, flat frame of translucent material placed between the light source and the subject. When you need massive, ultra-even light, think a full white sweep illuminated to perfection for an Amazon pack shot — a scrim or diffusion panel is how you get there.
We use them extensively for large product setups and multi-product flat lays. They also solve one of the most common product photography challenges: shooting highly reflective surfaces. Shooting a stainless steel water bottle or a polished eyewear frame without seeing studio equipment reflected in the surface? That’s a scrim doing its job.
Grids and Snoots
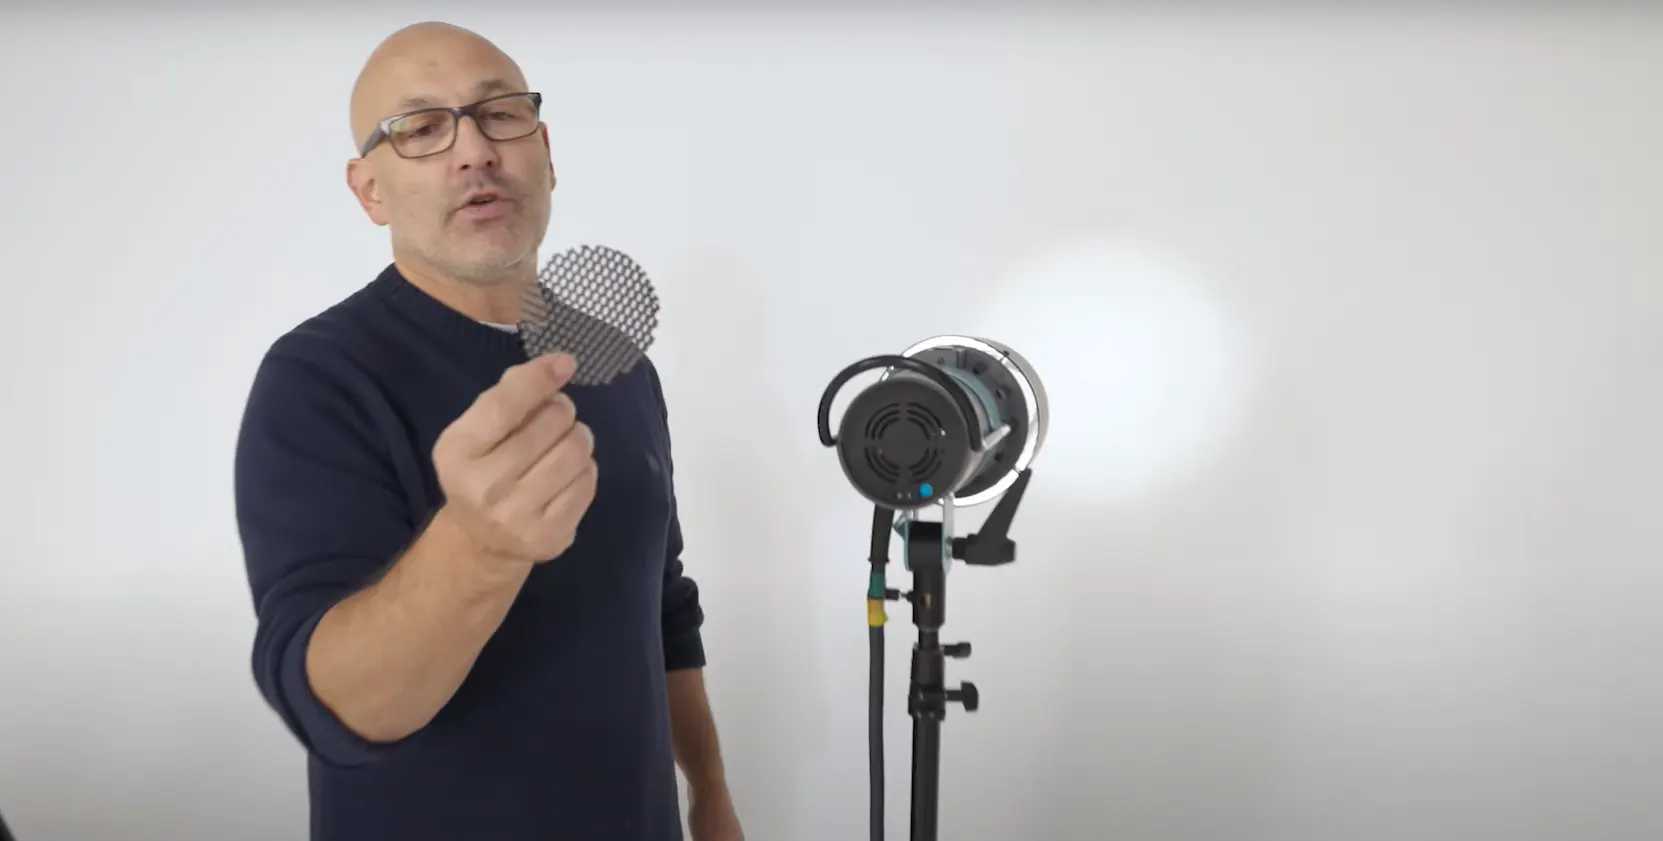
Credit: visualeducation.com
Grids and snoots are the control freaks of the light modifiers world. Where most modifiers spread light, these narrow it.
A grid attaches to the front of a softbox or beauty dish and restricts the light spread to a specific angle, typically 20°, 30°, or 40°. A snoot takes it further, funneling light into a tight, focused beam.
Where we use them: Background lighting control, accent lighting, and separation lighting. If we’re shooting a dark eyewear frame against a mid-tone background and need just the frame to pop without the light bleeding everywhere, a gridded strip box on either side solves it cleanly.
Ring Lights and Specialized Modifiers
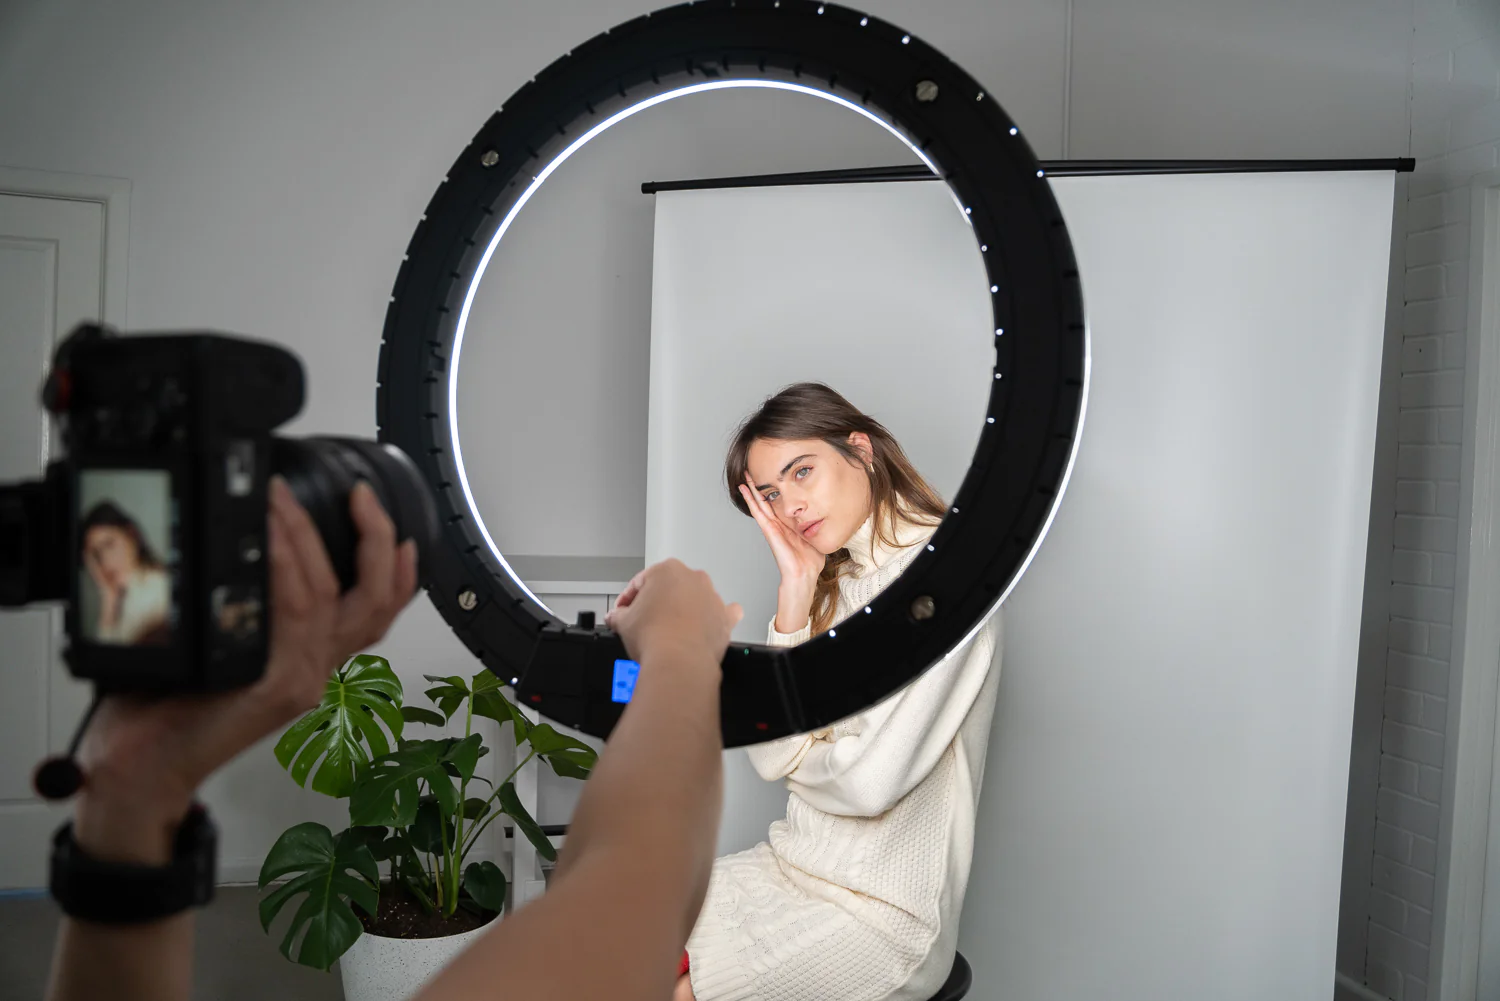
Credit: hypop.com.au
These lights produce a distinctive circular catchlight and near-shadowless, flat illumination. They’ve become mainstream for content creation, but in professional product photography, their use is more specific. We reach for ring lights when shooting cosmetics, small product details, or macro work where that even, shadow-free light is an advantage.
For photographers exploring DIY light modifiers, understanding how different types of lights behave, from camera flash to continuous strobe light setups, is foundational to building a flexible light setup.
How We Think About Modifiers Across Niches
Choosing a light modifier isn’t just about the product in front of the lens; it’s about the story that product needs to tell. The right photography modifier and lighting approach can mean the difference between images that convert and those that don’t.
- Healthcare & medical devices call for clinical precision. Clean, even light with minimal shadow drama. Large softboxes and diffusion panels dominate these sets. Understanding qualities of light, clarity, evenness, and color accuracy is non-negotiable.
- Apparel needs light that reveals texture without flattening it. Angled softboxes with slight shadow depth give fabric life while proper depth of field control complements the lighting.
- Eyewear is one of the most technically demanding niches — reflective frames, transparent lenses, and curved surfaces. Polarization combined with large scrims and careful reflector placement is essential.
- Food photography and beverage shoots demand warm, inviting light that showcases texture and appetite appeal. A softbox positioned at a 45-degree angle with careful bounce light fill is the classic approach.
- Amazon and e-commerce packshots prioritize consistency and accuracy. We build repeatable light modifier setups that maintain color fidelity and even illumination across an entire SKU catalog.
- Best light modifier for pet photography and lifestyle product shots often combines a large soft light source with strategic fill, creating that natural, editorial feel while maintaining product visibility.
Building a DIY Light Modifier Setup
Not every studio has an unlimited budget. For photographers starting out or exploring DIY light modifiers for outdoor photography, here’s the truth: professional results don’t always require professional gear costs.
A combination of:
- White foam boards (virtually free)
- A basic soft box
- One reflective umbrella
- A camera flash or entry-level strobe light
…can produce images competitive with much more expensive setups. The difference is understanding how to position each element and how different types of light modifiers interact with your light source.
Final Thoughts
There’s no universal setup that works for every shoot, and the studios that try to cut corners with a one-modifier approach always show it in the final images.
If you’re a brand, agency, or startup trying to figure out why your product images aren’t converting the way they should, the answer often lives in the light setup.
At Product Captures, we’ve built our workflow around matching the right light-shaping tools to every product category we touch. Whether you’re launching a healthcare line, scaling an Amazon catalog, or shooting a premium eyewear campaign, we bring the technical depth and niche-specific experience to make every image work as hard as your product does.
Frequently Asked Questions
Here’s what you need to know about light modifiers to stop wasting time and start producing better shots.
What are light modifiers for photography?
Light modifiers are tools that shape, soften, redirect, or control the output of a light source. They help photographers adjust the qualities of light, from harsh and direct to soft and diffused, depending on what the subject needs.
Which light modifier should I start with as a beginner?
Start with a rectangular softbox. It’s the most versatile option for product photography and gives you consistent soft light that works across most categories. Add a white foam board as a reflector, and you have a solid foundation for learning how to shape light properly.
Are DIY light modifiers worth using for professional work?
DIY light modifiers can work well in a pinch, especially for controlling bounce light or diffusing natural light on location. But for consistent, repeatable results across commercial shoots, investing in professional modifiers like a softbox or beauty dish is recommended.
What’s the difference between a softbox and a beauty dish?
A softbox produces broad, even soft light that wraps around the subject with gentle shadows. A beauty dish creates a punchier, semi-hard light with more contrast and depth, ideal for products where you want to emphasize shape and texture, like luxury bottles or jewelry.
Can light modifiers help with food photography?
Yes. Food photography benefits greatly from soft, directional light that enhances texture and color. A large softbox or diffusion panel positioned at a 45-degree angle, paired with a reflector to fill shadows, is a classic setup used by professional food photographers.