First, Let’s Define Both
Natural light means you’re using the sun as your light source. Usually through a window, and no equipment is required. Just you, your food, and whatever the sky gives you that day.
Artificial light is any man-made light source. We can say studio strobes, continuous LED panels, or even a simple speedlight with an umbrella. You’re creating and controlling the light yourself.
Both can produce jaw-dropping results. The difference is how they get you there.
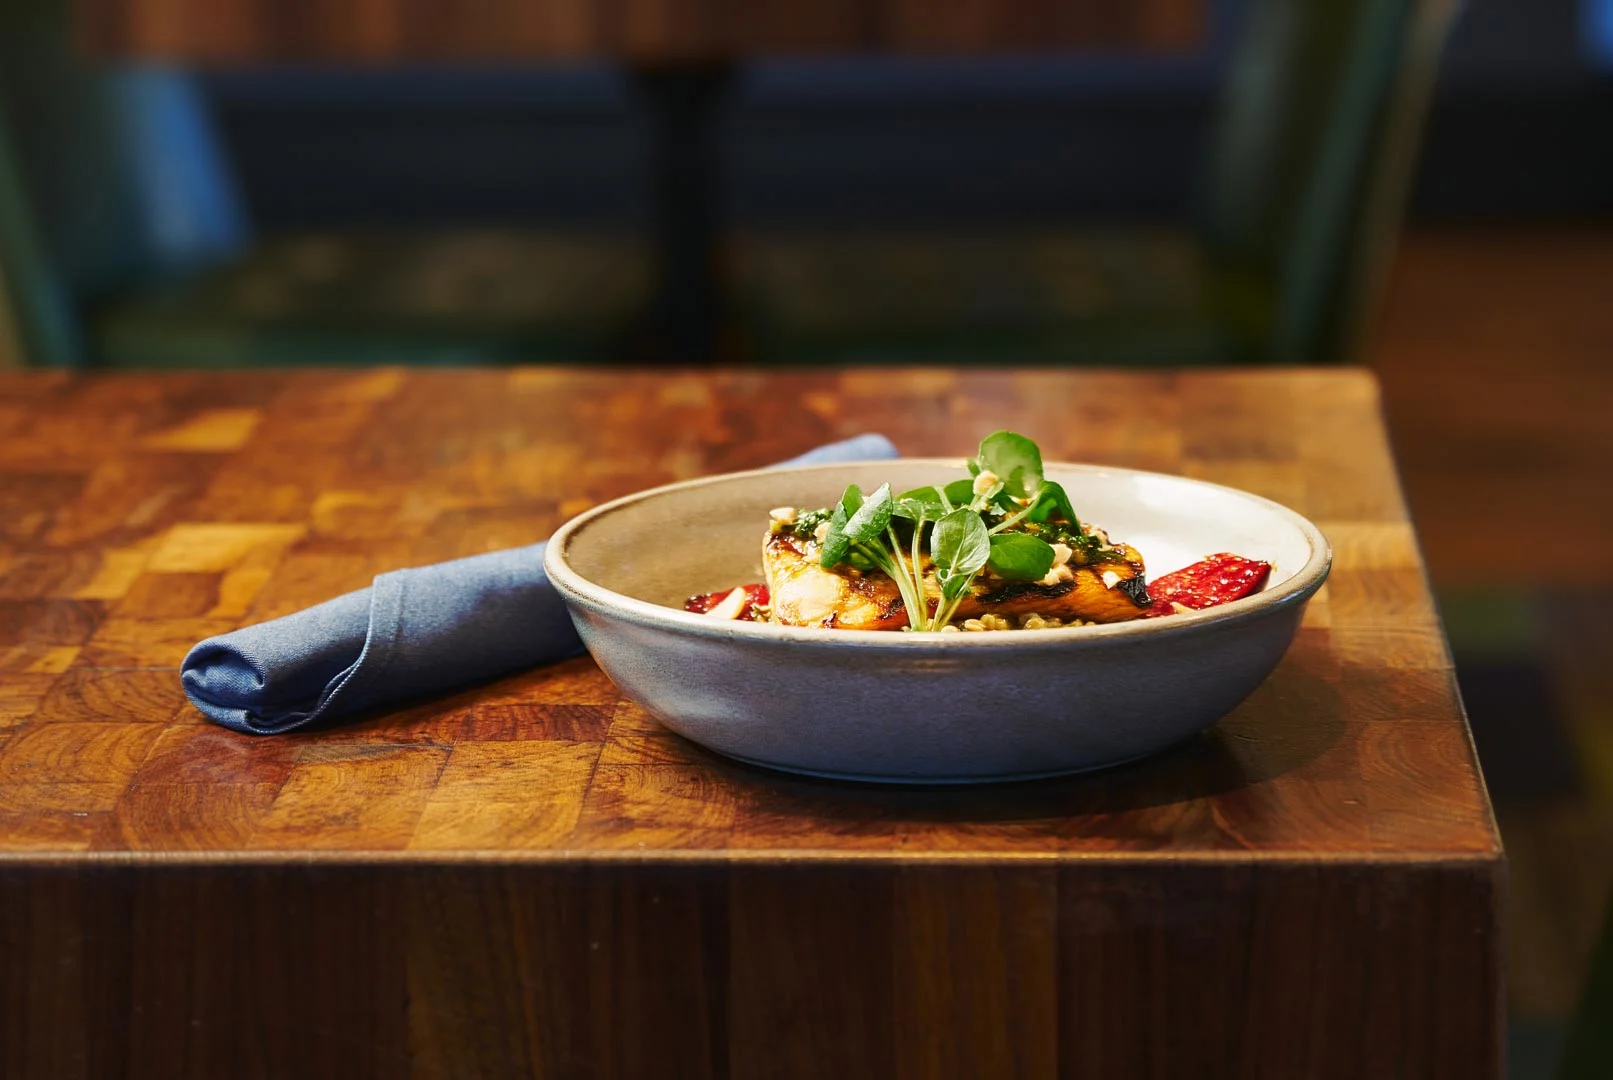
Natural Light for Food Photography
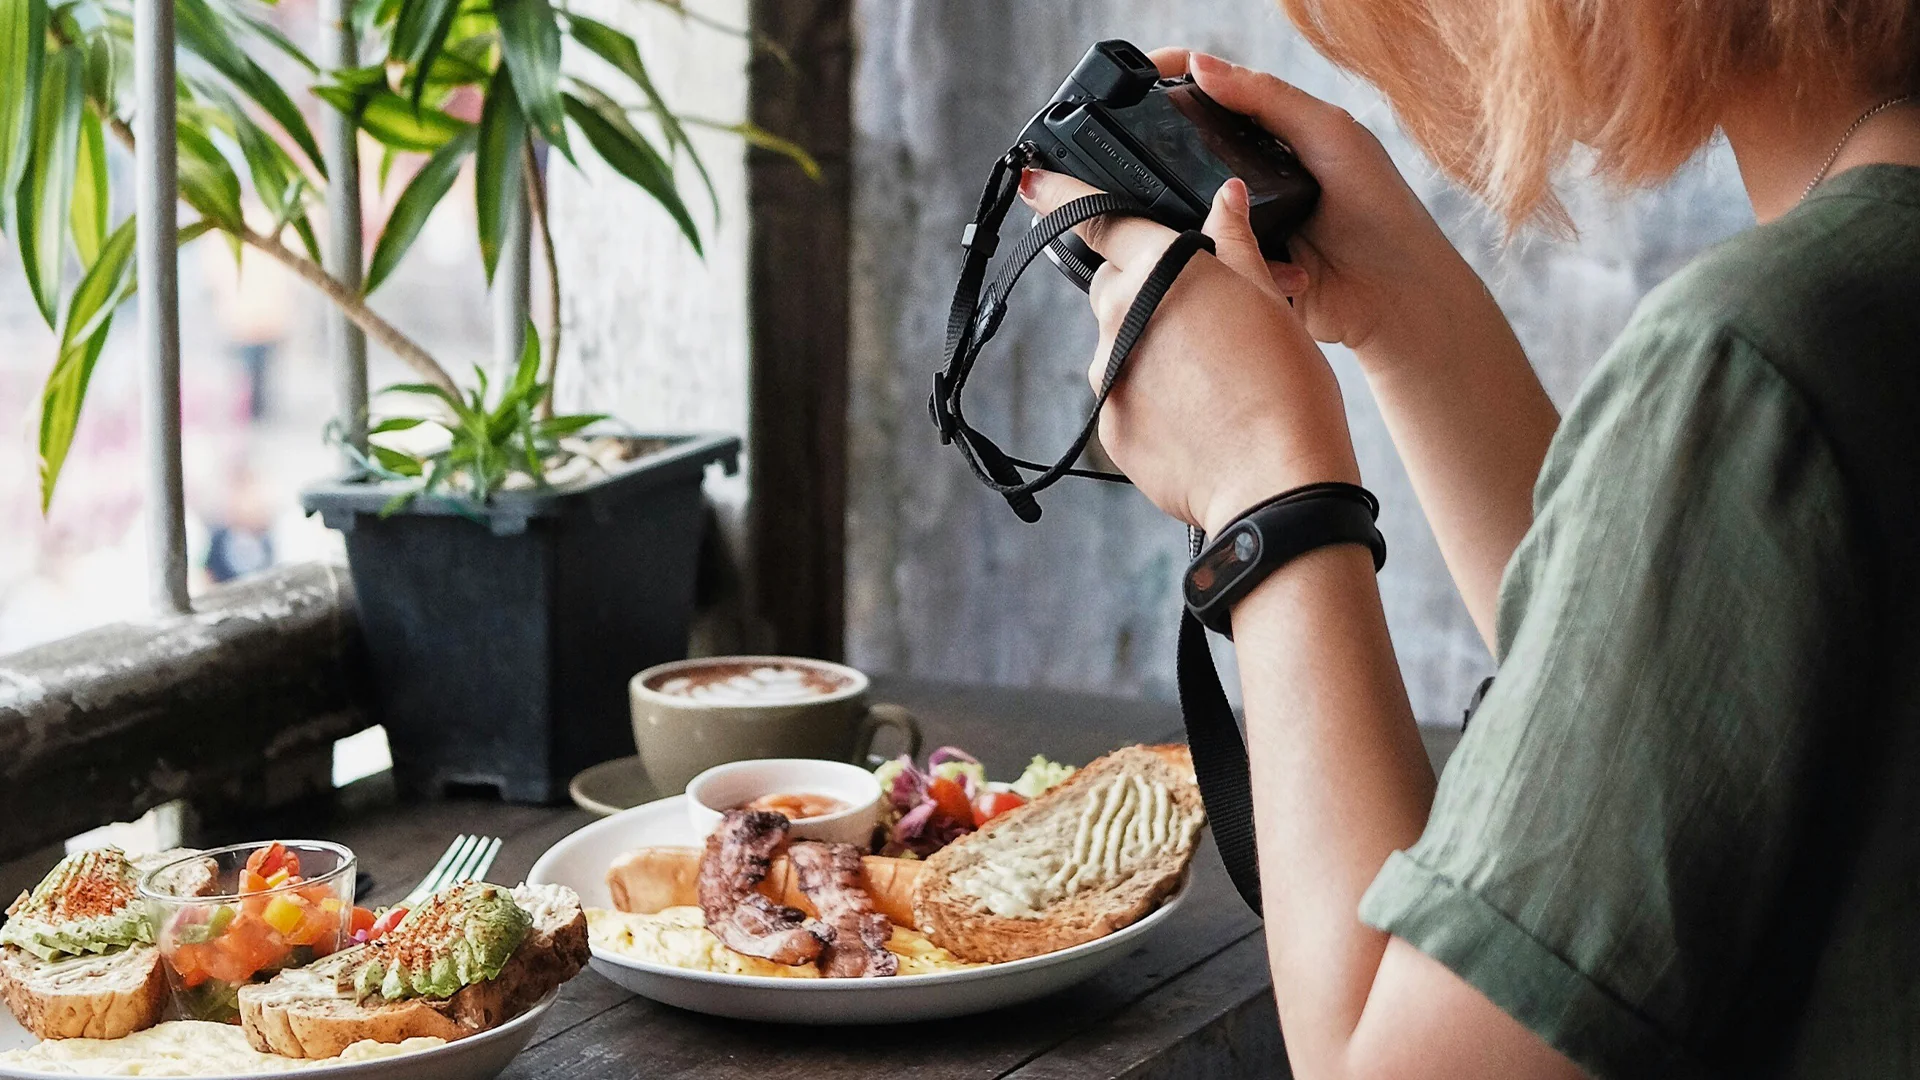
Credit: eu.zhiyun-tech.com
The Pros
- It’s completely free. Just position your food near a window and start shooting.
- Great for beginners: allows you to focus on composition, camera settings, and styling without worrying about gear.
- Soft, warm, authentic light that feels real and inviting.
- Portable: works anywhere natural light is available.
The Cons
- Unpredictable: the sun moves, clouds roll in, and seasons change.
- White balance changes throughout the shoot.
- Editing batches for consistency is time-consuming.
- Limited shooting hours; cannot reposition the sun for desired angles.
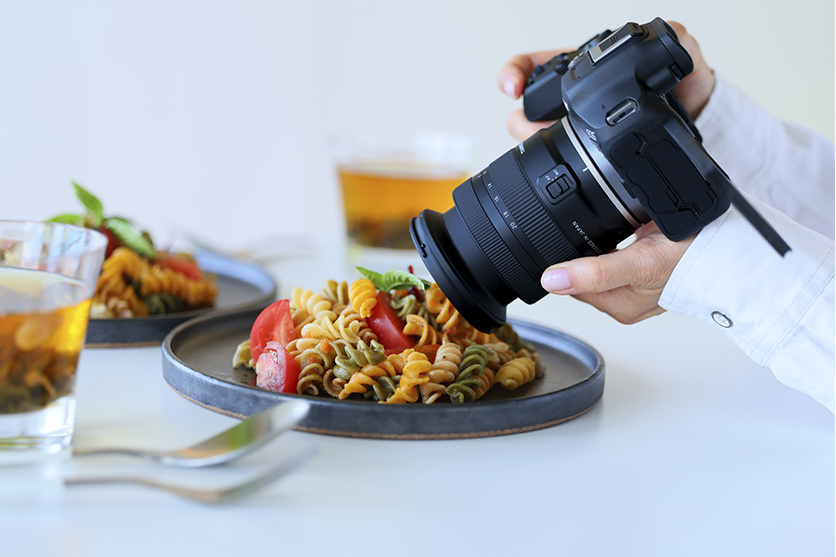
Artificial Light for Food Photography
Credit: flashpointlighting.com
The Pros
- Full control over angle, intensity, and direction of light.
- Consistency across every shot, perfect for commercial work.
- Allows shooting any time, day or night.
- Sharper images and polished, professional results.
The Cons
- Harder to learn: requires understanding modifiers, color temperature, and diffusion.
- Costly: professional setups can exceed $500, plus accessories.
- Requires space to set up lighting equipment.
So Which Should YOU Choose?
Here’s the honest answer: it depends on where you are in your journey.
Choose natural light if:
- You’re just starting out
- The budget is tight
- Shooting lifestyle or travel food
- You have good window light
- Want a warm, authentic look
Choose artificial light if:
- Shooting commercially or for brands
- Need consistency across seasons
- The schedule doesn’t allow daytime-only sessions
- Want total creative control
- Ready to invest in equipment
The smartest food photographers use both: start with natural light to learn, then add artificial light for professional-level work.
Quick Practical Tips for Each Setup
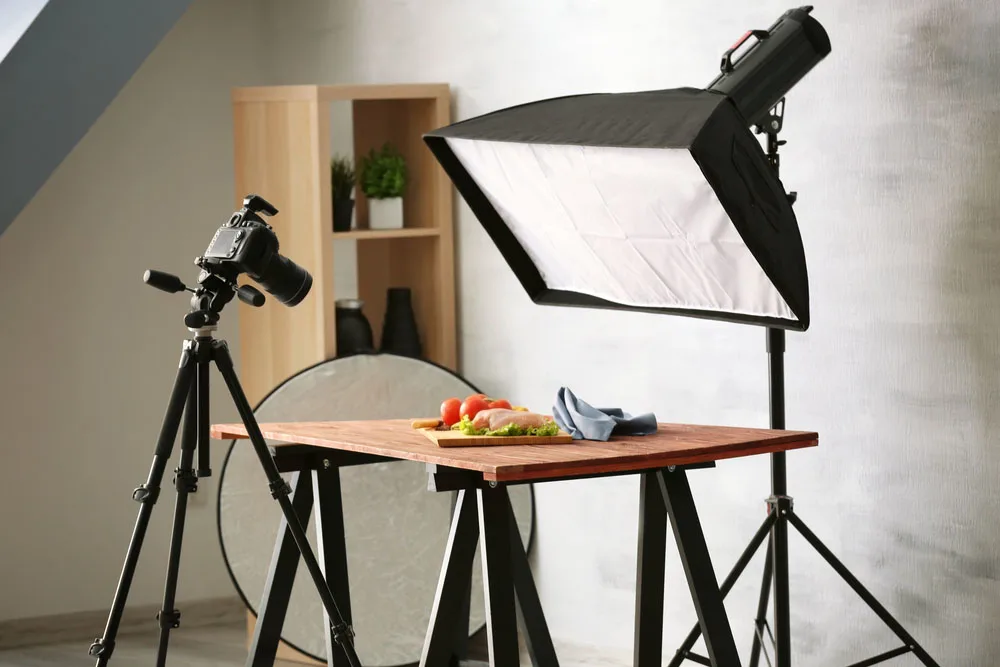
Credit: photographytalk.com
Let’s plan your perfect shoot with a few handy tips for natural and artificial light.
Natural Light Setup Tips
- Shoot within one metre of your window
- Use a diffuser like a sheer curtain
- Use a reflector or foam board to fill shadows
- Shoot between 8 am and 3 pm
- Overcast days provide soft, diffused light
Artificial Light Setup Tips
- Start with one light
- Use softboxes or umbrellas to diffuse light
- Match your color temperature and set white balance
- Place the light at a 45-degree angle for depth
- Use negative fill with a black foam board for shadow
Once you nail this artificial setup, your options blow wide open. You aren’t just shooting simple plates anymore. You are creating commercial-grade imagery.
But how should you actually style and frame these shots?
Different brands need completely different vibes. Whether you want a moody lifestyle shot or a crisp e-commerce flat lay, your lighting adapts to your visual style. If you want to see exactly what’s possible, check out our complete guide on the types of product photography. It will help you figure out exactly which style fits your project best.
Continuous Light vs. Flash
When setting up artificial light for food photography, you’ll encounter two main options: continuous light and flash.
- Continuous light (like LED panels) stays on all the time. You see exactly what you’re getting. It’s easier for beginners because of WYSIWYG, or what you see is what you get.
- Flash (strobes and speedlights) requires more technical knowledge. But many food photographers prefer it because it’s more powerful and doesn’t heat up your set.
For starting out with lighting for food photography, continuous light is usually the better choice.
DIY Food Photography Lighting
Not ready to invest in pro gear? DIY food photography lighting is totally viable.
Here are some tricks food photographers use on a budget:
- Desk lamps with daylight bulbs are surprisingly effective for small setups
- Ring lights, yes, are ring lights good for food photography? The answer is yes, but they work best for close-ups and overhead shots
- Bounce boards, white poster board, or foam board cost $5 and transform your light
- Bedsheet diffusion: Hang a white bedsheet in front of harsh light to soften it
- Foil reflectors, aluminum foil taped to cardboard, bounce light back onto shadows
These won’t replace professional lighting equipment & setup, but they prove you don’t need thousands to start making great food photography lighting work.
Food Photography and Lighting: The Psychology
Credit: bootstrapped.ventures
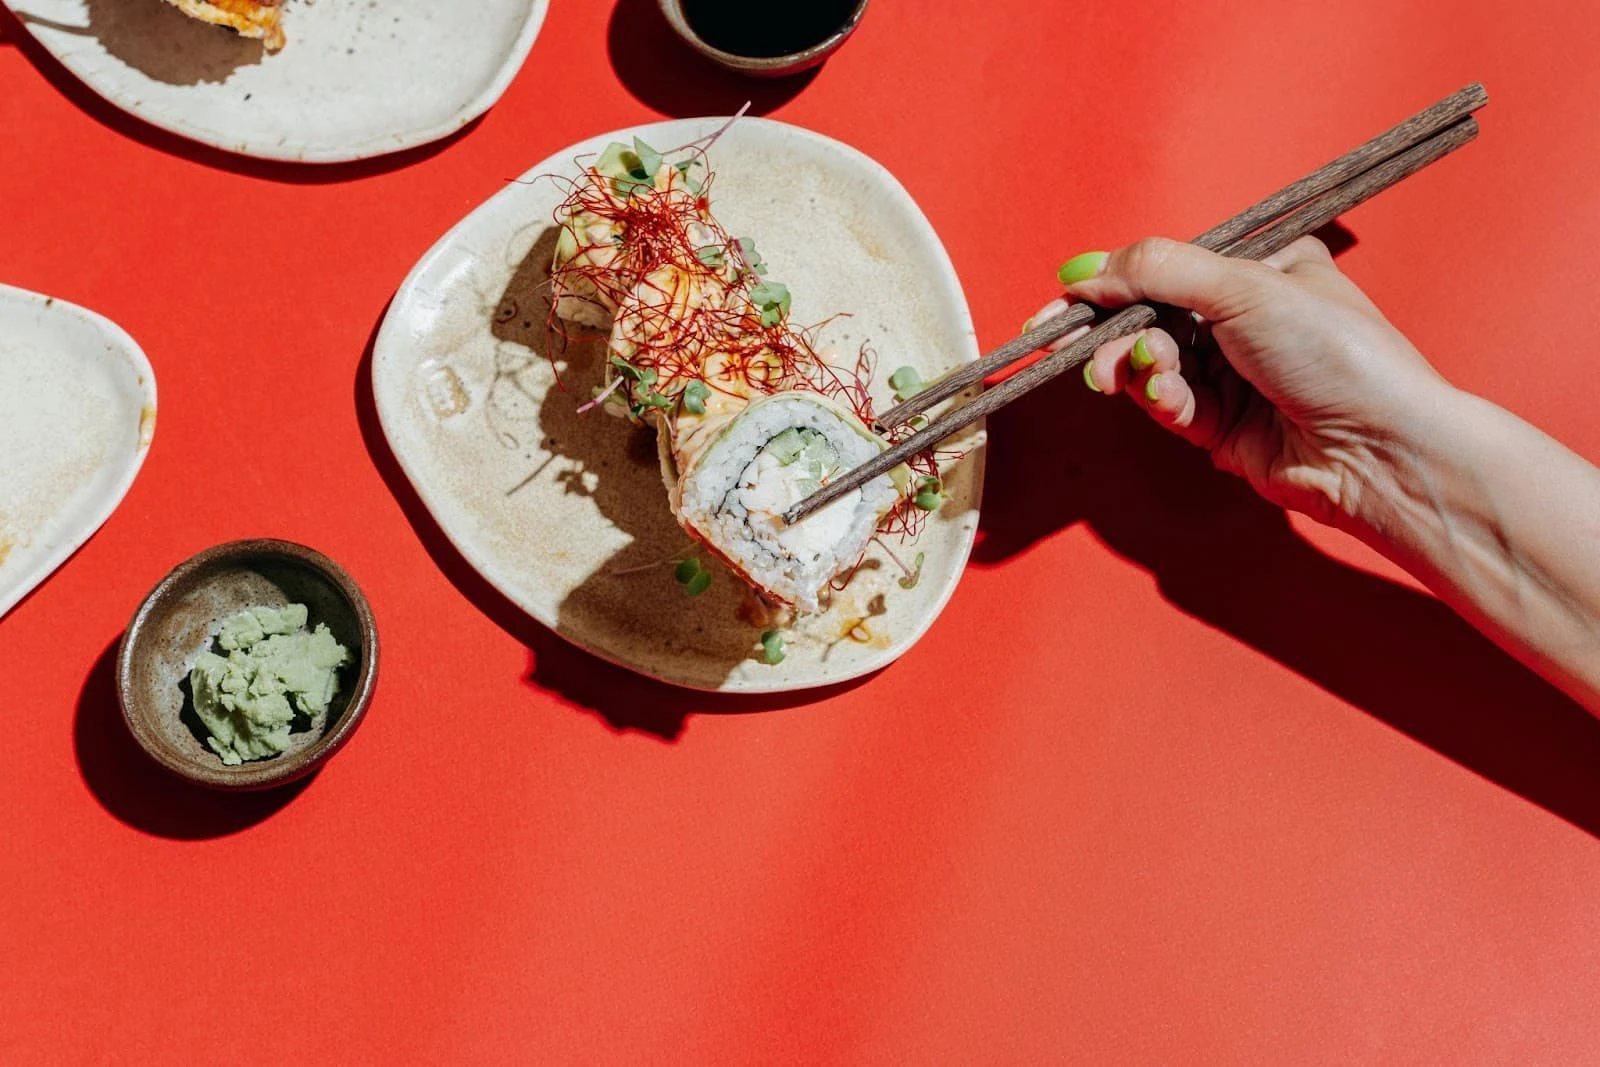
Here’s something most beginners don’t think about. Your lighting works psychologically, too.
Warm, golden natural light makes viewers feel nostalgic, homey, and safe. It’s why cozy breakfast content performs so well on social media.
Cool, sharp artificial light feels modern, luxe, and premium. It’s why high-end food brands prefer it.
Understanding this helps you choose the kind of lighting that matches your brand or message. The light isn’t just technical. It’s emotional.
What About Ring Lights?
Since we touched on it, are ring lights good for food photography? Short answer: sometimes.
Ring lights create a flat, even illumination. They work well for overhead flat-lay shots. They’re affordable. They’re easy to position.
But they lack dimension. Food can look washed out. Shadows disappear. If you’re going the lighting for food route with a ring light, use it as a starting point, not your final solution.
For the price of a quality ring light, you could get a better light stand and a basic continuous light setup that gives you way more control.
Last Remarks
Here’s the real takeaway. There is no winner in the natural light vs. artificial light debate.
Natural light is accessible, beautiful, and perfect for beginners. Artificial light is consistent, powerful, and essential for professional-level work. It removes the variables and gives you total creative control. It lets you shoot on your schedule, not the sun’s.
The best lighting for a food photography approach is the one that fits your current level, goals, and budget.
Frequently Asked Questions
Still have questions about food photography lighting? Here are the most common ones answered simply.
Can I get professional-quality results with just natural light?
Absolutely yes. Many working food photographers shoot exclusively with natural light. The key is understanding how to position, diffuse, and reflect it effectively. A window, a reflector, and a diffuser can take you remarkably far with lighting for food photography.
What’s the best artificial light setup for a beginner?
Start simple. A single continuous light LED panel with a softbox modifier is the most beginner-friendly option. It’s affordable, easy to position, and gives you consistent results without a steep learning curve for your food photography lighting setup.
Does artificial light make food look less natural?
Not if you set it up correctly. With the right diffusion and angle, artificial light can look almost indistinguishable from soft natural light. The key is avoiding harsh, unfocused light directly on your subject.
What time of day is best for natural light food photography?
Mid-morning to early afternoon is generally ideal, roughly 8 am to 3 pm. The light is soft, warm, and consistent during these hours. Avoid shooting at midday in direct sunlight as shadows get too harsh with this kind of lighting.
Should I invest in artificial lights or improve my natural light setup first?
Master natural light for food photography first. It’s free, it teaches you to read and understand light, and it builds a strong foundation. Once you feel limited by inconsistency or shooting hours, that’s the right time to invest in lighting for food gear.