Ever tried snapping a picture of a sleek watch or a glass bottle, only to see your own face staring back at you? We have been there. It is incredibly frustrating. You want to showcase a beautiful item, but harsh glare and weird shadows ruin the shot. Welcome to the challenging but rewarding world of reflective product photography.
Shooting shiny items like jewelry, metallic tools, or glossy electronics can feel like a nightmare. You move a light, and suddenly a new glare appears. You move your camera, and you catch the reflection of your ceiling. But do not worry. We are going to show you exactly how to tackle this. By the end of this guide, you will know exactly how to photograph shiny objects without reflection. Let’s dive in and make your products look stunning!
Why Is Photographing Reflective Objects So Hard?
Before we fix the problem, we need to understand it. When you are photographing reflective objects, you are essentially photographing mirrors.
A reflective surface bounces light directly back into your camera lens. In physics, we call this the “family of angles.” If your light sits within this family of angles, you get a blinding glare. If you place it outside, you get a clean shot.
Learning how to photograph a reflective object means learning how to control what the object “sees.” If it sees a messy room, your product photo looks messy. If it sees clean, soft white light, your product looks premium.
Our Go-To Toolkit for Shiny Products
Credit: arqspin.com
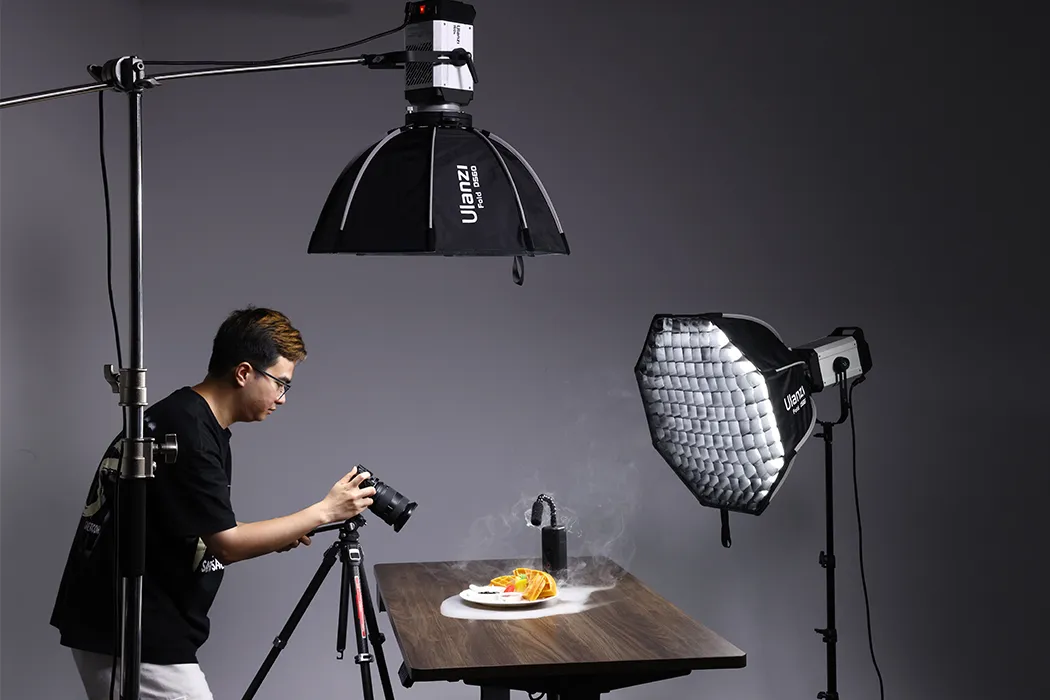
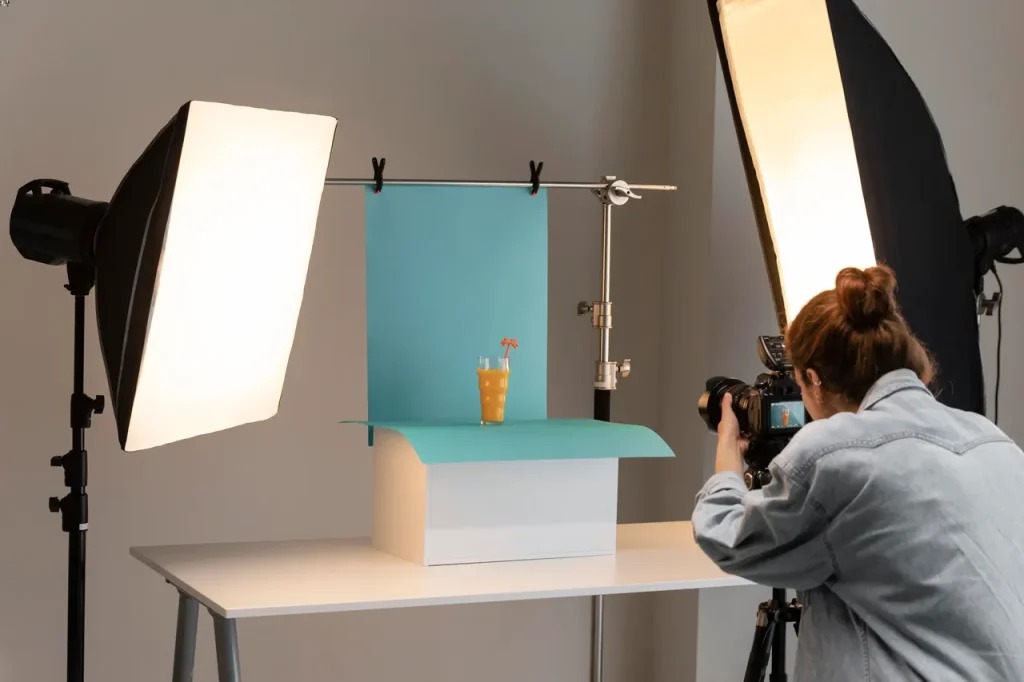
You do not need a million-dollar studio. But you do need the right gear to control the light. Here is what we always keep in my studio for reflective product photography:
- a) Large Light Modifiers: Bare bulbs are the enemy. You need a massive, soft light source to create smooth gradients on glossy surfaces.
- b) Black and White Foam Core: We use white foam core boards to bounce soft light into shadows. We use blackboards (called “flags”) to block light and create sexy, dark edges on metal and glass.
- c) Circular Polarizing Filters: These are magic. They thread onto your lens and cut through glare on glass, water, and plastic.
When you dive into different types of product photography, you realize that shooting matte objects is completely different from shooting glossy ones. Shiny items require a highly controlled environment.
Step-by-Step: How to Photograph Reflective Products
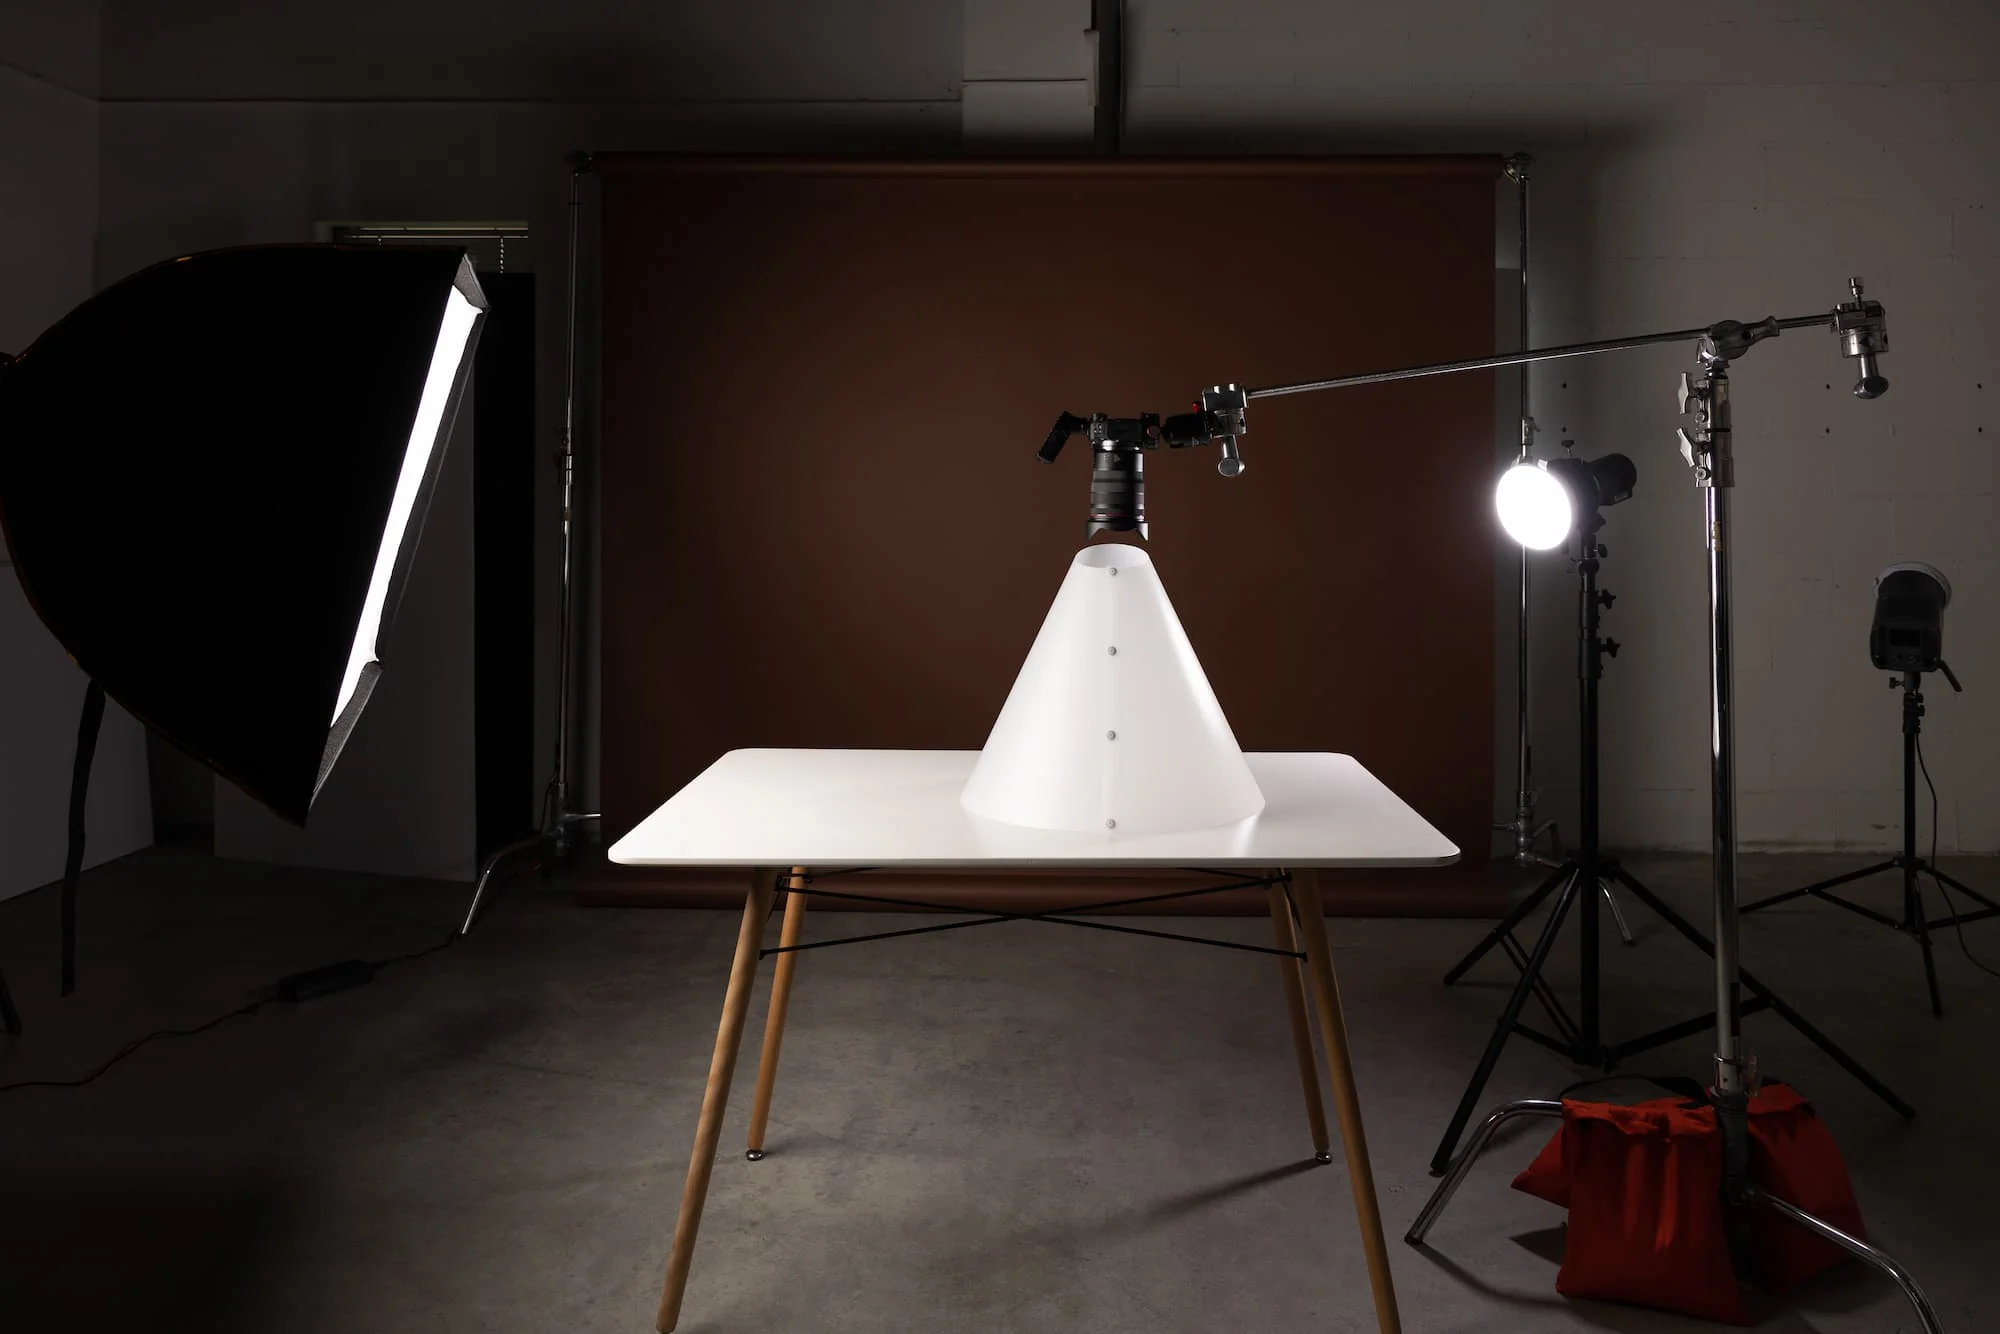
Credit: techcloudltd.com
Are you ready to shoot? Let’s break down the perfect lighting setup and workflow. Whether you want to know how to photograph reflective products for your portfolio or a client, follow these steps.
i. Clean the Product Thoroughly
Cannot stress this enough. A reflective surface highlights every single speck of dust and fingerprint. Wear cotton gloves. Wipe the product down with a microfiber cloth before you even touch your camera.
ii. Choose the Right Lighting Technique
Hard light creates hard reflections. Soft light creates smooth, buttery highlights. You must use diffused light.
You have two main choices for lighting:
- Continuous Light: Great for beginners. What you see is what you get. You can instantly see how moving the light changes the reflections.
- Strobe Lighting: More powerful, but takes practice to master the angles.
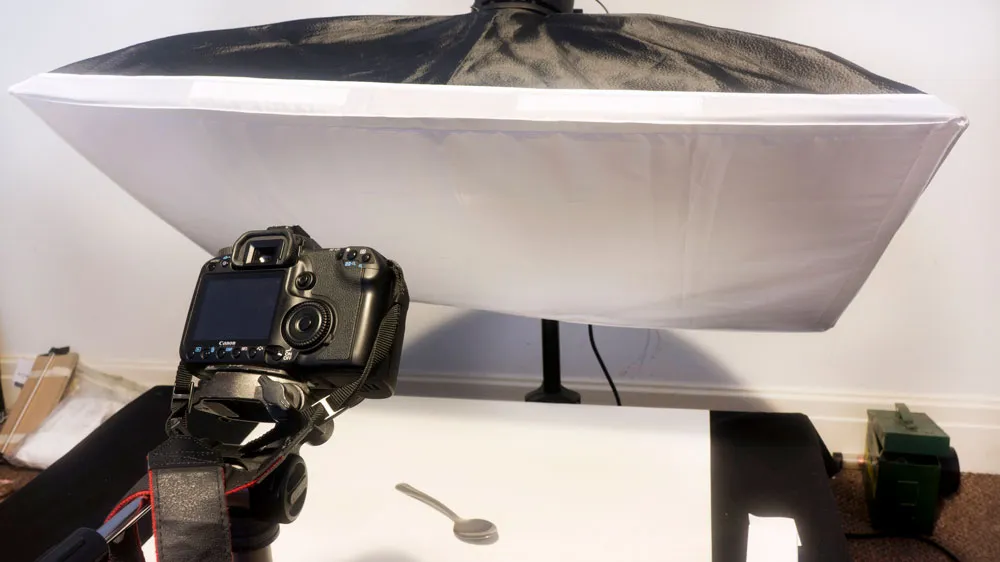
Prefer using a single light setup for shiny items. It keeps the reflections simple and elegant. You can use a massive softbox directly overhead or behind the product to create a stunning rim light.
iii. Master the Angles to Avoid Unwanted Reflections
If you shoot straight on, your camera will reflect right in the middle of the product. This is the biggest hurdle when photographing a reflective object.
Here is my favorite unique a) b) c) approach to fix this:
- a) The Slight Tilt: Tilt the product slightly upward or downward. This pushes the reflection of the camera lens out of the frame.
- b) The Long Lens Trick: Step back! Use a macro lens (like a 100mm) and shoot from further away. The further away you are, the smaller your reflection becomes.
- c) The Paper Wall: Cut a small hole in a large piece of white paper. Stick your lens through the hole. Now, the product only reflects clean white paper instead of you and your studio.
This specific technique is a lifesaver if you are doing Amazon product photography, where strict, clean white backgrounds are mandatory.
Pro Strategies: Photographing Highly Reflective Objects
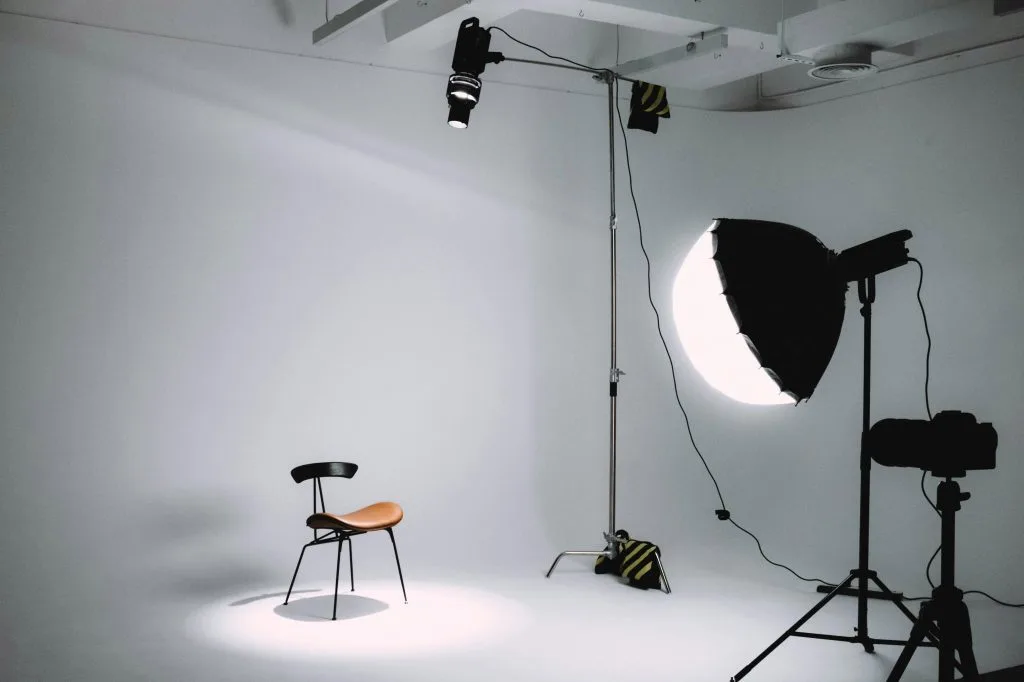
Credit: techcloudltd.com
Let’s look at a few specific scenarios. Learning how to avoid reflections in product photography often depends on what you are shooting.
How to Photograph Glass and Liquids
Glass does not reflect light the same way metal does. Glass refracts light. To make glass pop, do not light the glass itself. Light the background behind it. The light will pull through the glass, making it glow. Use black foam core strips on the sides to define the edges.
How to Photograph Metal and Jewelry
Metal needs gradients. A flat white reflection on a silver watch looks boring. You need a mix of light and dark. Place a bright diffused light on one side and a black flag on the other. This creates a beautiful, rich contrast.
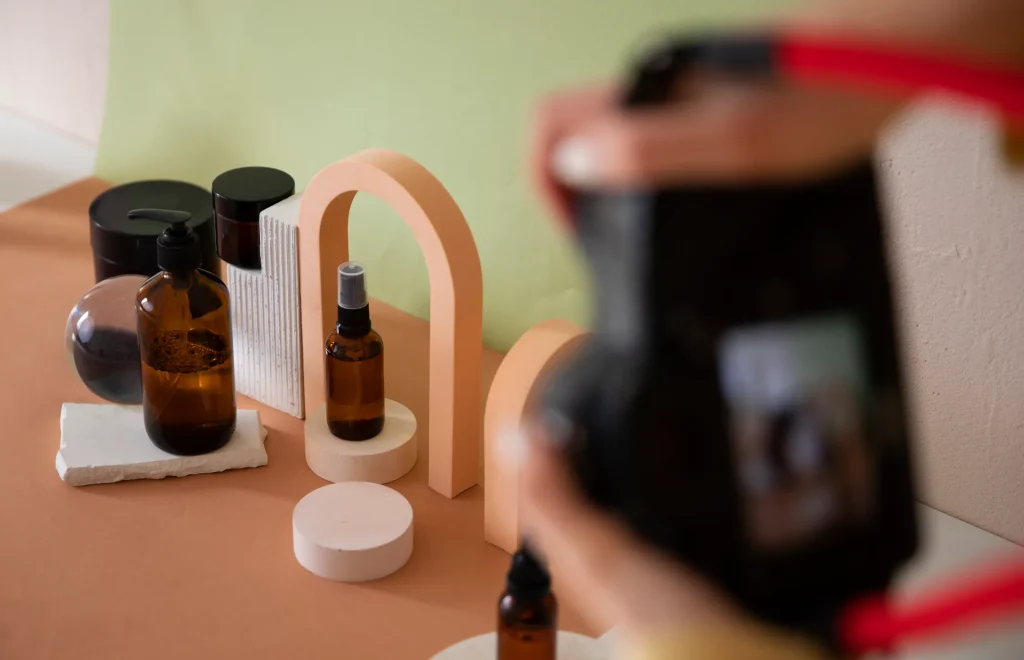
When setting up high-end lifestyle product e-commerce photography, mixing these metallic gradients with natural-looking props creates a stunning visual story.
Dialing in the Camera Settings
Great lighting means nothing if your camera settings are wrong. Here is exactly how we set up my camera when photographing reflective objects:
- ISO: Keep it at 100. You want the cleanest image possible without grainy noise.
- Aperture: We usually shoot between f/8 and f/11. This keeps the entire product sharply in focus. If you shoot too wide (like f/2.8), half your product will blur out.
- Shutter Speed: If you use flash, sync it around 1/160s. If you use continuous light, put your camera on a tripod. You can drop your shutter speed as low as you need to let in enough light.
Never handhold your camera when doing macro product photography. A tripod ensures your framing stays perfect while you tweak your lights.
As you explore various types of product photography, you will find that a locked-off tripod is your best friend for consistency.
The Magic of Post-Processing
Even with the best lighting technique, you might still catch a tiny, rogue reflection. That is okay! This is where postprocessing saves the day.
We always take my final shots into Photoshop. We use the healing brush tool to stamp out any tiny dust specs or minor glares. Sometimes, we’d take two photos, one exposing the label perfectly and one exposing the shiny cap perfectly. Then, we blend them together.
Do not rely on editing to fix bad lighting. Get it 95% right in the camera. Use editing just to polish that final 5%.
Final Word
Summing up, mastering how to photograph reflective items takes patience. You will constantly adjust the lights by tiny inches. You will move your camera. You will bounce and block reflected light until the image looks flawless.
But once you nail it, the results are breathtaking. Your reflective products will pop off the screen, look highly professional, and drive massive sales. So grab your camera, set up your diffusers, and start practicing!
FAQs
Here is a quick look at the FAQs too.
How do you take pictures of shiny things without glare?
Use a large, soft, diffused light source. Position your lights at an angle where the light bounces away from the camera lens, not directly into it.
What kind of lighting is best for reflective objects?
Large softboxes, scrims, or light tents work best. You need soft, even light to create smooth gradients and eliminate harsh hotspots.
How do I stop my camera from reflecting in products?
Step back and use a longer lens (like 85mm or 100mm). You can also cut a hole in a large piece of white foam core and shoot through it to hide yourself.
Do polarizing filters work on metal?
No. Polarizing filters work wonders for cutting glare on glass, water, and plastics, but they generally do not remove reflections from bare metallic surfaces.
How do you photograph glass on a white background?
Light the background directly instead of the glass. The light will pass through the glass, illuminating it. Place black cards just outside the frame to create dark, defined edges on the glass.