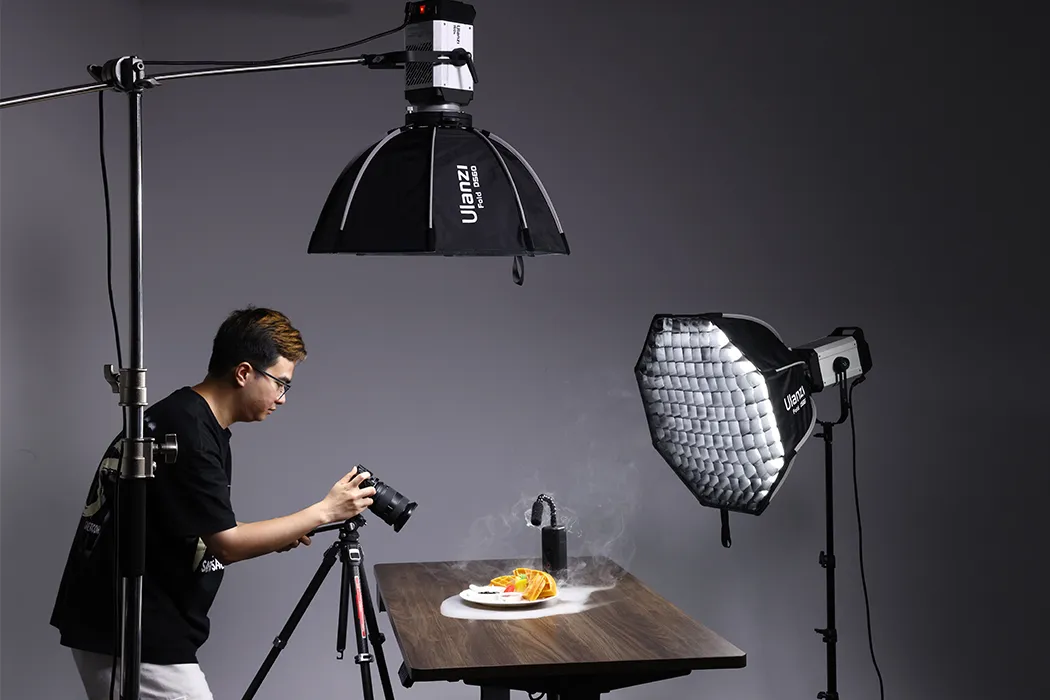
Let me ask you something, honestly. You’ve seen two product listings side by side. Same product. Same price. But one photo just hits differently. You click that one. You buy that one. What made the difference? Nine times out of ten — it was the angle. Not the lighting. Not the background. The angle. And here’s the thing. Most people treat camera angles like an afterthought. They point, shoot, and move on. But the photographers who actually drive sales? They’re thinking about product photography angles before they even pick up the camera. That’s what this guide is about. Let’s get into it.
Why Photography Angles Matter More Than You Think
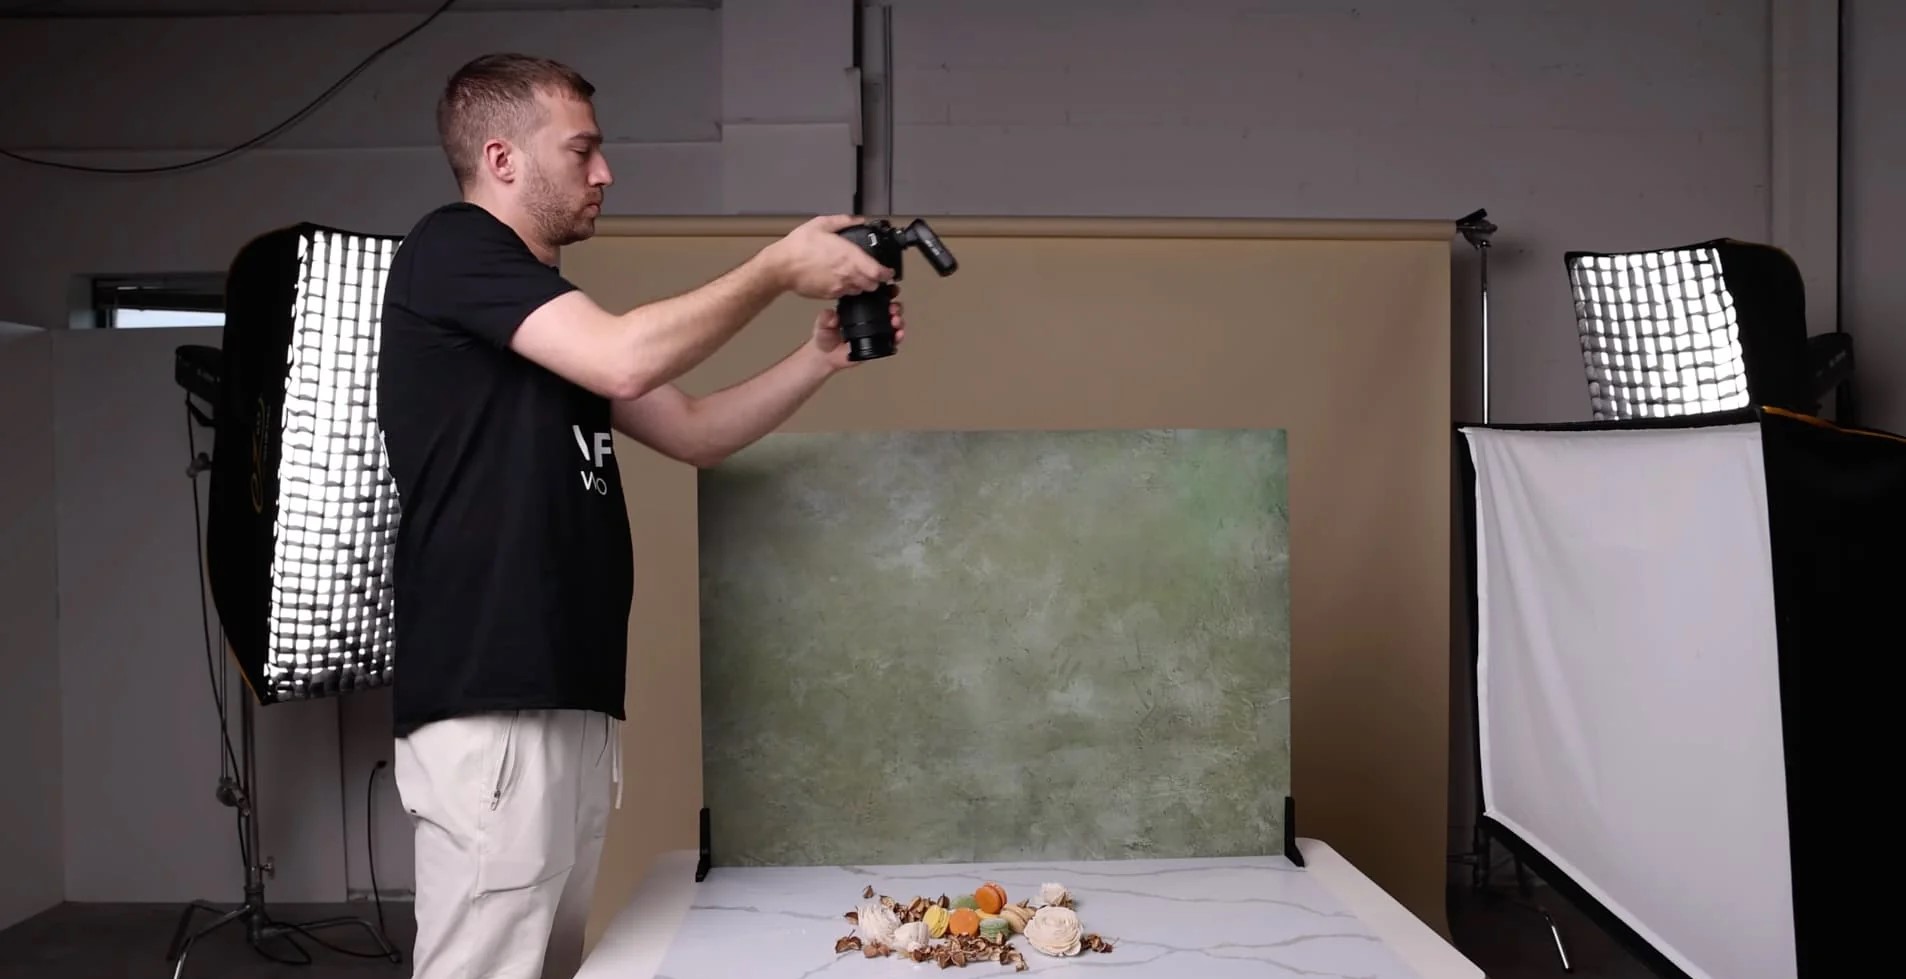
Credit: picjam.ai
Here’s a stat that should wake you up.
64% of e-commerce returns happen because the product looked different online than it did in person. Different how? Usually, because the photos didn’t show enough. Wrong angle, missing detail, or poor depth.
Bad angles of product photography don’t just make your photos look average. They cost you money. Returns, refunds, lost trust; all of it traces back to images that failed to tell the full story.
Your product photos are your salesperson. They’re working 24/7. And a great angle does what a good salesperson does; it answers questions before the customer even asks them.
So let’s talk about the different angles in photography that actually work.
The Eye-Level (Straight-On) Angle

Credit: pageandplate.com
This is the foundation. The camera sits directly in front of the product, at the same height.
It’s simple. And that’s exactly why it works.
The straight-on shot tells the customer, “Here’s what you’re getting. No tricks.” It’s honest. Clean. And incredibly effective for products where the front face matters most.
This angle shot is particularly valuable when photographing at eye level, creating a natural perspective that matches how customers see products in real life.
Best for:
- Packaged goods where the label is the hero
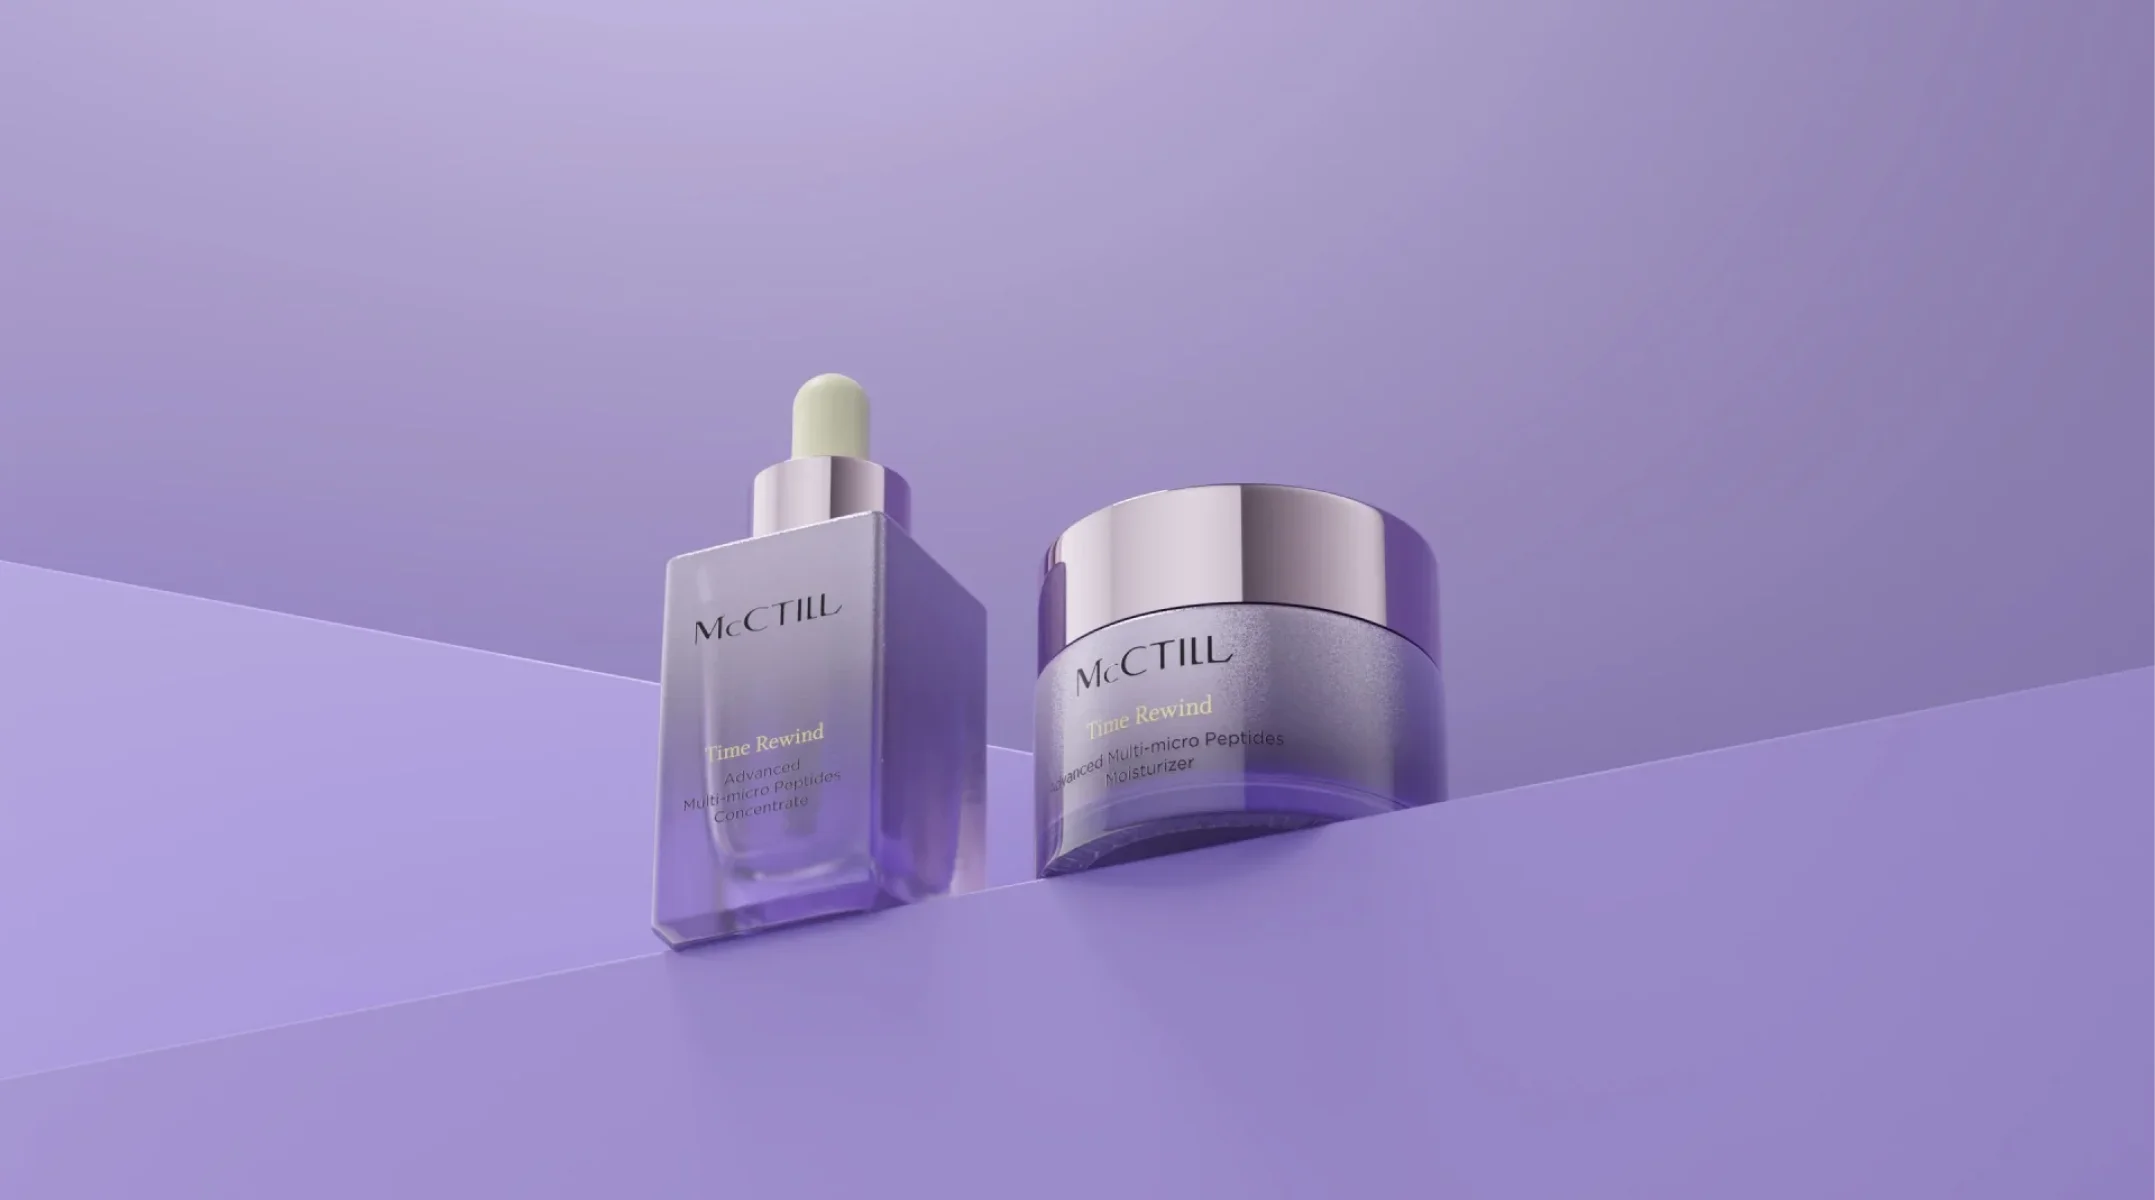
- Skincare and beauty products
- Tall items like bottles and candles
- Layered food (think burgers, cakes, parfaits)
- E-commerce product display pages (PDPs)
One thing people miss about this angle; it makes small products look bigger. Shooting at eye level with a slightly lower camera position gives smaller items a natural sense of presence. It’s a small trick with a big visual payoff.
When to skip it: If the top of your product has all the details, eye-level photography hides it completely. Don’t shoot a planner or a flat jewelry piece straight on; you’ll get nothing useful.
The 45-Degree Angle (The Universal Angle)
Credit: vflatworld.com
If there’s one angle that works for almost everything, this is it.
The camera sits slightly above and in front of the product, angled downward. It captures the front, the side, and a peek at the top. All in one shot.
This is what a lot of photographers call the “universally flattering” angle. And it’s earned that title. You can see depth, texture, and dimensions. It gives the viewer a near-tangible feel for the product.
The 45-degree angle is the golden standard in product photography. Why? Because it mirrors how humans naturally observe objects on a table. You’re not hovering directly above it. You’re looking down at it at roughly a 45-degree angle.
Best for:
- Skincare and beauty products
- Shoes and sneakers
- Packaged goods with side and top detail
- Food and beverage
- Tech accessories
This angle is also the most natural. Think about how you actually look at something sitting on a table. You’re not hovering directly above it. You’re not staring straight at it. You’re looking down at it at roughly a degree angle. It’s how humans naturally see products in the real world.
That’s why it connects.
Pro tip: The exact degree doesn’t have to be 45. Anywhere between 25 and 65 degrees works. What matters is that you can see two or three faces of the product simultaneously. A quality camera shot at this angle reveals texture, dimension, and product details without distortion.
The Overhead (Flat Lay) Angle

Credit: orangemonkie.com
Camera directly above. Product flat on the surface below. This is the flat lay.
Instagram made this angle famous. And for good reason; when done right, it’s visually stunning. It turns a product into a composition. It’s more of an arrangement than a camera shot.
But here’s the honest truth: flat lays are the most misused angle in product photography.
People shoot flat lay images because they’re trendy. Not because the product actually calls for it. That’s a mistake. A candle shot from directly above just shows you a round lid. A tall bottle from overhead tells you almost nothing. The flat lay has to earn its place.
Best for:
- Flat products — books, planners, journals
- Clothing laid out on a surface
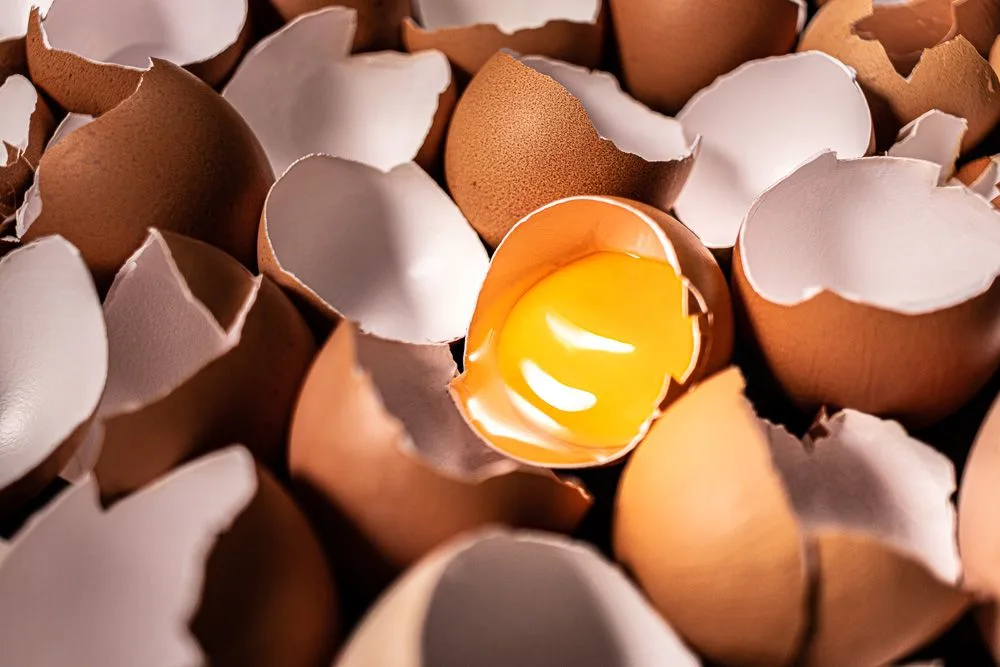
- Food with detail on top (bowls, pizzas, charcuterie boards)
- “What’s in the box” style shots
- Lifestyle ingredient spreads
The test: Flip the product on its side or lay it flat. Does it still make visual sense? Does the viewer know what it is? If yes, shoot the flat lay. If the answer is “it’s confusing,” use a different angle shot.
The Hero Angle (Low Angle)
Credit: welpix.com
Camera below the product. Pointed upward.
This is the power shot. The hero angle makes your product look bigger, taller, and more commanding. Think of how superhero movies film their characters, always from below, looking up. It communicates dominance and importance.
Low-angle product photography creates an aspirational feel. Luxury brands use it constantly. There’s a reason a perfume bottle shot from a low angle looks like it belongs in a high-end magazine; it’s designed to feel elevated.
This angle is particularly effective for eye-catching product presentations. The upward perspective naturally draws attention and creates visual drama.
Best for:
- Luxury and premium products
- Tall bottles, spirits, and fragrances
- Athletic and performance products
- Products you want to look powerful or impressive
Watch out for distortion. If you go too low or use a wide-angle lens, you’ll stretch and warp the product. Keep the angle subtle — even a slight downward position below eye level is enough to get the heroic feel without distortion. A standard lens works better here than a wide-angle lens in a photography setup.
The Three-Quarter View
Credit: threepodstudio.com
This is the 45-degree angle’s close cousin. But instead of looking slightly down, you’re positioned to the side, showing the front, the angled side, and a hint of the top all at once.
The three-quarter view gives your product dimension. It stops looking flat. It starts looking real. Customers can almost imagine holding it.
For e-commerce conversion, research consistently shows the three-quarter shot outperforms flat front-on views. Why? Because it builds visual trust.
This angle combines the benefits of multiple camera angles for product photography perspectives into one powerful shot. It’s ideal when you want to showcase form, texture, and detail simultaneously.
Best for:
- Footwear (the classic sneaker shot)
- Electronics and gadgets
- Furniture and home goods
- Watches and jewelry
- Any product where shape and form are selling points
This is the angle that makes product pages feel premium. If you only add one angle shot to your standard product photos list, make it this one.
The Bird’s Eye View (High Angle)
Credit: br24.com
Not quite a flat lay. Not quite eye level. This sits somewhere around 60–70 degrees above the product.
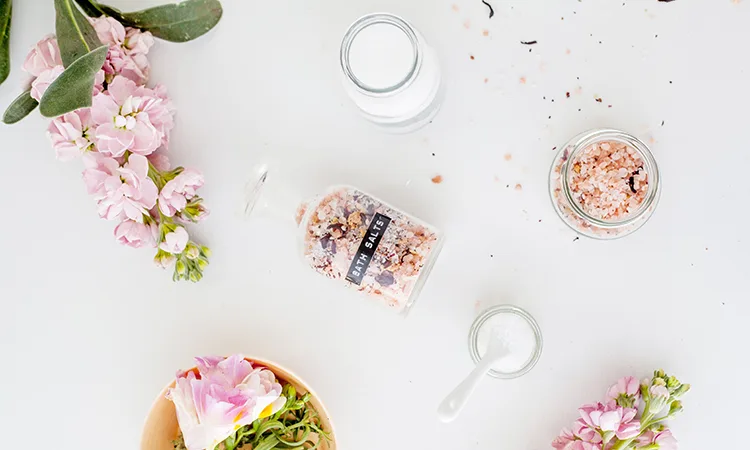
The bird’s eye view gives you context. You see the product and its surroundings. It works beautifully for lifestyle shot scenarios where the environment matters. Think of a coffee mug on a wooden desk with morning light; that’s a bird’s-eye shot doing its job.
This perspective works well when you’re using natural light to illuminate both the product and its environment. The broader field of view captures spatial relationships and usage context effectively.
Best for:
- Products used in environments (kitchenware, stationery, desk items)
- Food styling with background context
- Products with interesting top-side combinations
- Group shots showing a product range
How to Choose the Right Angle for Your Product
Here’s the framework. Three questions. That’s it.
- Where does the main detail live?
If the label is on the front, shoot straight on or at 45-degree angles. If the detail is on top, shoot overhead or from a bird’s eye view. If the shape itself is the selling point, go three-quarter or low angle. Understanding your product’s key features determines the best angle shot to showcase them. - How is the product meant to be used?
A mug is held upright. Show it upright. A notebook opens flat. Show it flat. The angle should match the natural position of use. Realism builds connection. Connection builds trust. Product photographer professionals know this truth: authenticity sells better than creativity. - What emotion do you want the viewer to feel?
Confidence and authority? Low angle. Organized and clean? Eye level. Aspirational and lifestyle? Bird’s eye or 45-degree. Every angle carries an emotional signal. Use it intentionally.
The Bottom Line
Angles are not a technical detail you figure out after you set up your lights. They’re a strategy decision you make before you even touch your camera.
Master your product photography angles. Understand your field of view. Avoid over-relying on wide-angle lens shortcuts.
Frequently Asked Questions
Here are the most asked questions about angles, simplified.
What is the best angle for product photography?
The 45-degree angle is the most versatile and works for almost any product. But always choose based on where the product’s key detail is and how it’s naturally used.
How many angles for product photography should I photograph my product from?
Aim for at least 3–5 angles per product. Include a front-facing shot, a three-quarter or 45-degree shot, a close-up of key details, and at least one lifestyle shot or context shot.
What angle shot makes products look more premium or high-end?
Low-angle product photography (hero angle with camera pointing upward) naturally gives products a sense of power and prestige. Combined with clean lighting and a solid background, it’s the go-to for luxury positioning.
Should I always use a flat lay for clothing photography?
Not necessarily. Flat lays work well for folded items or accessories. But clothing on a model or a ghost mannequin often converts better because it shows fit and dimension. Match the angle to what the customer actually needs to see.
Can I use multiple angles on one product listing?
Absolutely, and you should. Multiple angles reduce customer uncertainty, lower return rates, and increase purchase confidence. Leading e-commerce platforms like Amazon actually recommend showing 5–9 product photos per product for maximum conversion.