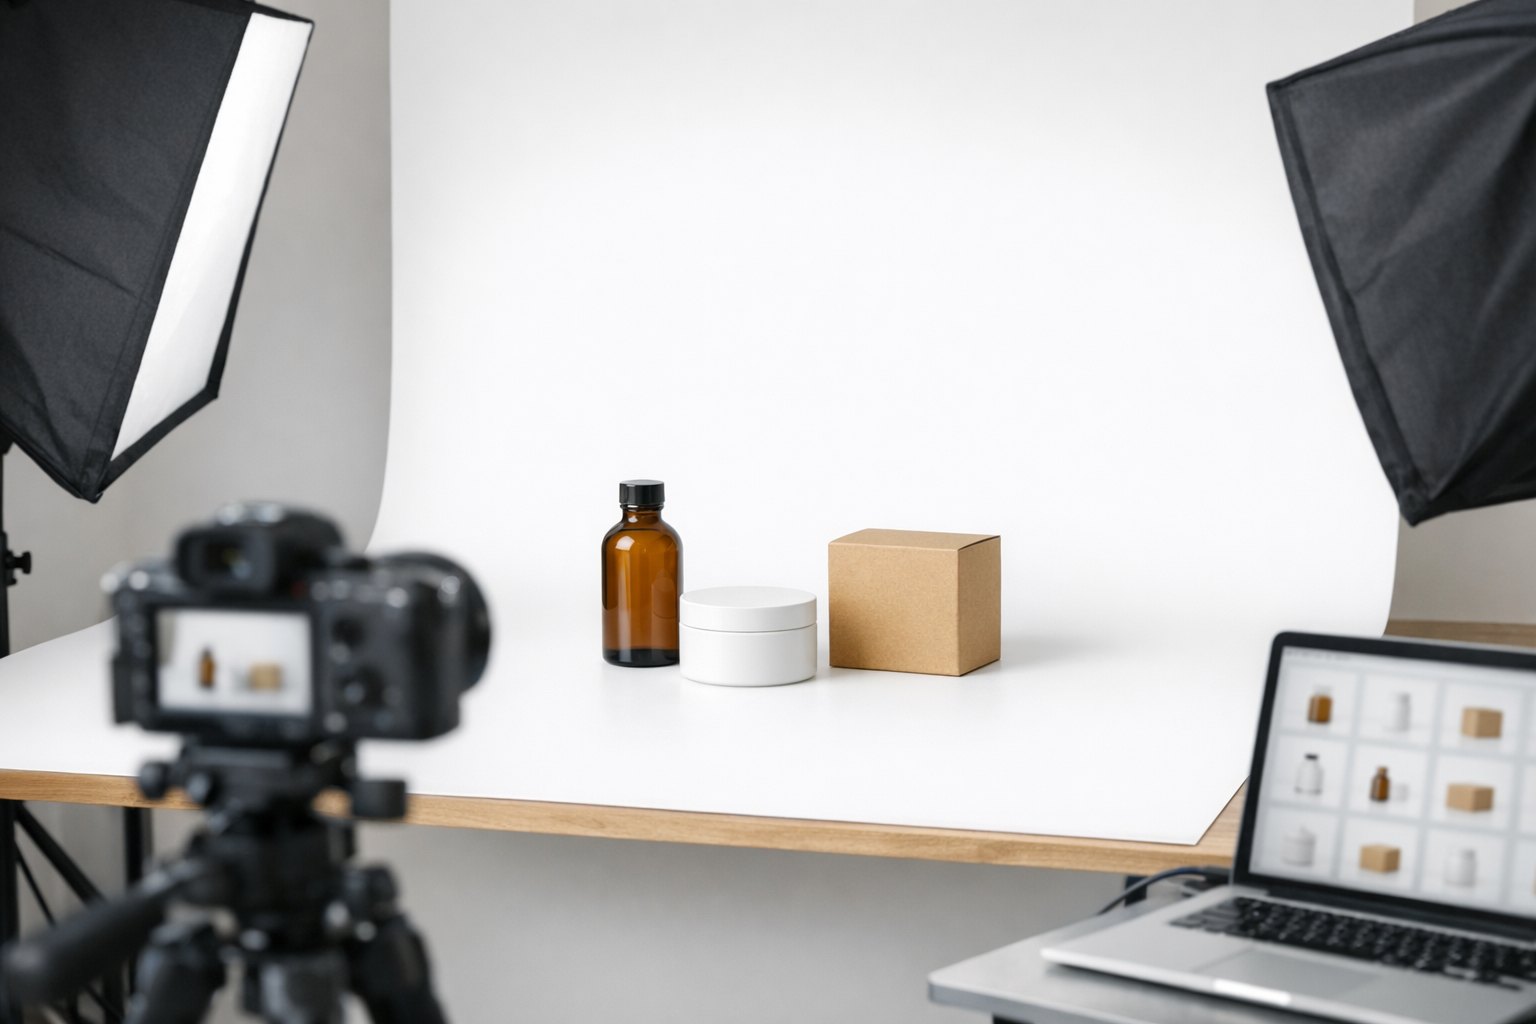
A bottle can look good on your website and still make a poor Amazon main image. A cream background, a decorative prop, or a headline across the top may suit your brand, but the main listing image has a different job and tighter rules.
For most standard product listings, start with a clear photograph of the actual item on pure white. Then use the supporting images to explain size, features, and use. Keep those two parts of the shoot separate when you plan it.
This guide covers the general requirements for Amazon’s US store. Your product category may have additional instructions, so check those before booking a shoot or approving final files.
Start with your category, not a competitor’s listing
Amazon’s general image guidance is a starting point. Category rules can affect how a product is positioned, whether packaging belongs in the main image, and whether a model is appropriate.
Save the current image guidance for your category and give it to your photographer with the brief. Include the marketplace, the listing link if one exists, and the exact version being sold.
Do not treat another seller’s image as permission. You may find listings with badges, busy backgrounds, or questionable crops. Their presence does not establish that the image complies with the rules for your product.
If a general article and your category instructions appear to conflict, check the current Seller Central guidance for that listing before proceeding.
Use the right file size and format
Amazon’s public product photography guide lists a general image range of 500 to 10,000 pixels on the longest side. It accepts JPEG, TIFF, PNG, and non-animated GIF files and prefers JPEG.
That minimum is not a sensible target for a detailed product shoot. Amazon recommends larger images for zoom, with its public photography guide favoring images larger than 1,000 pixels on each side. Category instructions can differ, and image size alone does not guarantee a zoom view. Ask for sharp files with enough resolution to inspect the label, finish, stitching, or other important details.
A larger export does not fix a blurry original. Stretching a small image can produce a file with the right dimensions but soft edges and unreadable text. Check the photograph at full size before approving it.
Also separate pixel dimensions from file weight. A heavily compressed JPEG may look damaged even when its dimensions are correct. Inspect edges, small lettering, gradients, and reflective surfaces after the final export, not just in the photographer’s editing preview.
Keep the main image clean and accurate
For most standard product categories, the main image should show the actual product against pure white, RGB 255, 255, 255. Pale gray and off-white are not the same thing.
Amazon’s general photography guidance says the product should fill 85% or more of the frame. Use that as a composition check without chopping off a lid, handle, strap, or other part of the item. The product should be large enough to recognize in a small search-result thumbnail.
Keep added headlines, promotional badges, watermarks, borders, and decorative graphics out of the main image. A logo printed on the real product is different from a logo pasted over the photograph.
Do not add props or accessories that are not included in the purchase. A coffee cup beside a kitchen tool may be useful in a supporting lifestyle image, but it can confuse what is being sold in the main image.
Packaging needs a category-specific check. Do not assume every box belongs in the shot, or that every box must be removed. Photograph the product according to the instructions that apply to it.
Match the photograph to the exact item being sold
Image compliance is also about accuracy. The photograph should match the selected color, size, finish, quantity, and included parts.
For example, a listing for a single container should not look like a multipack. A photograph of an older label can create confusion if the customer receives a redesigned package. A color variation should not quietly reuse a photo of a different finish.
Give your photographer a simple product list with a reference picture for each version. Mark which accessories are included and which are styling items. If a sample differs from the production product, explain the difference before shooting.
Retouching can remove dust and distracting handling marks. It should not invent features, erase a real seam, or change the apparent material. Keep the approved physical sample available during image review so there is something concrete to compare against.
Make supporting images answer different questions
The main image identifies the product. The rest of the gallery should help someone understand it.
A useful image plan might include:
- A second angle that shows the back, side, opening, or controls.
- A close-up of a detail that matters when choosing the product.
- A size reference or a graphic using verified measurements.
- A photograph showing what is included in the purchase.
- A realistic use scene that makes the product’s purpose clear.
These are planning options, not a mandatory sequence. A simple object may need fewer explanations than a product with fittings, interchangeable parts, or several sizes.
Supporting images generally allow more context and explanation than the main image, but they still need to follow Amazon’s applicable content and category policies. Use factual copy. Do not place an unsupported performance claim in a graphic just because it looks convincing.
Read every graphic at phone size. If the text needs a pinch-to-zoom just to make sense, simplify it. A close-up with a short, accurate explanation is usually more useful than a crowded panel repeating the listing bullets.
Write the shot list before sending products
A short written brief helps prevent a frustrating problem: receiving attractive photos that do not show what the listing needs.
For each image, record its purpose, the product version, the angle, and any detail that must be visible. Supply approved measurements and copy for graphics. Flag difficult surfaces such as polished metal, clear glass, or a reflective label so the lighting can be planned properly.
Send clean, current samples with undamaged packaging where packaging will be photographed. Explain whether opening, assembling, filling, or using the item will change it. A sealed sample and an opened sample may be needed for different shots, so discuss that before shipping.
If the same shoot will serve your own website or advertising, mention those uses in the brief. An Amazon main image and a wide website banner need different compositions. Planning both early is easier than discovering the missing crop after the products have been returned.
Check the exported files, then check the listing
Before upload, review the exact files being delivered. Use a checklist rather than relying on memory:
- Does the main image follow the category’s background and content rules?
- Is the correct product version shown?
- Is the whole item visible where required?
- Are labels, edges, and details sharp?
- Do measurements and graphic statements match approved information?
- Are the dimensions and file format suitable?
After upload, inspect the customer-facing listing on desktop and mobile. Check the image order, thumbnail crop, selected variation, and any available zoom view.
If an image is rejected or the listing is suppressed, read the specific message in Seller Central first. Keep a copy of that message and compare it with the relevant rule. Sending the photographer a vague “Amazon didn’t like it” makes the problem harder to diagnose.
No photographer can guarantee that Amazon will approve every upload or that new images will deliver a particular sales result. Clear specifications and careful checks reduce avoidable mistakes, but Amazon controls its platform.
Planning an Amazon shoot in the Grand Rapids area
Product Captures is a product photography studio in the Grand Rapids area. Review our Amazon product photography page and product photography portfolio before discussing your project.
When you get in touch, include your product list, the marketplace, your category guidance, and any existing listing links. Tell us which images are missing or causing confusion. That gives the conversation a useful starting point without guessing at what your products need.
Send your project details through our contact page, email [email protected], or call (616) 259-0092.
Frequently asked questions
What size should Amazon product images be?
Amazon’s public guide lists 500 to 10,000 pixels on the longest side. It recommends larger images for zoom. Plan for sharp, high-resolution photography rather than treating the upload minimum as a quality target, and check your current category instructions.
Does every Amazon image need a white background?
No. Pure white is the general rule for the main image in most standard product categories. Supporting images can use context, lifestyle settings, and explanatory graphics where allowed. Check the rules for your specific category and marketplace.
Can I add text to my Amazon main image?
Do not add promotional text, badges, or graphic overlays to a standard main image. Text already printed on the actual product or label is different. Put permitted explanations in supporting images and keep the claims accurate.
How many images does an Amazon listing need?
Amazon’s public guide says every product must have at least one image and recommends at least six. That recommendation is not a reason to upload duplicates. Plan a useful gallery around the product and check the slots available for your listing.
Can better photos guarantee higher Amazon sales?
No. Useful images can help shoppers evaluate a product, but sales also depend on the offer, price, reviews, availability, and other factors. Treat photography as part of a complete listing, not a guaranteed sales or ranking fix.