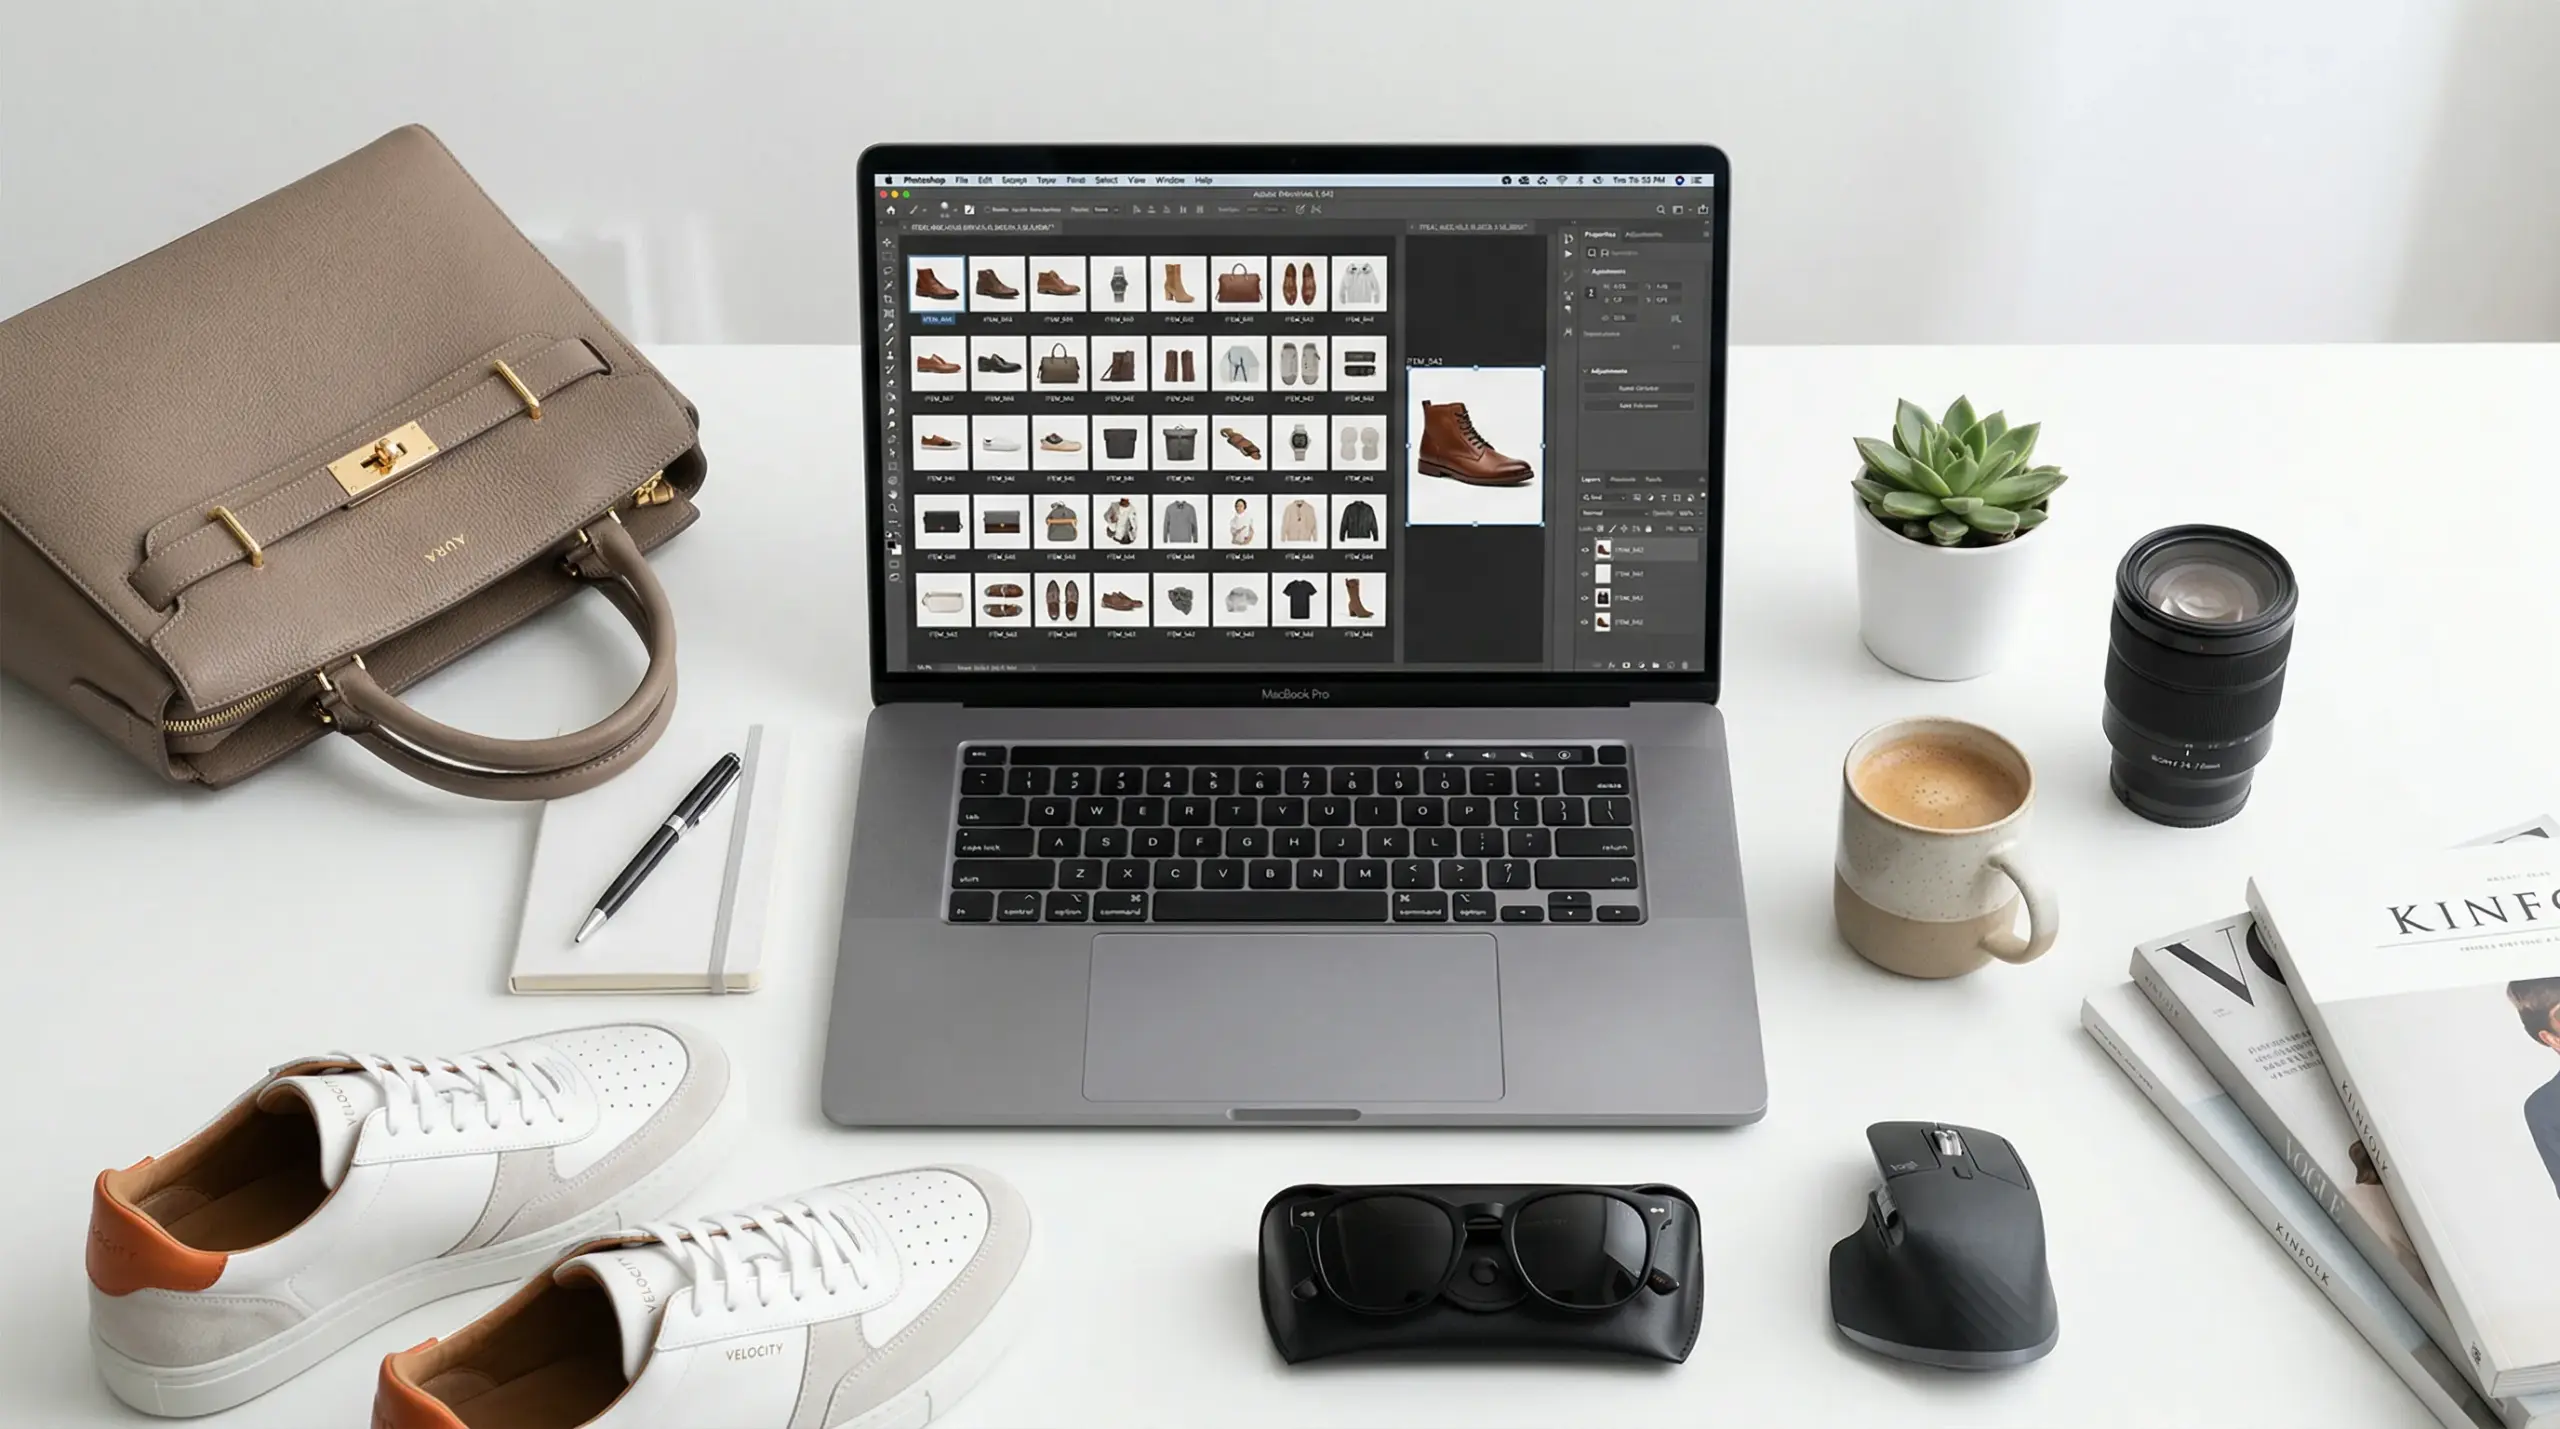
Let’s be honest. You have about three seconds to grab a buyer’s attention on Amazon. If your photos look dull, they will keep scrolling. We’ve seen incredible products fail simply because their pictures didn’t do them justice. On the flip side, we’ve watched average items fly off the shelves thanks to stunning visuals. The secret? Mastering the right product photography techniques.
When you learn how to highlight features, control lighting, and set the perfect mood, your conversion rates skyrocket. We are going to walk you through the exact product photography techniques that turn casual browsers into loyal buyers. Let’s dive in.
Mastering the Amazon Rulebook (The Non-Negotiables)
Before we get creative, we have to play by the rules. Amazon is strict. If you ignore their image guidelines, they will suppress your listing.
Your main image must feature a pure white background (RGB 255, 255, 255). It sounds boring, but it keeps the marketplace looking clean. You also need to meet all product image requirements. This means your item should fill 85% or more of the frame.
We always tell sellers: don’t mess with Amazon’s image rules for your hero shot. Save your creativity for the carousel. You need crisp, high-quality images that instantly tell the buyer exactly what they are getting.
Let There Be Light: Cracking the Lighting Code
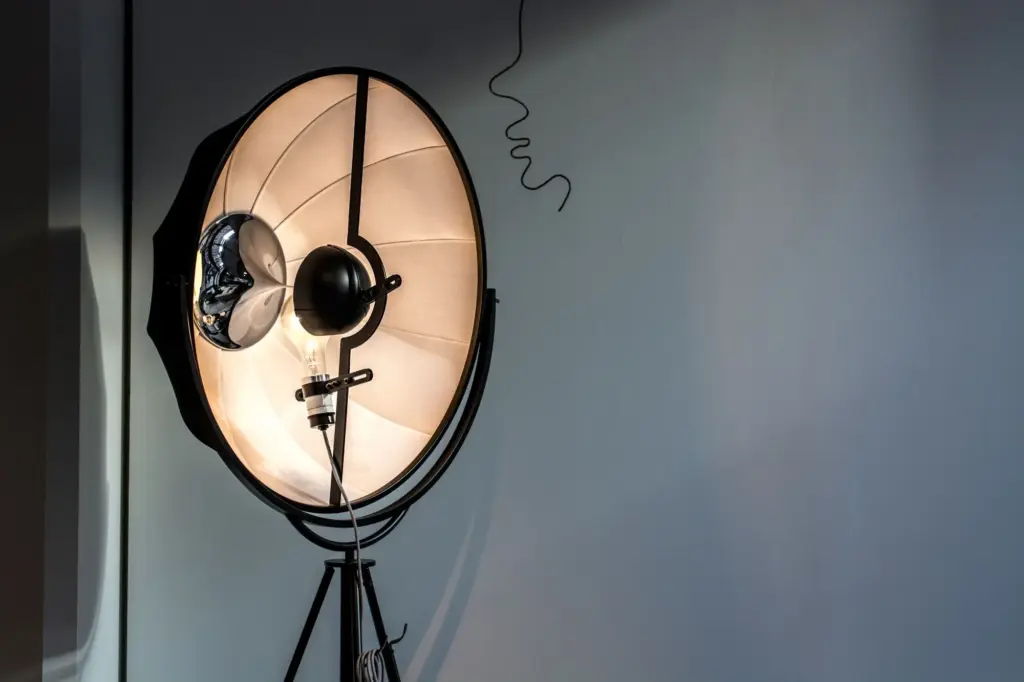
Credit: magicstudio.com
Lighting is everything. It makes or breaks your shot. Poor lighting creates harsh shadows and ruins colors.
To get that crisp, professional look, you must understand product photography lighting techniques. You generally have two choices:
- Artificial light: This gives you total control. Using professional studio lights ensures your colors remain consistent across every single shot.
- Natural daylight: Sometimes, the sun is your best friend. Using natural light product photography techniques works wonders for lifestyle shots. It gives a warm, organic feel, especially for health or beauty items.
We highly recommend testing different lighting techniques for product photography to see what fits your brand vibe. Experiment with diffusers to soften harsh glares and bounce boards to fill in dark shadows.
Angles That Sell (And Flat Lays That Pop)
Shooting straight-on is fine for your main image. But buyers want to inspect the item. They want to spin it around in their minds.
Here is our favorite strategy for filling out a listing. Try these three unique approaches:
a) The Hero Angle: Shoot slightly from below. This makes your item look majestic and important.
b) The Macro Zoom: Get incredibly close. Show off the texture, the stitching, or the premium materials. Prove your attention to detail.
c) The Storyteller Spread: Arrange your item with its accessories from a top-down view.
That top-down view is known as “flat lay product photography.” It is incredibly popular right now. Capturing beautiful flat lay photos helps buyers see everything included in the box at a single glance. Mastering product photography flat lay requires a steady tripod and a great eye for composition.
Want to dive deeper into this? Check out our full guide on the different types of product photography. You can also learn exactly how to position your camera in our breakdown of product photography angles.
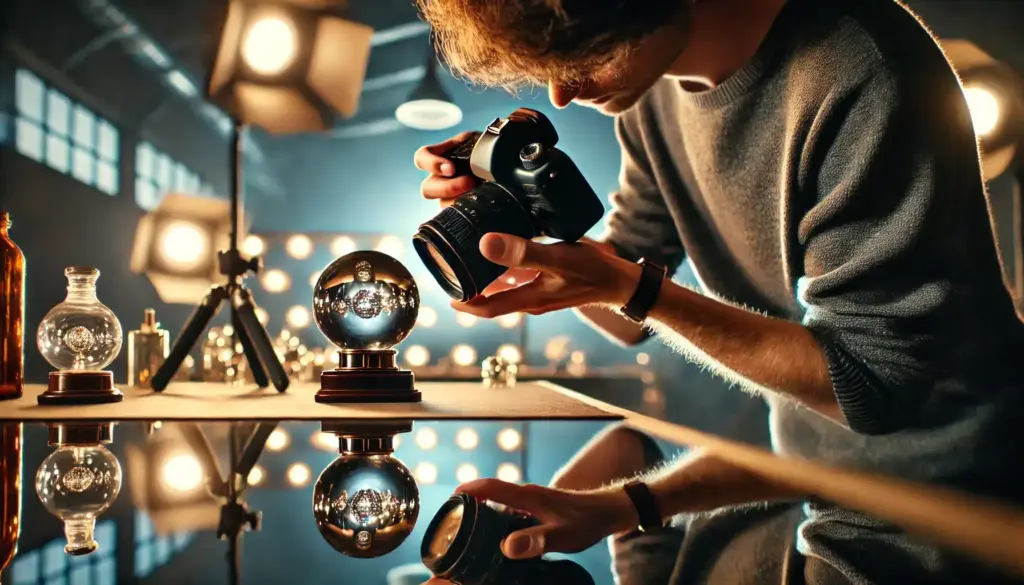
Conquering the Glare: Photographing Shiny Things
Credit: lightroom-photoshop-tutorials.com
Glass. Metal. Glossy plastic. These materials are a nightmare for beginners.
When dealing with a product photography reflective surface, you are essentially photographing a mirror. If you aren’t careful, you will catch your own reflection in the shot!
Mastering reflective product photography means learning how to control your environment. You have to manipulate the light, not the object. To minimize a harsh product photography reflection, use a polarizing filter on your lens. You can also surround the item with white foam boards to create a clean, seamless reflection.
If you are shooting high-end jewelry or watches, these skills are mandatory. Proper luxury product photography techniques elevate the perceived value of your item. When items are highly reflective, patience and precision are your best tools.
Bring It to Life: Lifestyle & Still Life Magic
Your main image gets the click. Your additional images get the sale.
Buyers want to see how the item fits into their daily lives. You must show your product in action. This is where lifestyle images come into play. Hire a model, go outdoors, or set up a cozy living room scene. Make the buyer imagine owning it.
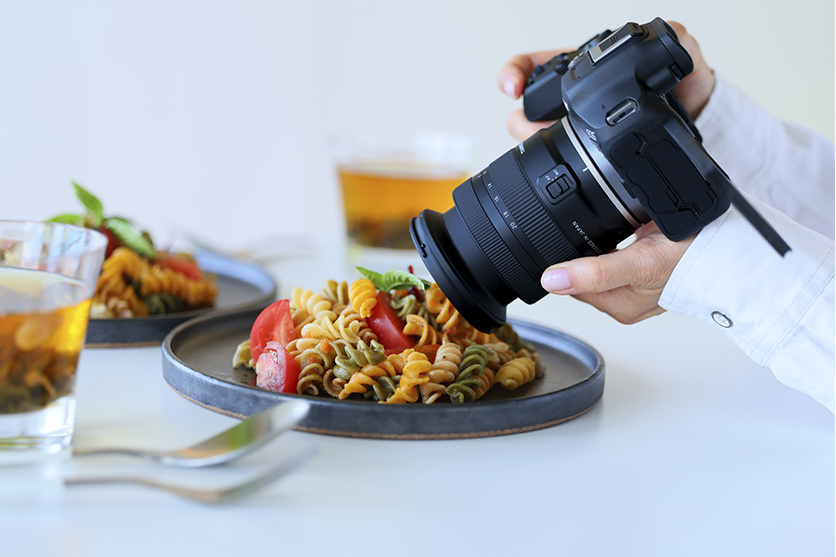
If you are shooting inanimate objects on a styled set, rely on proven still life photography tips. Use props that complement your item without stealing the spotlight. Selling kitchen gear? Apply still life food photography tips by adding fresh ingredients around your blender or knife set to make the scene look appetizing.
Need help building these dynamic scenes? Explore our e-commerce photography services to see how we bring products to life.
Next-Level Magic: Editing and 2026 Trends
Taking the picture is only half the battle. The real magic happens on the computer.
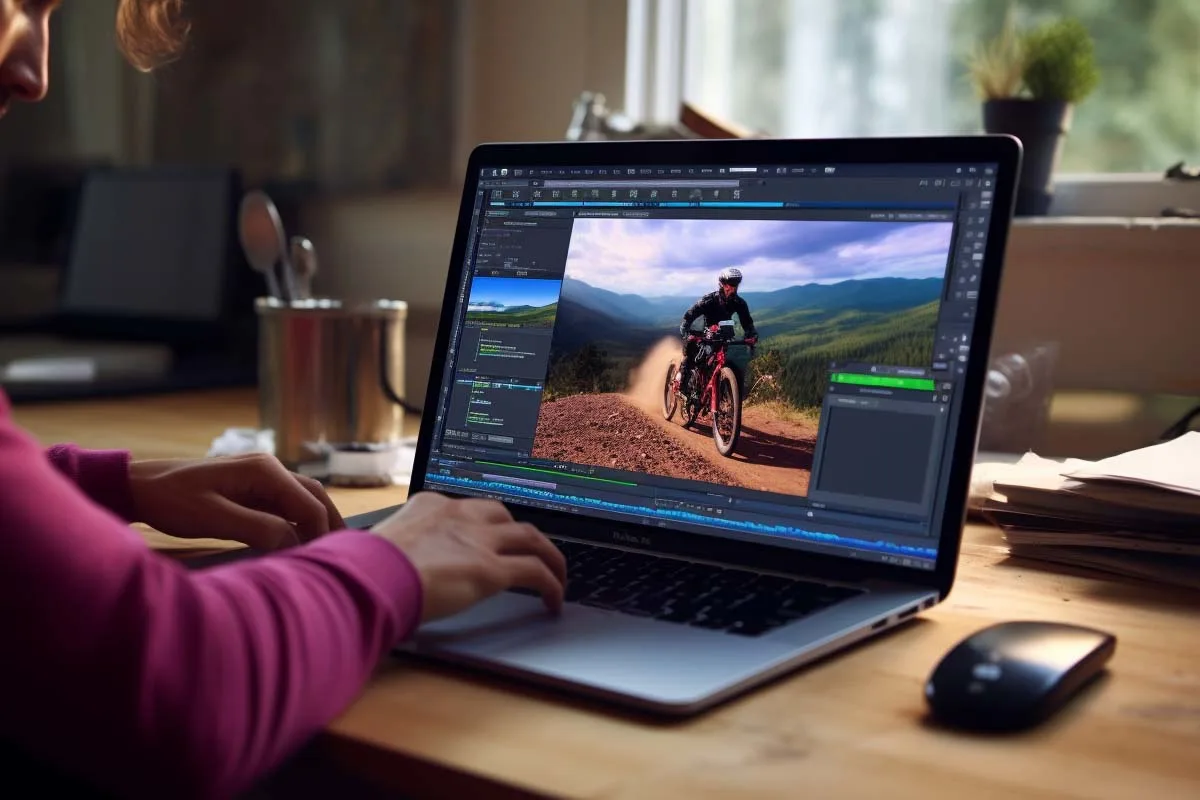
Proper photography postproduction techniques separate the amateurs from the pros. We always adjust the white balance, remove dust specks, and make the colors pop. Every pixel matters.
You also need to look ahead. As we push into the future, Amazon custom product photography techniques in 2026 heavily favor interactive media. Buyers want an immersive experience. Implementing 360 degree product photography techniques allows customers to spin your item around on their screen. It builds massive trust and drastically reduces return rates.
Staying updated on the latest product photography techniques ensures your competitors never outshine you.
DIY vs. Hiring the Pros (Our Honest Take) 
Credit: photographyforrealestate.net
You can shoot your own product photos, study flat lay photography, buy lights, and tweak camera settings. But ask yourself: Is this the best use of your time?
Professional product photographers bring:
- Speed & efficiency — Save hours on staging, shooting, and editing
- Premium equipment — High-end cameras, lighting, and software for flawless results
- Higher conversions — Expert product photography techniques boost clicks and reduce returns
Your images are your virtual storefront; invest wisely!
At the end of the day, incredible amazon product photography is an investment. It is the virtual storefront of your business. Use these product photography techniques, optimize your listings, and watch your sales soar!
The Bottom Line
Summing up, high-quality product photography does more than make your listing look good; it builds trust, highlights key features, and helps your products stand out in a crowded marketplace. By using the right lighting, clean compositions, and effective product photography techniques, you can create images that not only attract attention but also drive more clicks and conversions. If you want results that truly reflect your brand and boost sales, investing in professional product photography is always a smart move.
FAQs
Got questions? Here are the answers.
What is the best lighting for Amazon products?
Continuous LED studio lights with large softboxes are generally best. They provide clean, even, and consistent lighting that eliminates harsh shadows and perfectly captures true colors.
Do we need a white background for all Amazon images?
No. Only your main “hero” image requires a pure white background. Your secondary images can (and should) include lifestyle backgrounds, graphics, and colorful settings.
How many pictures should an Amazon listing have?
Aim for at least 7 high-quality images. This should include one main white-background image, three lifestyle images, two infographic/feature images, and one video or 360-degree view.
Can we use a smartphone for product photography?
Yes, modern smartphones have excellent cameras. However, you must pair them with brilliant lighting, a sturdy tripod, and professional editing software to compete with DSLR quality.
What are the image size requirements for Amazon?
Images should be at least 1000 pixels on the longest side to enable the zoom feature. However, 2000 x 2000 pixels is highly recommended for the crispest, highest-quality display.