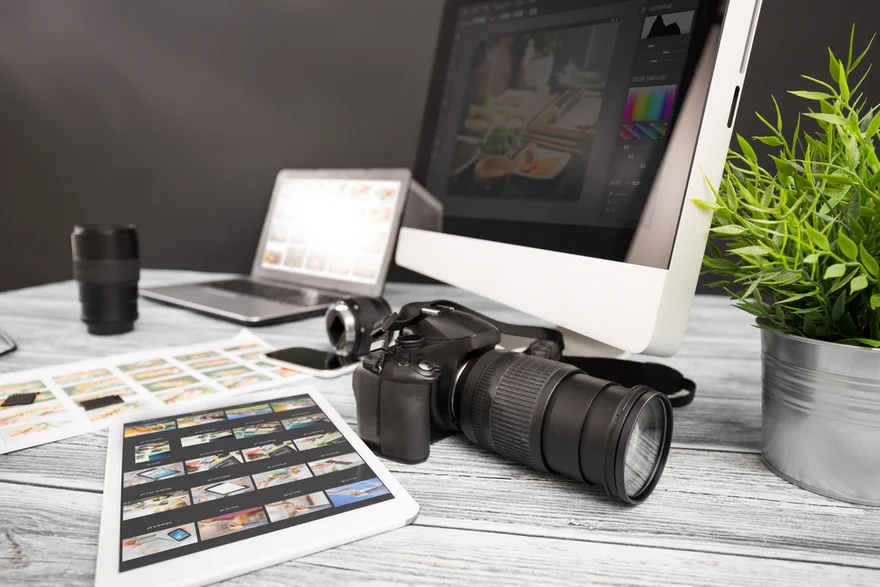
Lighting is everything when it comes to photography! Whether you’re snapping a portrait, capturing the beauty of a landscape, or showcasing a product, the lighting you choose can totally transform your shot. As a photographer, knowing the different types of lighting in photography is a game changer. Once you understand how light works, you can play around with it to create the perfect mood, highlight details, and elevate your photos.
In this blog, we’re diving deep into the world of lighting in product photography. I’ll break down the essential lighting types, share how each one works, and give you tips on how to make light your secret weapon. Ready to light up your photos? Let’s jump in!
Why Lighting Matters in Photography?
Before we explore the types of lights in photography, let’s talk about why lighting is so important. Light determines the mood, texture, and depth of your photos. The quality of light in photography can either emphasize details or flatten the image, and knowing how to manipulate light helps you create photos that evoke the right emotion.
In product photography, lighting is especially crucial for showcasing the fine details of a product, whether it’s the texture of fabric in apparel or the sleek shine of a gadget. The lighting in photography studio settings is a game-changer, offering control over the intensity and direction of light.
A) Natural Light: The Best Free Resource

Credit: ohmydhol.co.uk
Let’s start with one of the most powerful and readily available sources of light: natural light. The beauty of natural light is its versatility. You can use it for almost any kind of photography, especially in outdoor and lifestyle shoots.
Benefits
- Soft and flattering: Natural light, especially during the golden hour, provides a soft and warm look. It’s ideal for portraits and lifestyle shots.
- No equipment needed: All you need is access to windows or outdoor locations, making it a budget-friendly option.
Pro Tip: To control the intensity of natural light, use reflectors or light modifiers. Also, be mindful of the time of day. Morning or late afternoon light offers the best results.
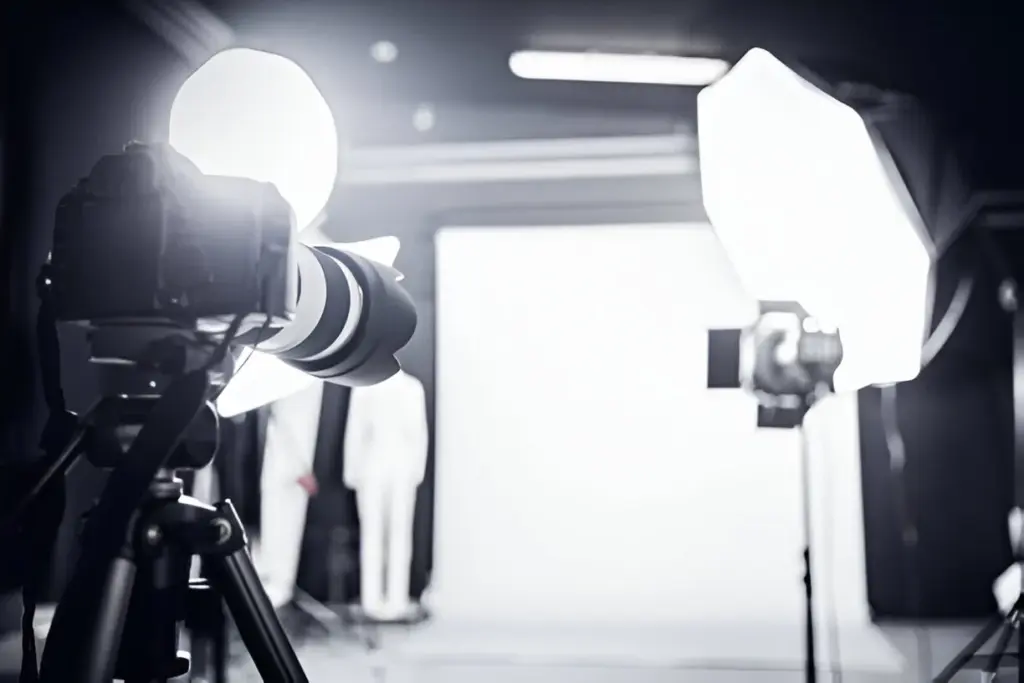
B) Studio Lighting: The Power of Control
When you want to control every aspect of your photo, studio lighting is your best friend. In a controlled environment like a studio, you can manipulate the light source to create dramatic shadows or evenly lit shots, depending on your needs.
Key Types of Studio Lighting
- Key Light: The main source of light in a setup. It defines the shape and features of the subject.
- Fill Light: This secondary light helps reduce shadows created by the key light, ensuring your subject doesn’t look too dark.
- Rim Light: Placed behind the subject, creating a glowing outline. This effect adds depth and separates the subject from the background.
If you’re serious about lighting in product photography, investing in LED lighting in photography is a smart choice. LED lighting offers consistent light and low power output, ideal for long shooting sessions.
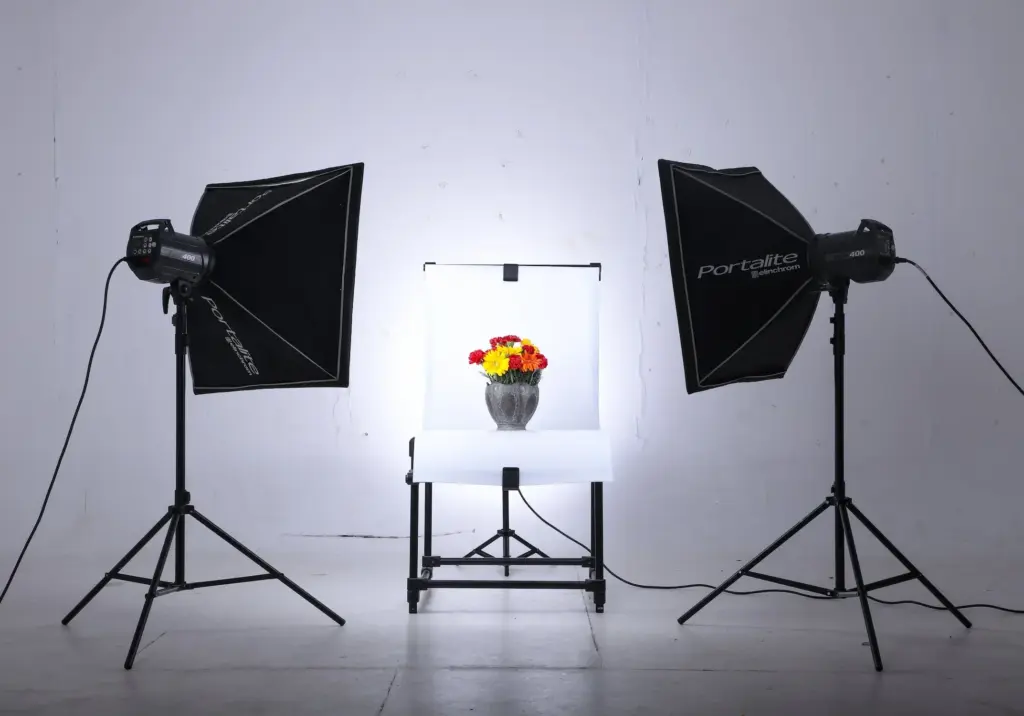
C) The Power of Light Modifiers
Credit: shotkit.com
One of the secrets to great photography is light modifiers. These tools allow you to change the direction, quality, and texture of the light, helping you create the exact effect you want. Some common light modifiers include:
- Softboxes: Soft, diffused light for a gentle effect, ideal for portraits or product shots.
- Umbrellas: Bouncing light to create a broad, soft look.
- Reflectors: Redirecting light to fill in shadows.
Bonus Tip: Diffused lighting is your best friend for soft, even light. It reduces harsh shadows and makes skin tones look natural.
Types of Lighting Setups for Different Effects
There are various lighting setups you can use depending on your style and the type of photography you’re doing. Here are a few common ones:
- Broad Lighting: A technique where the light hits the broader side of your subject, creating a larger, softer look.
- Short Lighting: Here, the light hits the shorter side of the subject, creating shadows and enhancing features like cheekbones.
- Loop Lighting: A soft light with a small shadow under the nose, creating a natural, flattering look.
Lighting Effects for Different Styles
- Flat Light: Equal light from both sides of the subject, resulting in no shadows. Great for evenly lit product shots.
- Split Lighting: This dramatic effect splits the face or subject into light and dark halves. It’s commonly used in portrait photography to emphasize angles.
A) Lighting and Color Temperature
Credit: community.smartthings.com
The color temperature of your lighting can change the mood of your photo. It’s measured in Kelvin (K), and the temperature determines whether the light appears warm (yellow) or cool (blue).
- Warm light (around 3000K) gives off a cozy, golden glow—perfect for portraits.
- Cool light (around 5000K) mimics daylight, offering a neutral, clean look—ideal for product photography.
It’s important to adjust your lighting to match the time of day and the desired mood.
B) Constant Lights vs. Flash
When shooting in a studio, you have the option of using constant lights or flash lighting. Let’s break down the difference:
- Constant Lights: Stay on continuously, allowing you to see the effect in real-time. Great for beginners, as it helps you visualize the final shot.
- Flash: Provides a burst of light, ideal for high-speed photography. Flash lighting is commonly used for dramatic or high-contrast shots.
If you’re looking for control over your shots, studio light in photography will provide the flexibility you need. You can experiment with different setups to see what works best for your subject.
Wrapping Up
As we move towards the end, now that you have a solid understanding of the different types of lighting in photography, it’s time to experiment. Whether you’re shooting portraits, landscapes, or products, lighting is your secret weapon to creating captivating images.
Photography is about creativity and control, and understanding the power of lighting in photography studio will help you unlock your full potential. Get out there, experiment, and make your photos shine!
FAQ’s
Here are the top burning questions photographers ask when it comes to lighting.
What is the best lighting for product photography?
Natural light works well for outdoor shoots, but for studio setups, LED lighting or softboxes give you great control over your product shots.
How do I choose the right light for my studio?
Consider the power output and type of light. Constant lights are great for beginners, while flash lighting offers more intensity for dramatic effects.
What are the types of lighting for portrait photography?
Loop lighting, broad lighting, and split lighting are all popular techniques, depending on the look you want to achieve.
What is the difference between LED and incandescent lighting?
LED lighting is energy-efficient, has a longer lifespan, and produces less heat compared to incandescent bulbs.
How do light modifiers affect my photos?
Light modifiers like softboxes, umbrellas, and reflectors allow you to control the direction and softness of the light, giving you more creative freedom in your photos.