Ever tried photographing a clear bottle, glass jar, acrylic box, or phone case and thought, “Where did my product go?” We get it. Clear products can look amazing in person. Put them in front of a camera, though, and things get tricky fast. Edges disappear. Reflections pop up everywhere. Dust suddenly looks enormous. And that beautiful transparent surface can turn flat, gray, or almost invisible. That is exactly why transparent product photography needs a different approach. The good news? We do not need to fight transparency. We simply need to control what the product reflects, what sits behind it, and how light moves through it.
So, let’s make clear products look crystal clear.
Why Are Transparent Products So Hard to Photograph?
Opaque products give us a surface to light on. Transparent products play by different rules.
Glass, acrylic, clear plastic, and similar materials transmit and reflect light. They can also bend light as it passes through them. That makes the background, light position, reflections, and surrounding studio part of the final appearance.
That usually creates a few problems:
- Product edges disappear against the background.
- Bright lights create ugly hotspots.
- The camera or photographer appears in reflections.
- Fingerprints become painfully obvious.
- Clear areas lose their natural transparency.
- Heavy editing makes the product look fake.
This is why product photography transparent objects requires more control than simply placing two lights beside a product.
Our Three-Point Rule: Shape, Shine & Separation
Before we press the shutter, we ask three questions:
- a) Shape: Can we clearly see the product outline?
- b) Shine: Do the highlights and reflections look intentional?
- c) Separation: Can we distinguish the product from the background?
Get these three right and the image already feels more polished.
Transparent Product Photography Lighting: Start From Behind
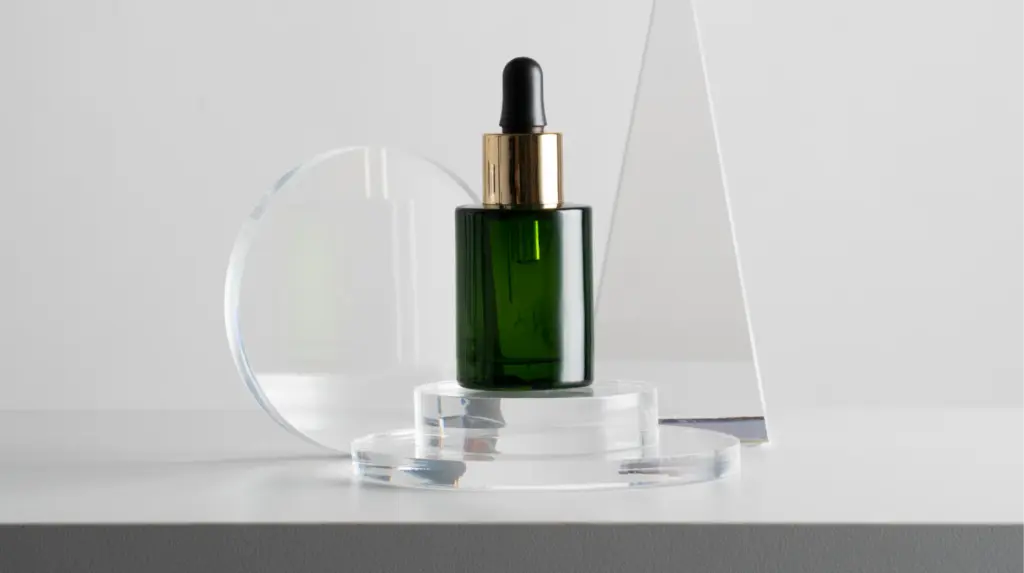
Credit: welpix.com
Here is one of the biggest mistakes beginners make.
They light the front of a clear object the same way they would light a shoe, box, or handbag.
Instead, start with the background.
Backlighting is one of the most effective techniques for clear objects because it helps define transparency while allowing us to control the edges with flags or cards. Large diffused sources also help create smoother reflections than small, harsh lights.
A simple setup can include:
- One large softbox or diffused light behind the product
- A white backdrop or diffusion panel
- Two black foam boards beside the product
- A tripod
- White bounce cards
- A clean tabletop or acrylic surface
The black cards are the secret weapon.
Place them just outside the camera frame. The transparent object reflects those dark surfaces along its sides. Suddenly, the edges become visible.
Bright Field or Dark Field? Pick Your Look
We usually have three creative directions.
a) Bright-Field Lighting: Clean & Commercial
Place a large bright source behind the product. Then use dark cards on either side to create definition.
This technique gives clear products dark, crisp edges against a bright background. It works especially well for bottles, jars, glassware, and ecommerce images.
b) Dark-Field Lighting: Bold & Premium
Flip the idea. Use a dark background and create bright reflections around the product edges. Now the glass appears to glow.
We love this look for luxury packaging, fragrance bottles, drinks, hero shots, and advertising.
c) Hybrid Lighting: The Best of Both
Want more dimension? Combine a softly illuminated background with controlled side highlights.
This creates enough contrast to show the shape without making the shot overly dramatic.
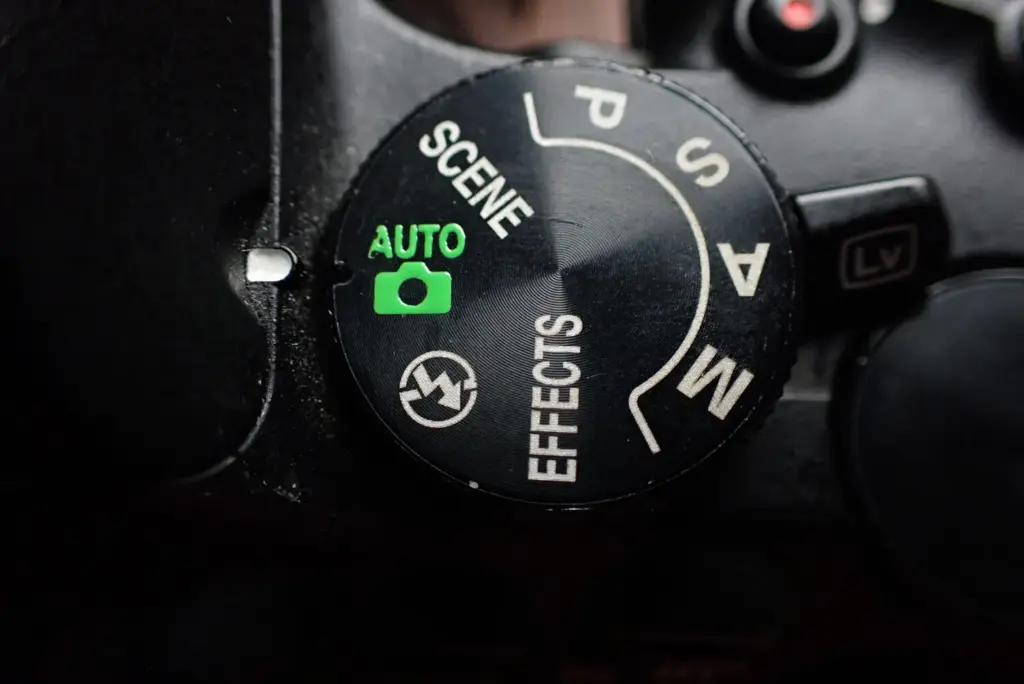
Camera Settings: Keep Things Simple
Credit: digital-photography-school.com
People often ask how to take product image of transparent objects as though there is one magical camera setting.
There isn’t.
Lighting does most of the heavy lifting.
Still, a consistent starting point helps.
Try:
- Manual mode: keeps exposures consistent
- Low ISO: helps maintain clean detail
- f/8 to f/11: gives useful depth of field for many products
- Tripod: keeps framing locked
- RAW format: gives us more editing flexibility
- Precise focus: focus on a defined edge, label, or detail
Professional glass photography guides similarly recommend low ISO values, narrower apertures, tripod-supported shooting, and RAW files where editing flexibility matters.
For transparent phone case product photography, pay close attention to the camera opening, buttons, corners, rim thickness, and texture. Those details prove that the product is there.
Without them, shoppers may struggle to understand its shape.
Reflections Are Not the Enemy
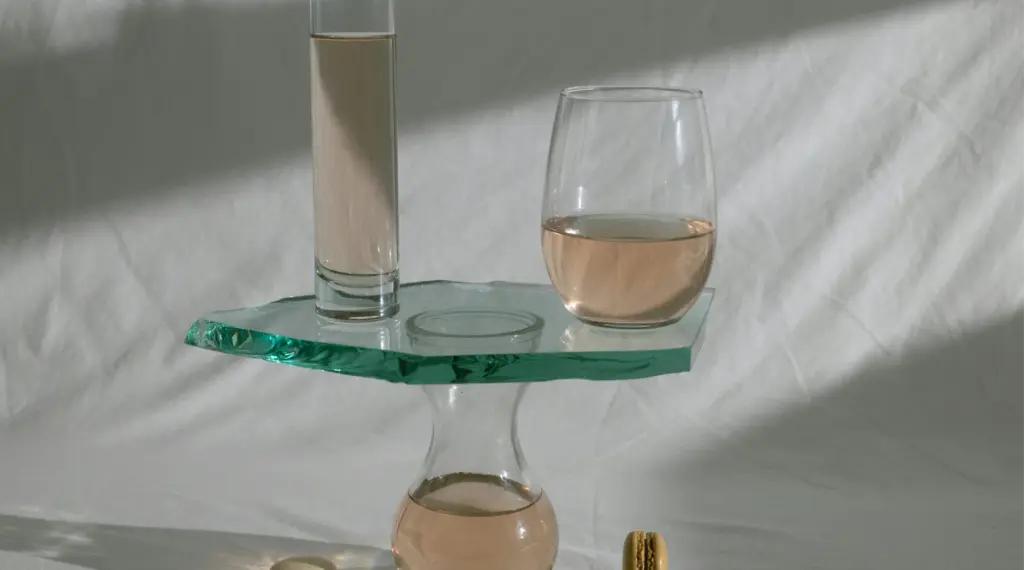
Here is where clear-product photography gets interesting. We do not always want to remove reflections; we want to design them. A narrow highlight can define a bottle, a dark line can reveal an acrylic edge, and a soft gradient can make glass look beautifully three-dimensional.
So instead of asking, “How can we remove every reflection?” ask:
“What should this product reflect?”
Then experiment.
- a) Move the light before moving the product.
- b) Make the light source larger for softer highlights.
- c) Add black cards for darker edges.
- d) Add white cards for clean bright streaks.
- e) Keep unnecessary studio objects away from reflective surfaces.
- f) Test a polarizing filter when glare becomes distracting.
Small adjustments make a huge difference.
Sometimes moving a card just a few inches turns a dull edge into a polished highlight.
White Background vs. Transparent Background: Know the Difference
Credit: pixelcut.ai
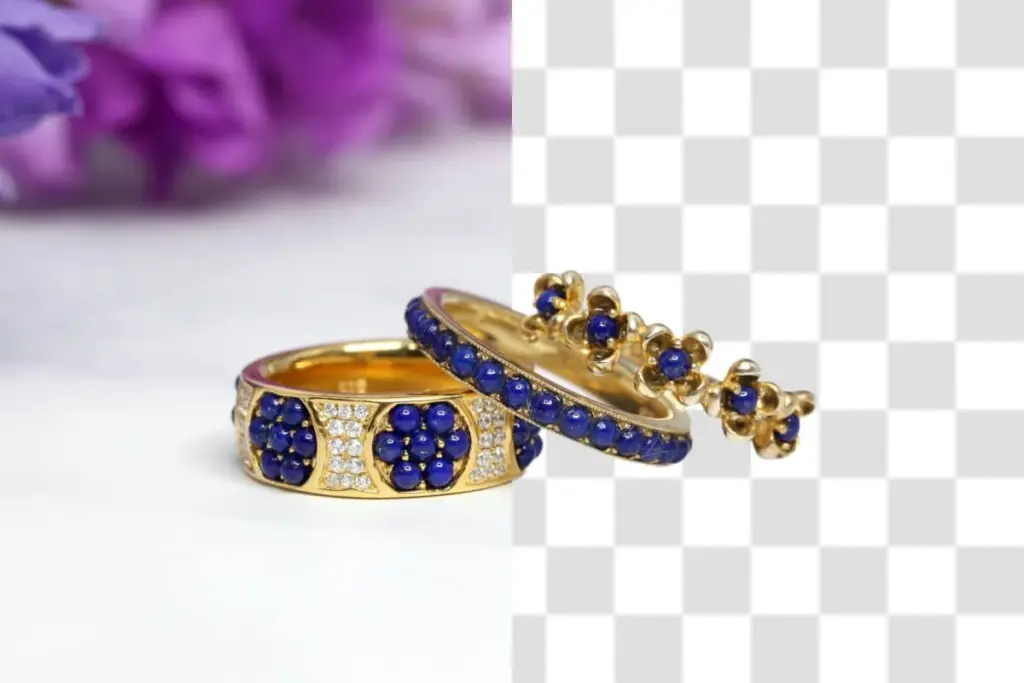
These two get mixed up all the time. A white-background image contains white pixels behind the product.
A transparent-background file has no visible background in those areas. It is commonly exported in a format that supports transparency, such as PNG.
So product photography transparent background work often involves two stages:
-
Capture the product properly.
-
Create the required background treatment during editing.
You may also see people searching for free product images with transparent backgrounds or automated background removers.
Those tools can be handy for simple opaque objects. Clear glass and plastic are harder because parts of the original background remain visible through the product, making automatic segmentation more challenging. Research on transparent-object segmentation describes those inherited background appearances as a core difficulty.
And if your goal is a transparent product image Shopify stores can reuse across banners and different page designs, careful masking matters.
Do not destroy the transparency just to remove the background.
Editing Transparent Products Without Making Them Look Fake
Great transparent product photography should still look real after Photoshop.
Editing should polish the shot. It should not rebuild the entire object.
We normally focus on:
- Dust removal
- Fingerprint cleanup
- White balance
- Exposure
- Edge contrast
- Reflection cleanup
- Background masking
- Natural shadows
The masking stage needs extra care.
If we simply cut around a clear object and make everything inside that outline solid, we lose the material itself.
Clear plastic starts looking white. Glass starts looking gray.
The product loses depth. Instead, preserve semi-transparent areas. Keep useful highlights. Protect realistic shadows. Maintain subtle color changes visible through the material.
Quick search note: if you have ever typed “photography transparent product” or “product photography transparent” into Google, this is the part many basic tutorials miss. Capturing the outer outline is only half the job.
Our A-B-C-D-E Editing Workflow

Credit: pixflow.net
Here is an easy workflow to remember.
a) Clean
Remove dust, fingerprints, scratches, and temporary blemishes.
Do this physically before the shoot too. Photoshop should be the backup plan.
b) Balance
Correct exposure and white balance before heavy retouching.
Keep product colors accurate.
c) Cut Carefully
Build an accurate mask around the outer shape.
Then treat semi-transparent areas separately.
d) Defend the Highlights
Do not remove every bright reflection.
Highlights often tell the viewer what the product is made from.
e) Export for the Destination
Need a normal listing image? A high-quality JPEG may work perfectly. Need actual background transparency? Export a properly prepared PNG.
If you need consistent, listing-ready images across a full catalog, explore our professional ecommerce photography services. We create product visuals with lighting, detail, and online sales channels in mind.
8 Mistakes That Make Clear Products Look Cheap
Credit: welpix.com
A good setup can go wrong surprisingly fast.
Watch out for:
- Lighting the front too aggressively
- Using tiny bare lights that create harsh spots
- Forgetting to clean fingerprints before shooting
- Letting clear edges disappear into white
- Removing every reflection during editing
- Over-sharpening glass edges
- Changing camera angles across similar products
- Turning transparent areas completely opaque when masking
Your final transparent product image should look polished but still believable.
A shopper should understand the material almost instantly.
What If the Product Is Almost Invisible?
Think acrylic display stands. Clear screen protectors. Glass panels. Transparent packaging. Clear phone cases.
These products give us very little surface detail.
So we change the question.
Instead of:
“How do we light this product?”
We ask:
“What does this product need to reflect so we can see its shape?”
That shift changes everything.
We can add a long white card to create an edge highlight, place a black card beside a corner, introduce a gradient behind the object, can add a very subtle grounding shadow, are not trying to hide transparency.
We are giving transparency a visible shape.
The Six-Second Pre-Shoot Check
Credit: destudios.uk
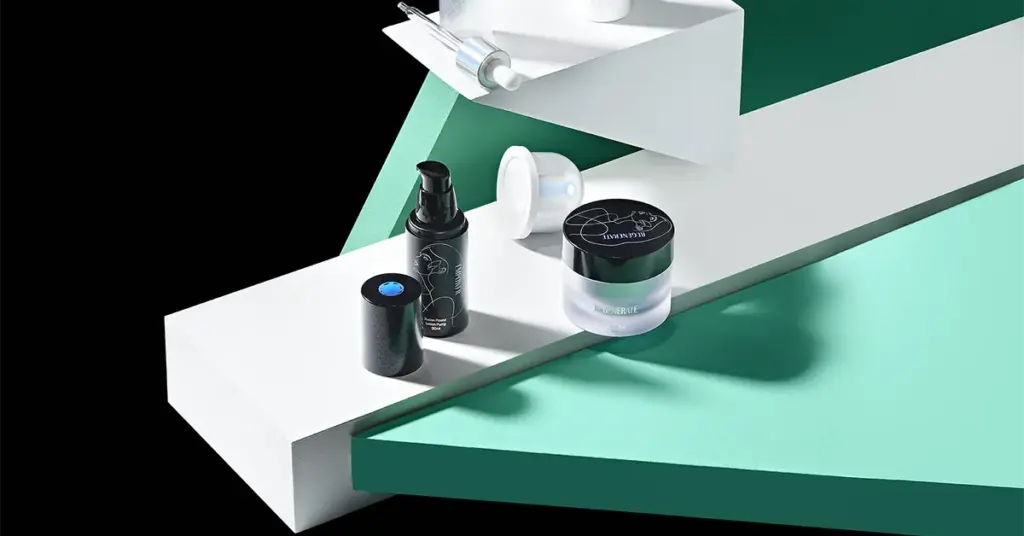
Before capturing the final frame, check these six things:
- i. Are the edges visible?
- ii. Are the reflections controlled?
- iii. Is the product spotless?
- iv. Does the background strengthen the shape?
- v. Does the material still look transparent?
- vi. Can we repeat this setup for the next product?
That final question matters more than people think.
One gorgeous shot is great.
A whole ecommerce catalog that looks consistently gorgeous is better.
Final Thoughts
Transparent product photography seems difficult because clear materials do not give us obvious surfaces to light. But once we understand the trick, things become much easier. We control the background, shape the reflections, define the edges, lock the camera.
Then we edit carefully. So start simple. Use a large diffused backlight. Bring in black and white cards. Clean the product twice. Take test shots. Move one element at a time.
Most importantly, do not try to eliminate transparency. Show it. Shape it. Sell it. That is the difference between a clear product that disappears and a product image that makes shoppers stop scrolling.
FAQ’s
If you’re new to transparent product photography, these quick FAQs will help you get cleaner shots and better results.
How do you photograph a transparent product?
Use diffused backlighting, define the edges with black or white cards, and keep the camera stable on a tripod.
What background is best for transparent product photography?
White works well for clean ecommerce shots. Dark backgrounds create stronger edge contrast and a more dramatic look.
How do you photograph glass without reflections?
Use large diffused light sources, simplify the surrounding set, and position cards or flags to control what the glass reflects.
How do you make a product photo background transparent?
Create a careful mask during editing and export the final file in a transparency-supporting format such as PNG.
What lighting works best for clear products?
Backlighting is a strong starting point. Add black cards, white cards, or rim lighting to make the edges easier to see.