We’ve all been there, scrolling through Instagram or an online store when suddenly, bam! A stunning image of a lipstick swatch or a dewy highlighter makes us pause. Our thumbs freeze. Our eyes widen. And before we know it, we’re hitting “Add to Cart.” That, right there, is the power of makeup product photography done right. We know that shooting cosmetics isn’t just about snapping pretty pictures. It’s about capturing the essence of beauty, the shimmer, the texture, the promise of transformation.
Whether you’re a brand owner, a social media manager, or a photographer looking to up your game, we’re here to spill our best-kept secrets. Because let’s face it: In the world of beauty product photography, mediocre images don’t sell. But scroll-stopping ones? They convert like crazy.
So, how do you create makeup product images that make people feel something? Let’s break it down.
Why Makeup Product Photography is a Secret Weapon?
We get it; you might think, “It’s just a lipstick. How hard can it be?” Oh, but it’s so much more than that. When someone lands on your product page, they’re not just buying a tube of mascara or a compact of blush. They’re buying:
- A feeling (confidence, glamour, freshness)
- A promise (long-lasting, pigmented, skin-loving)
- An experience (luxury, ease, transformation)
Your cosmetic product photos need to communicate all of that in a single glance.
And here’s the kicker: 85% of shoppers say product images influence their purchase decisions more than descriptions or reviews. (Yes, we checked!)
So, if your makeup product photography is flat, poorly lit, or just plain boring? You’re leaving money on the table.
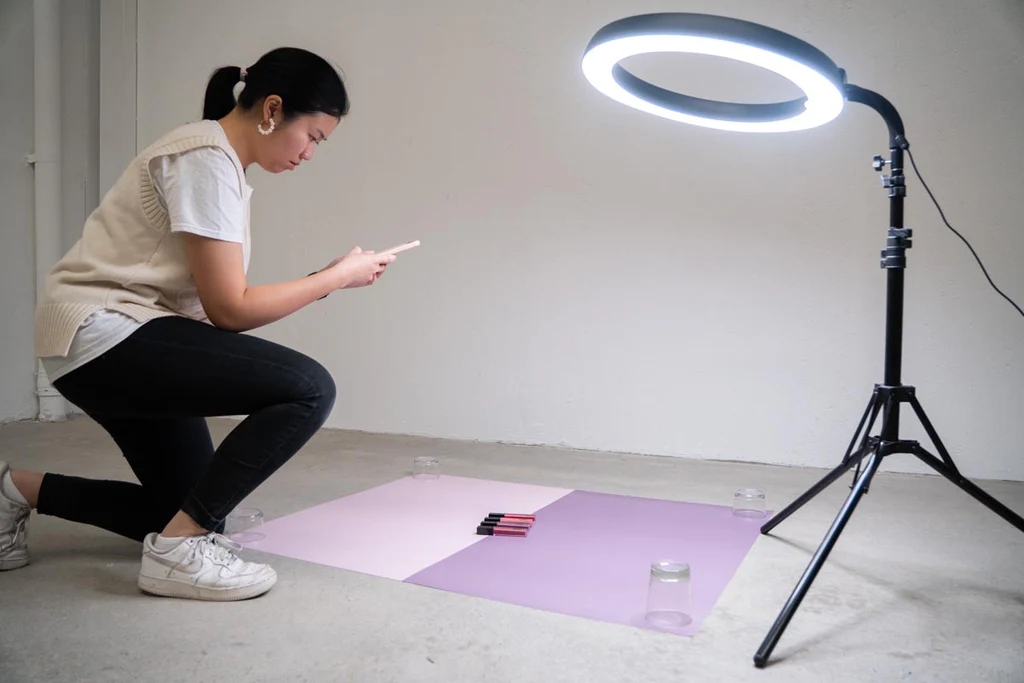
The Ultimate Setup: How to Shoot Makeup Like Pros
Credit: ukclippingpath.com
Before we dive into the creative stuff, let’s talk gear. You don’t need a $10,000 camera to nail beauty product photography, but you do need the right tools.
Our Must-Have Equipment for Flawless Shots
- ✔ A Sturdy Tripod – No shaky hands allowed! A tripod keeps your product photos razor-sharp and lets you tweak the setup without losing framing.
- ✔ Macro Lens (100mm is our fave!) – Cosmetics are all about the details. A macro lens captures the tiny glitter particles in eyeshadow, the creamy texture of a lipstick, and the fine mist of a setting spray.
- ✔ Tethering Cable – This connects your camera to a computer so you can see your shots in real-time. Trust us, spotting dust or smudges on a big screen is a lifesaver.
- ✔ Reflectors & Diffusers – These help soften harsh light and bounce it where you need it. (More on lighting later, it’s everything in makeup product photography!)
Lighting: The Secret Sauce for Stunning Makeup Shots
If there’s one thing we’ve learned from years of shooting cosmetics photography, it’s this: Lighting makes or breaks your image.
Natural Light vs. Studio Light: What’s Best?
Natural Light (Great for Beginners!) If you’re just starting, don’t sleep on natural light. A big, bright window with a sheer curtain acts like a giant softbox, wrapping your makeup products in a flattering glow.
Pro Tip: Shoot during the “golden hours” (early morning or late afternoon) for the softest, most diffused light.
Studio Lighting (For Total Control) Want consistent, professional-grade results? Studio strobes are your best friend.
Our go-to setup:
- 1 Softbox (Main Light) – Positioned at a 45-degree angle to the product.
- 1 Reflector (Fill Light) – Placed opposite the softbox to bounce light into shadows.
- Optional Rim Light – Adds a subtle glow around the edges for a high-end look.
Taming the Glare (Because Shiny Packaging is a Nightmare!)
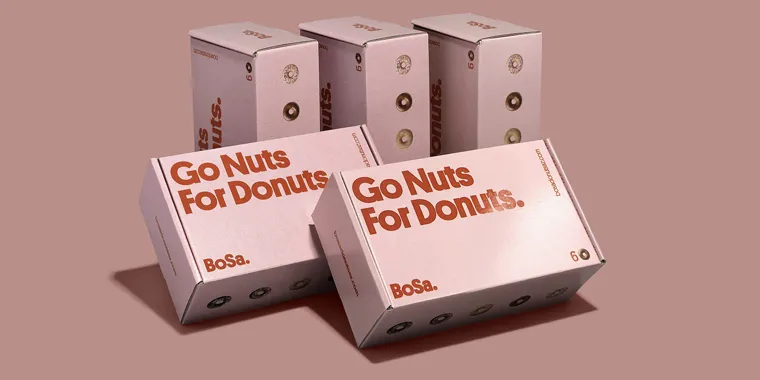
Credit: customdesignsboxes.com
Ever tried photographing a glossy lipstick tube or a mirrored compact, only to end up with a blinding white glare? Yeah, we’ve been there.
Here’s how we fix it:
i. Use Polarizing Filters
These cut down on reflections and make colors pop.
ii. Angle Your Lights Carefully
Sometimes, moving your light just slightly eliminates glare.
iii. Black & White Bounce Cards
A white card bounces light to brighten shadows, while a black card absorbs light to deepen contrast.
(Fun fact: This technique is super similar to how we handle reflective product photography, like shooting sunglasses or jewelry!)
Creative Makeup Product Photography Ideas to Try
Now for the fun part! If you want your makeup product photography to stand out, you’ve got to get creative. Here are some of our favorite makeup product photography ideas that always get engagement:
a) The “Swatch & Smudge” Shot
Nothing sells a lipstick or eyeshadow like seeing it in action. Use a palette knife or a clean brush to create bold, artistic swatches next to the product.
Why it works: It shows texture, pigmentation, and blendability, all things buyers need to see before hitting “Buy.”
b) The Floating Product Illusion
Want to add some magic to your shots? Use clear acrylic stands or fishing line to make your products levitate.
Example: A floating highlighter palette with a dusting of shimmer around it = instant scroll-stopper.
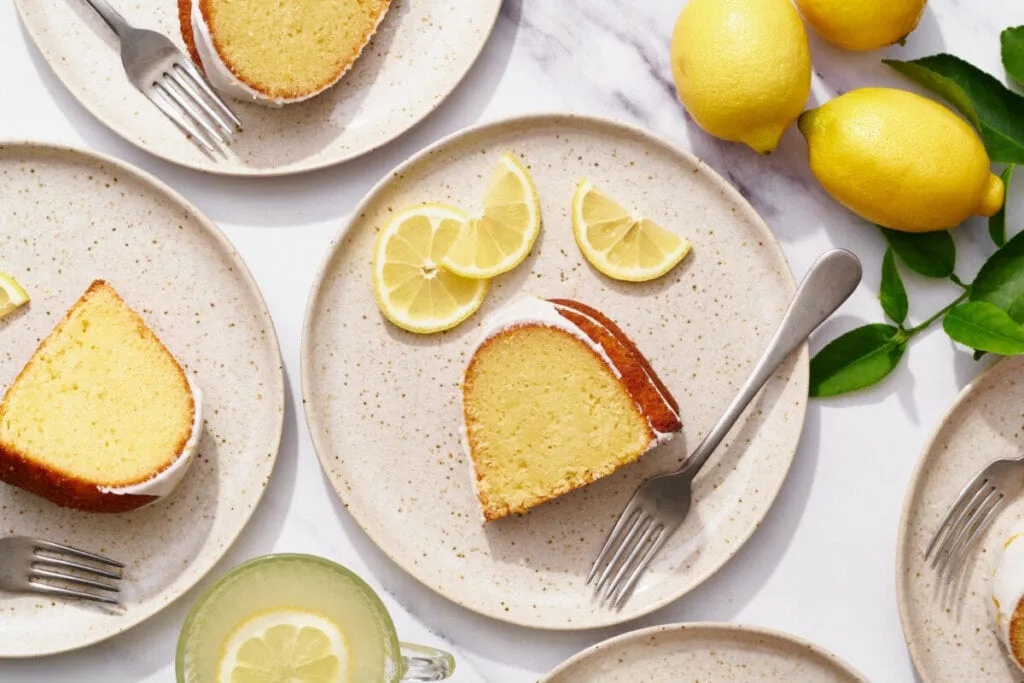
c) The “Ingredients Story” Flat Lay
Perfect for skincare product photography or natural makeup brands! Surround your serum or lip balm with fresh botanicals (rose petals, lavender sprigs, citrus slices).
Why it works: It tells a story about the ingredients and makes the product feel luxurious.
d) The “Before & After” Glow-Up
Show the product and its effect. For example:
- A dry brush vs. a brush loaded with pigment.
- A bare lip vs. a lip coated in your lipstick.
- A dull complexion vs. a dewy, highlighted finish.
Pro Tip: Use the same model or surface for consistency!
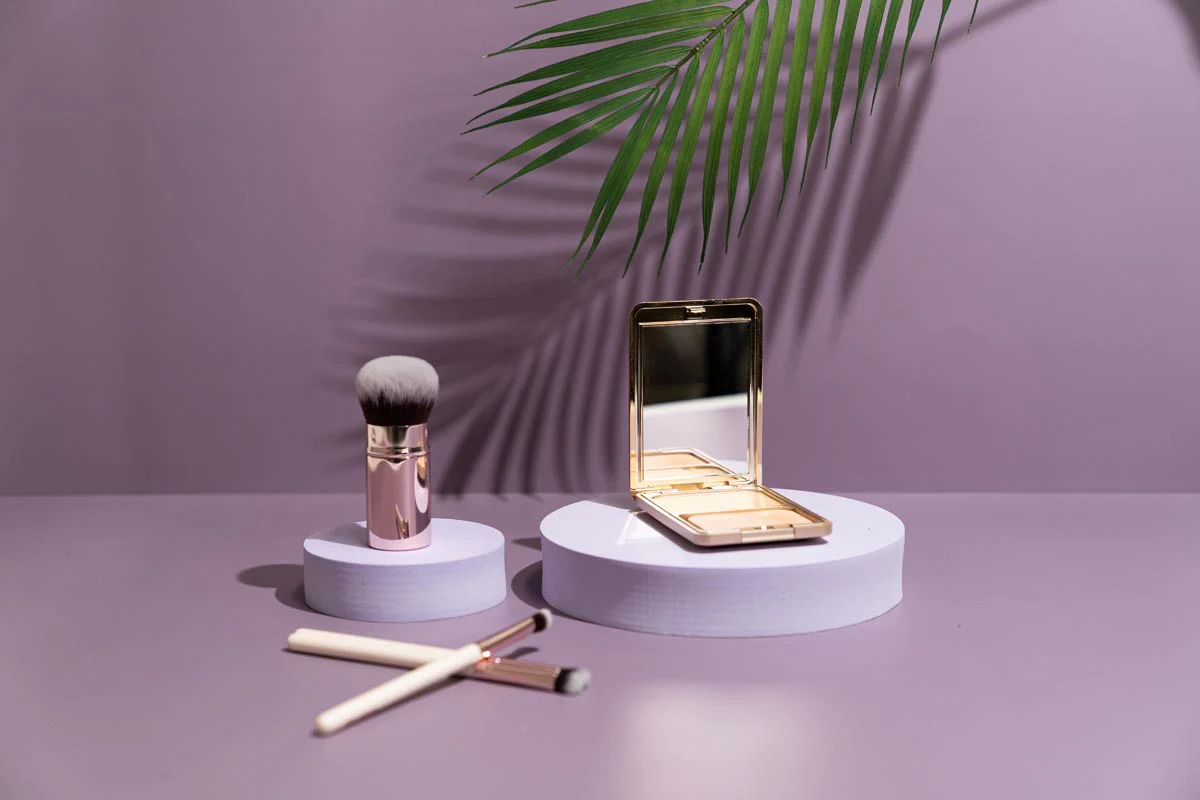
Nailing the Details: Textures, Backgrounds & Props
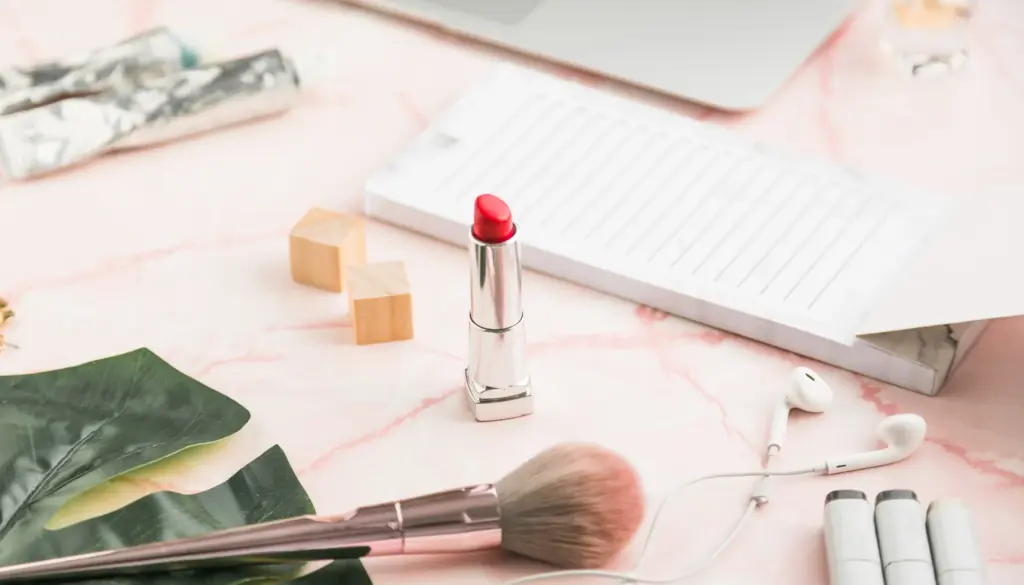
Credit: welpix.com
The background of your beauty product photo sets the mood. And in makeup product photography, mood is everything.
Texture Backgrounds = Instant Luxury
Ditch the plain white seamless (unless it’s for Amazon’s main image). Instead, try:
- Marble slabs (for a sleek, high-end look)
- Crushed velvet (adds depth and richness)
- Rough stone or concrete (great for edgy, modern brands)
- Glossy acrylic (for a futuristic, clean vibe)
Props That Tell a Story
Props shouldn’t distract, they should enhance. Some of our favorites:
- Makeup brushes (scattered artfully around a palette)
- Jewelry (pearls or gold chains next to a lipstick for a luxe feel)
- Mirrors (reflects the product for a dynamic shot)
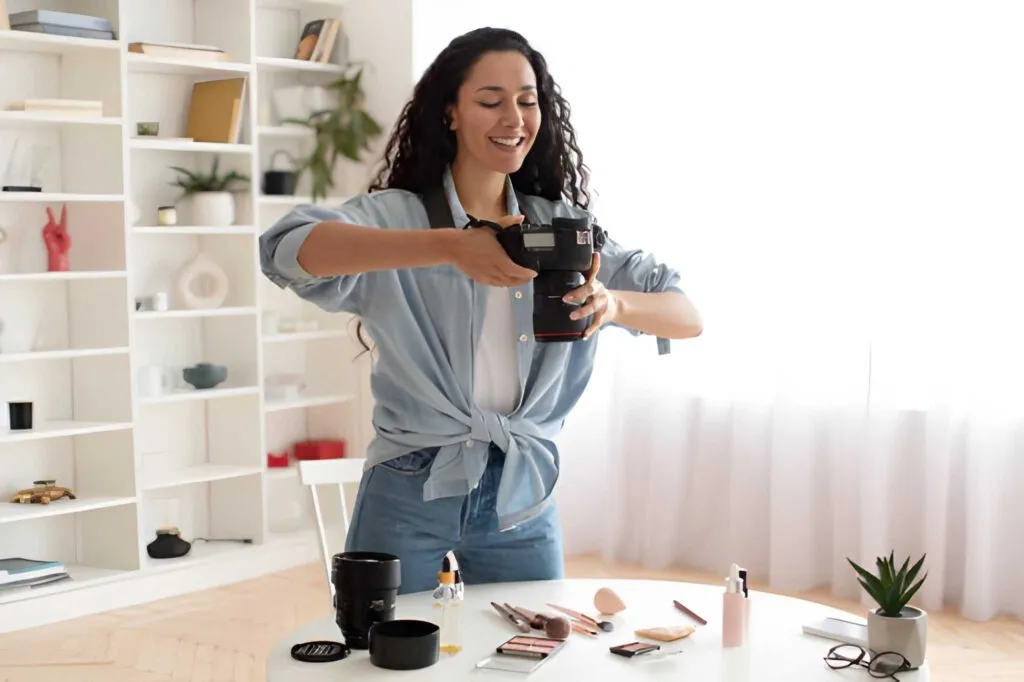
The Human Touch (When to Use Models)
Sometimes, the best way to sell face makeup products is to show them on a face. You don’t always need a full glam shot, sometimes a close-up of:
- A model’s cheekbone with your highlighter applied
- Lips wearing your lipstick
- A hand holding a mascara wand
Why it works: It helps buyers visualize themselves using the product.
(Speaking of close-ups, if you talk about eyewear photography service uses similar techniques to highlight fine details!)
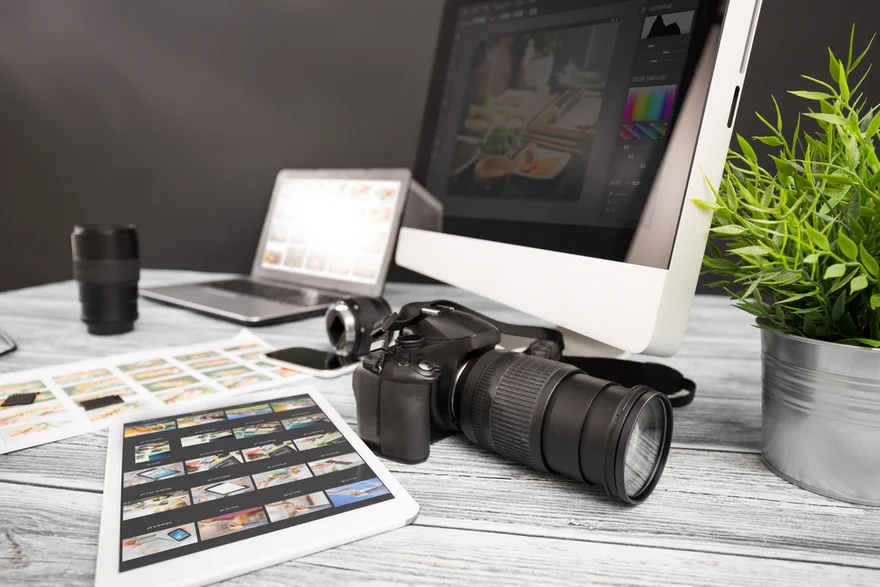
Post-Production: Turning Good Photos into Great Ones
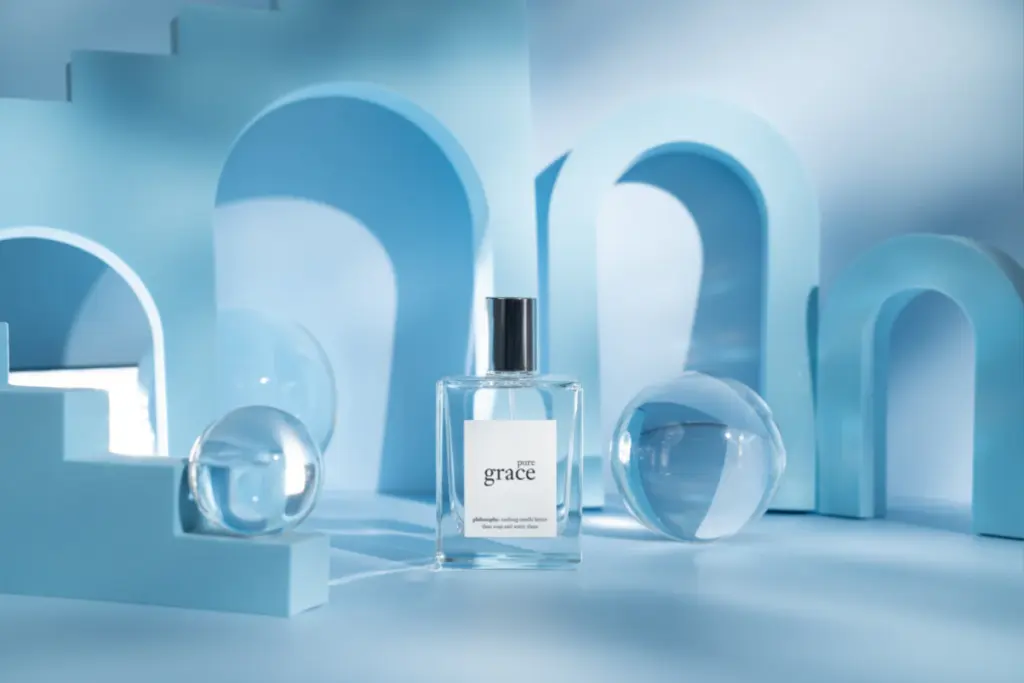
Credit: spectrum-brand.com
You’ve taken the shot. The lighting was perfect. The composition? Flawless.
But we’ve got news for you: The real magic happens in editing.
Our Must-Do Editing Steps for Makeup Photos
- Dust & Smudge Removal – Even the cleanest products collect dust. Use the Healing Brush or Clone Stamp tool to erase every speck.
- Color Correction – Your cosmetic product must match its real-life color. Use a gray card in your setup for accurate white balance.
- Sharpening & Clarity – Enhance the texture of powders, the gloss of lipsticks, and the fine details of packaging.
- Dodge & Burn – Brighten highlights and deepen shadows to give your product a 3D pop.
- Composite Editing – Sometimes, the perfect label shot and the perfect texture shot don’t happen in one frame. Layer them in Photoshop for the ultimate final image.
Pro Tip: If you’re not confident in editing, hire a pro. Bad editing can make even the best product photography look cheap.
Pro Tips for Specific Makeup Products
Credit: spectrum-brand.com
Not all makeup products are created equal, and neither are their photos! Here’s how we approach different items:
Lipsticks & Glosses
- Roll the tube up just enough to show the bullet shape.
- Highlight the texture, matte, glossy, or metallic.
- Use a macro lens to capture the fine details of the formula.
Powders & Eyeshadows
- Break them (yes, really!) A crushed eyeshadow pan shows pigmentation and texture.
- Use a fan brush to create a “dust cloud” effect for a dramatic shot.
Foundations & Serums
- Focus on the droplets: A glass dropper with a serum bead is a chef’s kiss.
- Show the consistency: A thick, creamy foundation looks more luxurious than a watery one.
Mascaras & Eyeliners
- Shoot the wand in action: A close-up of the brush loaded with product sells the formula.
- Use a model’s lashes: Before-and-after shots work amazingly here.
Final Thoughts
Summing up, we don’t just take photos; we create scroll-stopping, sales-driving, brand-elevating visuals. Whether you need creative makeup product photography for social media or crisp, clean product shots for your website, we’ve got you covered.
Because in the world of cosmetic brands, great photography isn’t a luxury; it’s a necessity.
FAQs
Here’s a quick look at the most common questions we get about makeup product photography, answered straight from our experience:
What’s the best camera setting for makeup photography?
We recommend:
- Aperture: f/8 to f/11 (keeps everything sharp)
- ISO: 100 (to avoid grain)
- Shutter Speed: 1/125 or faster (to prevent blur)
How do I photograph shiny makeup packaging without glare?
Use polarizing filters, angle your lights carefully, and try black bounce cards to absorb unwanted reflections.
Can I use my phone for makeup product photography?
Yes! Modern smartphones (like the iPhone Pro or Samsung Galaxy) can take amazing shots, just pair them with good lighting, a tripod, and editing apps like Lightroom.
How do I make my makeup swatches look professional?
Use a palette knife or clean brush for sharp edges and light from the side to highlight texture.
Do I really need to edit my makeup photos?
Absolutely. Even the best raw shots need retouching to remove dust, correct colors, and enhance details. Skip this step, and your makeup products images won’t look polished.