
When it comes to building your online brand, one thing is for sure—you need to showcase your products in the best possible way. After all, in the digital world, great visuals can be the difference between a customer clicking ‘buy’ or scrolling past. But what does it really take to create product photos that stand out? It’s not just about snapping pictures; it’s about creating an experience that draws potential buyers in and makes them trust your brand. The right product photography can highlight your products’ unique features, tell a story, and ultimately increase conversions. Let’s break down the concept of what is product photography in detail!
What is Product Photography?
Credit: dejaoffice.com
We will start by explaining the concept clearly: What is product photography, and why should you care about it?
Product photography is the art of taking clear, compelling images of products. It sounds simple, right? But there’s more to it than just taking a quick snapshot. Good product photos show the item in its best possible light and convey all the details your customers need to see.
Whether you’re selling clothing, gadgets, or beauty products, those photos help potential buyers understand exactly what they’re getting. Think about it: when you see an amazing product photography example, doesn’t it make you want to learn more? Great product photography sparks interest and trust, and it’s essential to driving sales, especially online.
Before we talk about the types of product photography, let me tell you something: If you want amazing product pictures that grab attention and drive conversions, don’t hesitate to reach out to us! We specialize in high-quality lifestyle and eCommerce product photography that showcases your products in the best possible way. Contact us to get started today!
Types of Product Photography
Now that we know what product photography is, let’s talk about the different types of product photography. There are several types of product photography, and each one serves a different purpose depending on what you’re selling and where those photos will be used.
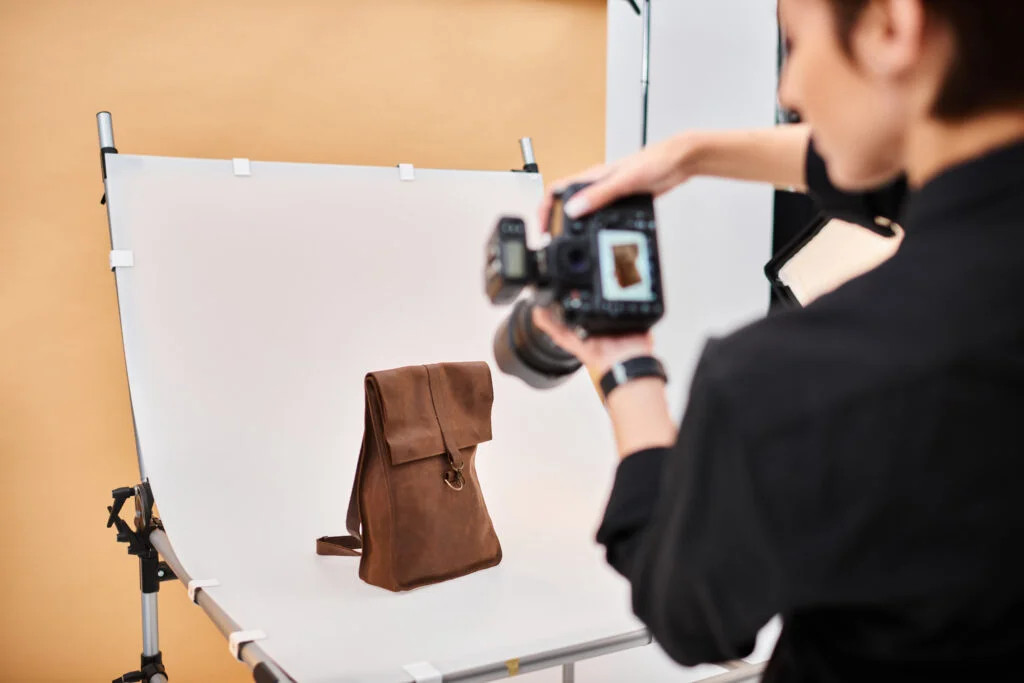
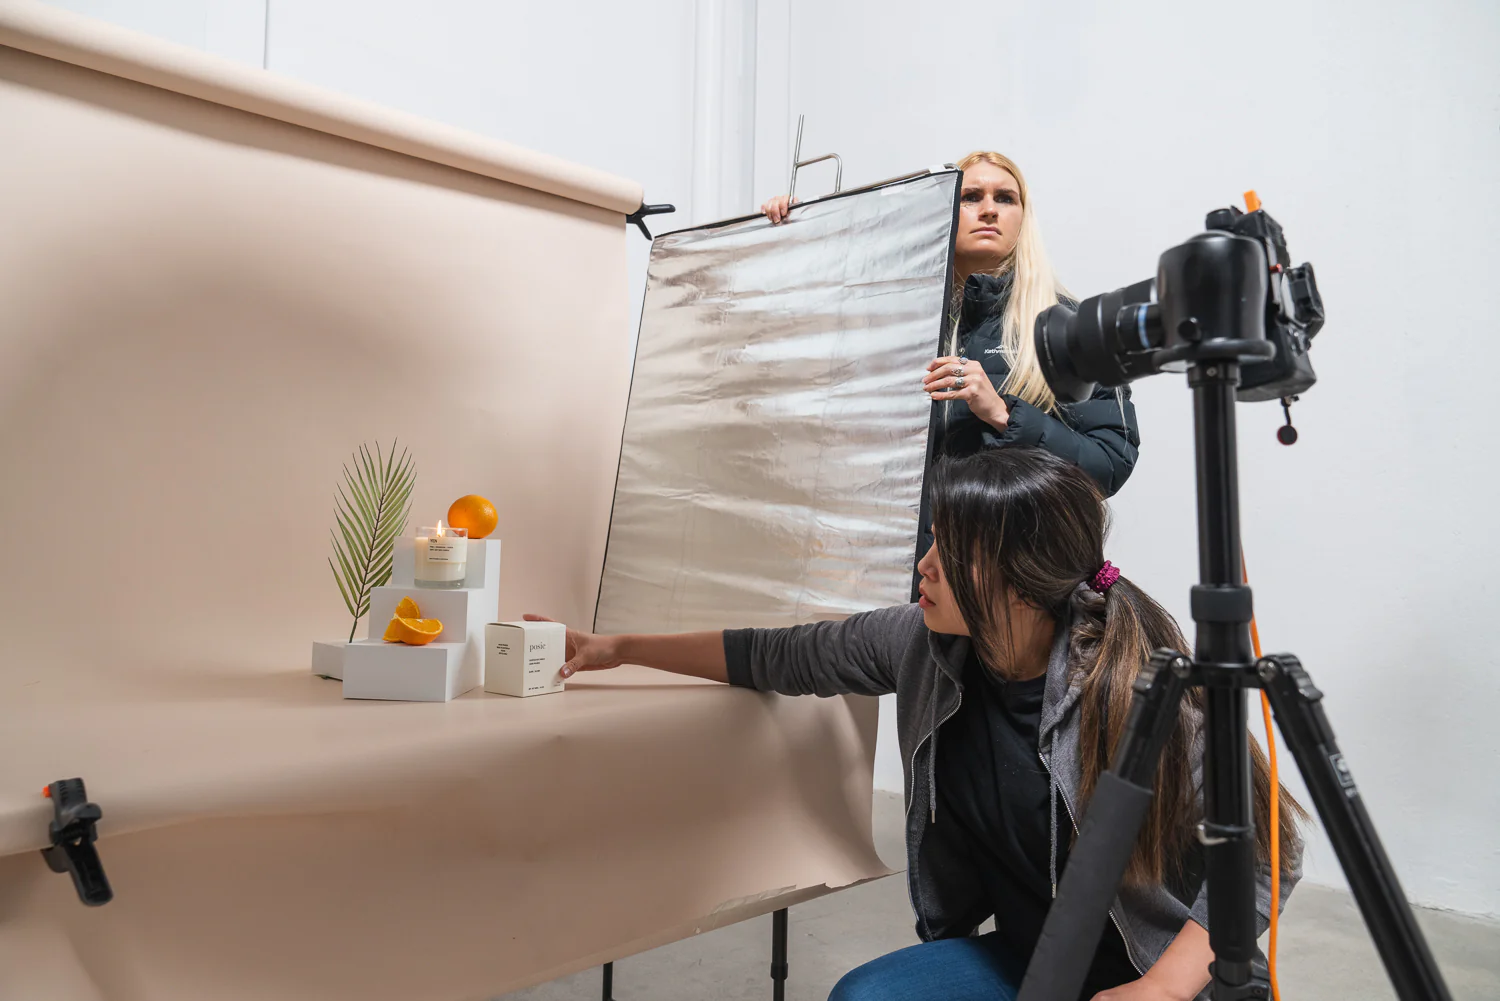
Studio Shots
Credit: productcaptures.com
You might have heard about this. Studio shots are probably the most common and straightforward type of product photography. In these photos, the product is placed on a clean white background—usually white or neutral tones. This setup makes the product the star of the show. It’s perfect for e-commerce product shots, where clarity and simplicity are key. Customers should be able to see every detail of your product without distractions.
- Clean, simple, and professional
- Perfect for e-commerce, where clarity matters
Tip: To keep the product looking crisp, use studio lights to avoid shadows and ensure a smooth, even lighting effect.
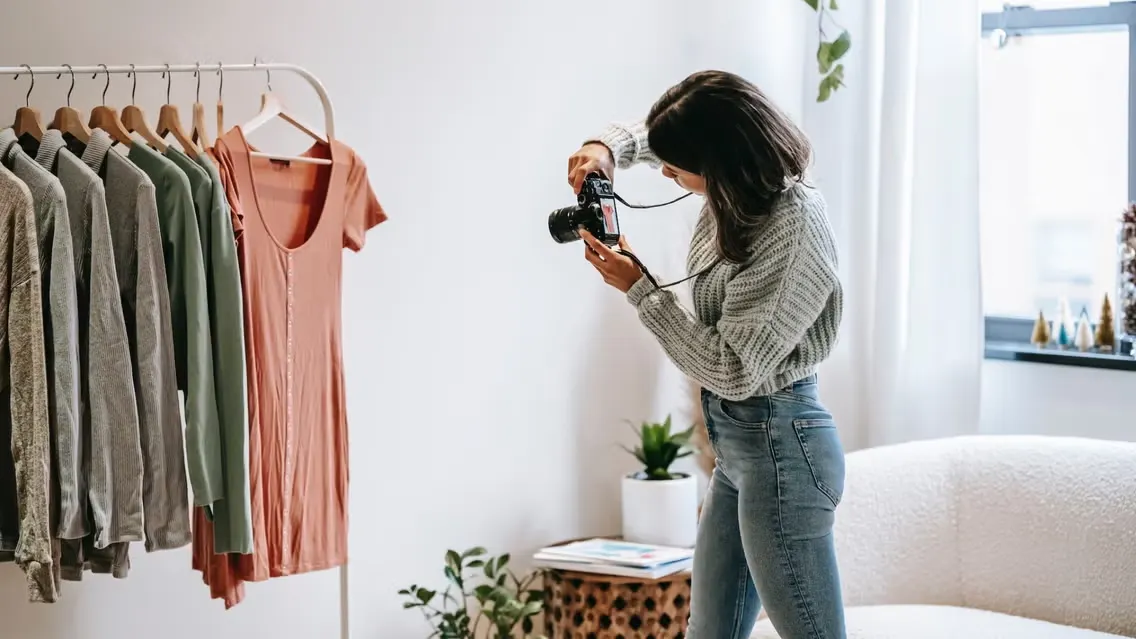
Lifestyle Shots
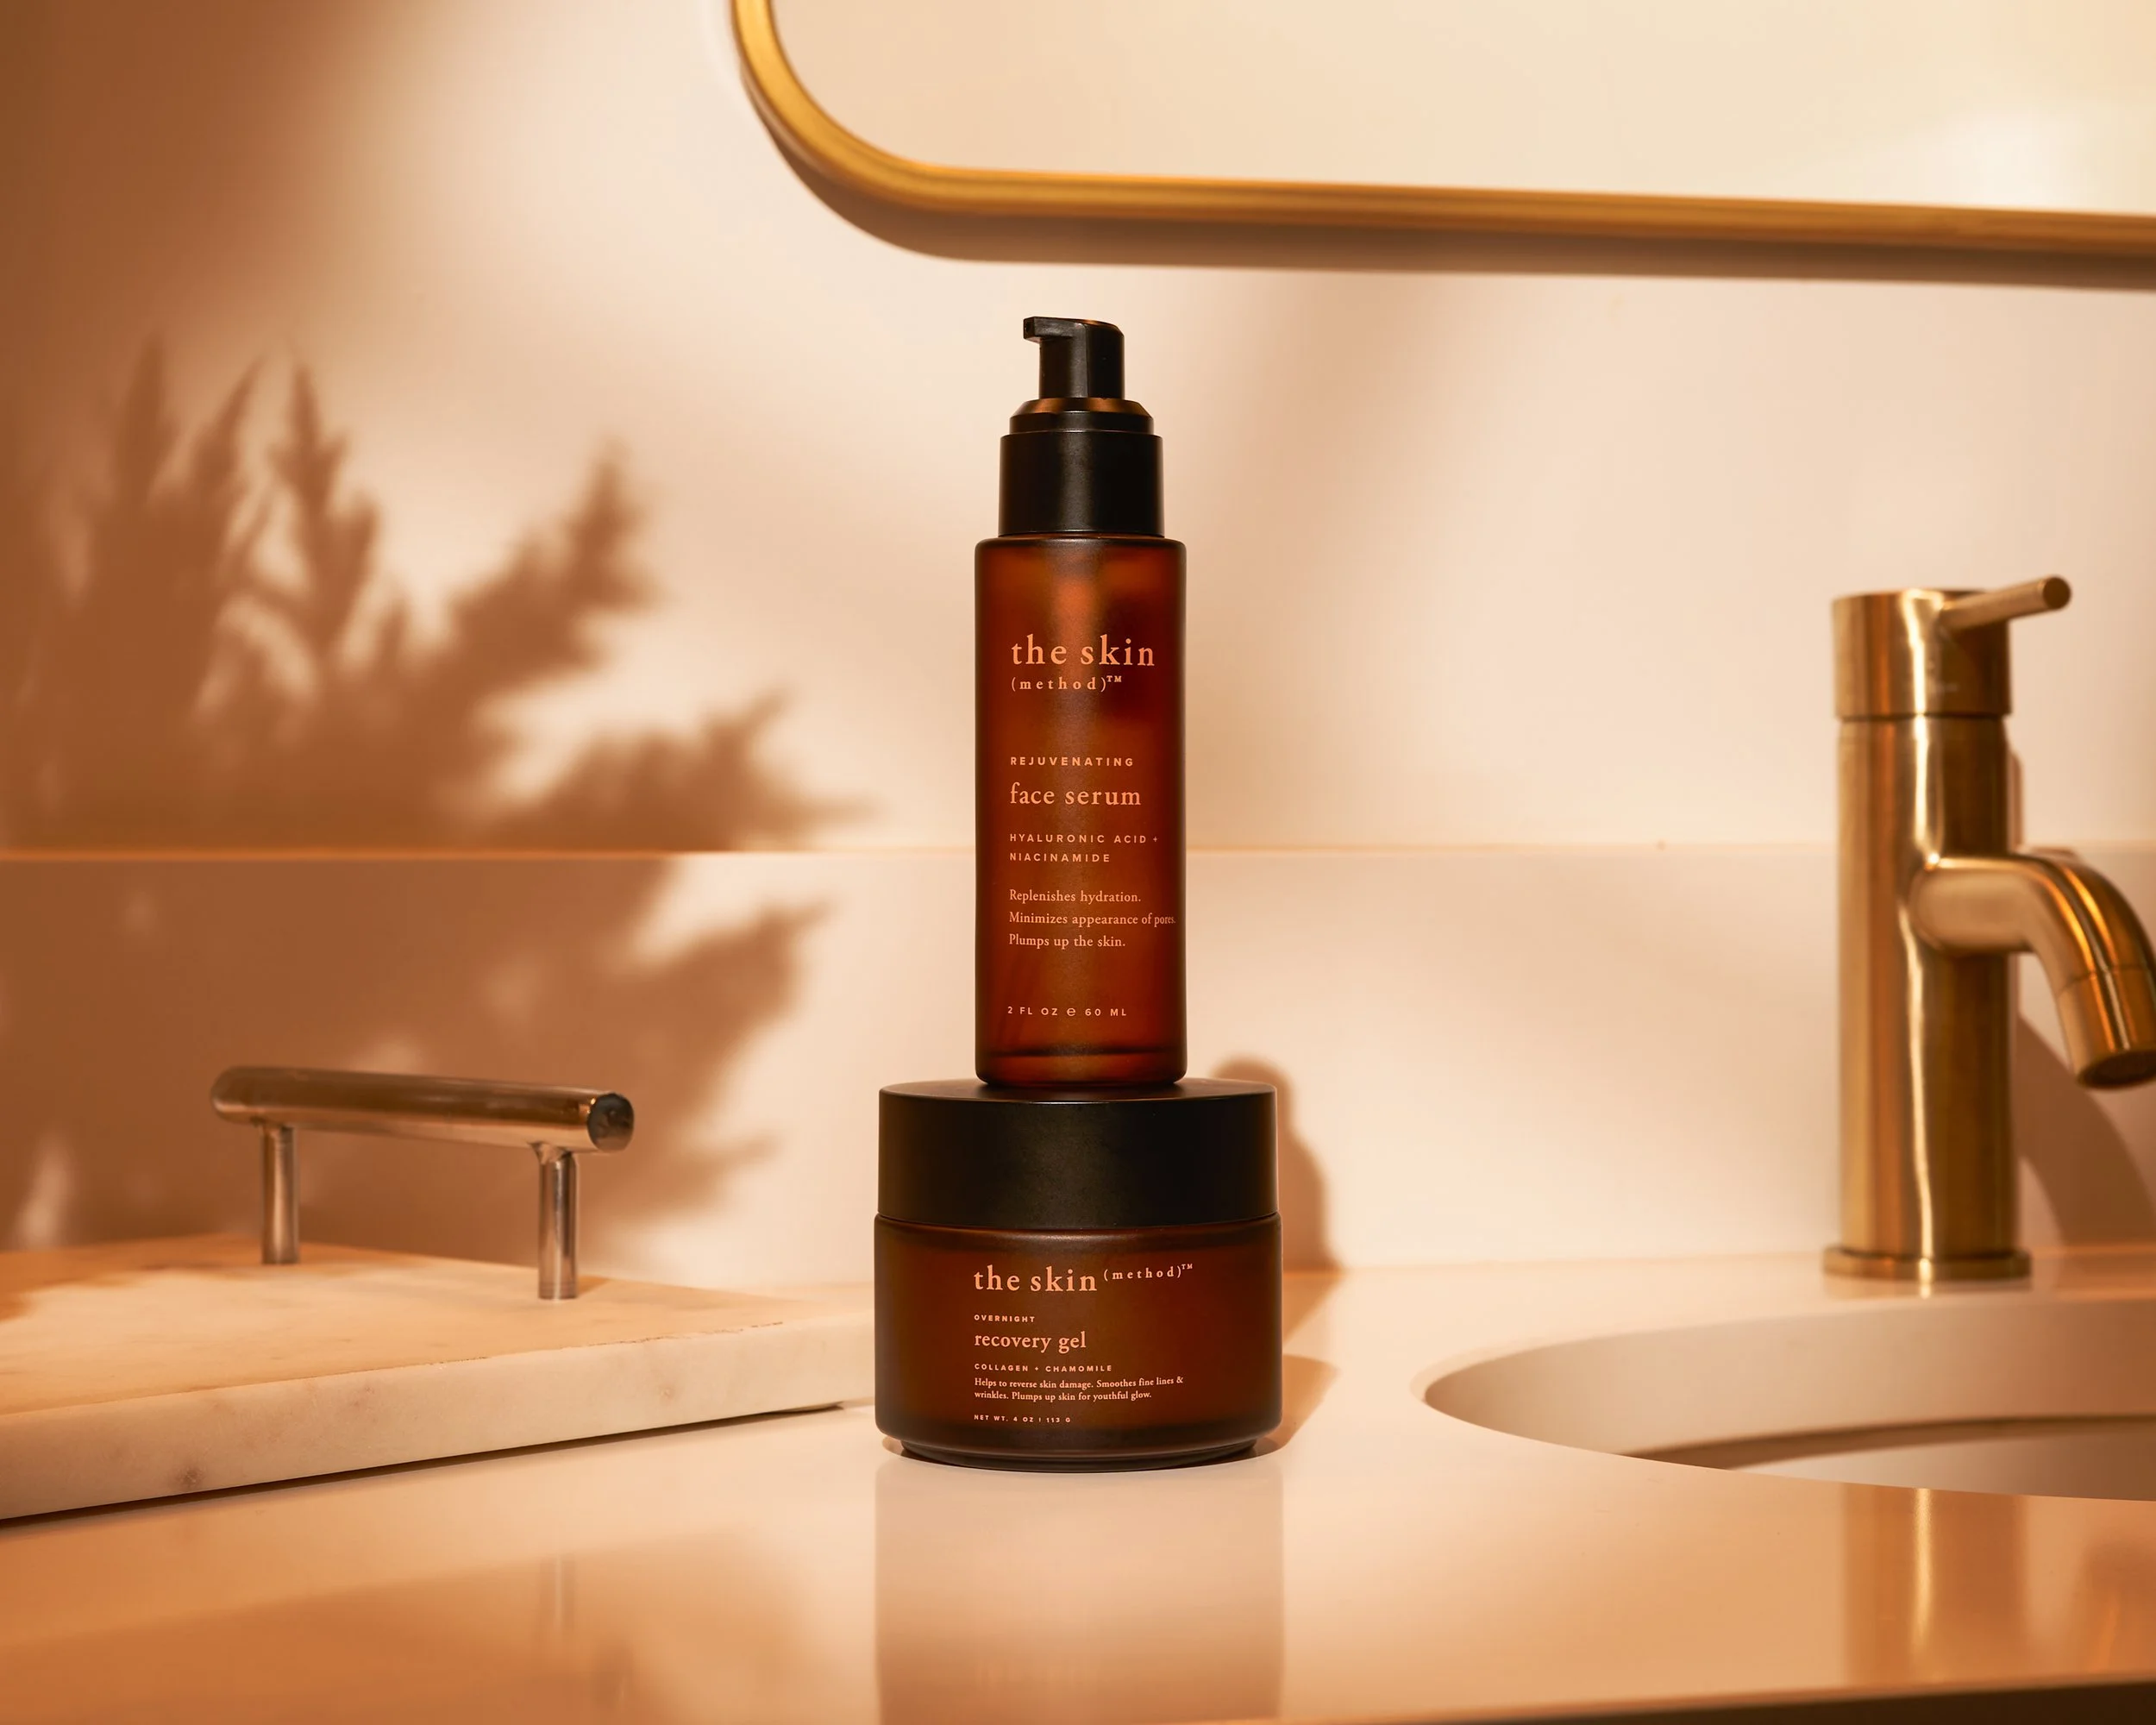
Credit: mainstreammultimedia.com
Lifestyle photography is all about showing your product in action. Instead of just placing a watch on a white background, for example, you’d show it being worn by someone, maybe on the wrist of a person enjoying a coffee. This type of creative product photography gives the customer a sense of what it’s like to use the product. It’s a great way to make people envision the product in their own lives, which makes them more likely to buy it.
Tip: Keep the scene natural and relevant to your brand’s identity. For instance, if you’re selling eco-friendly products, try to incorporate natural elements like plants or recycled materials in the background.
360-Degree Photography
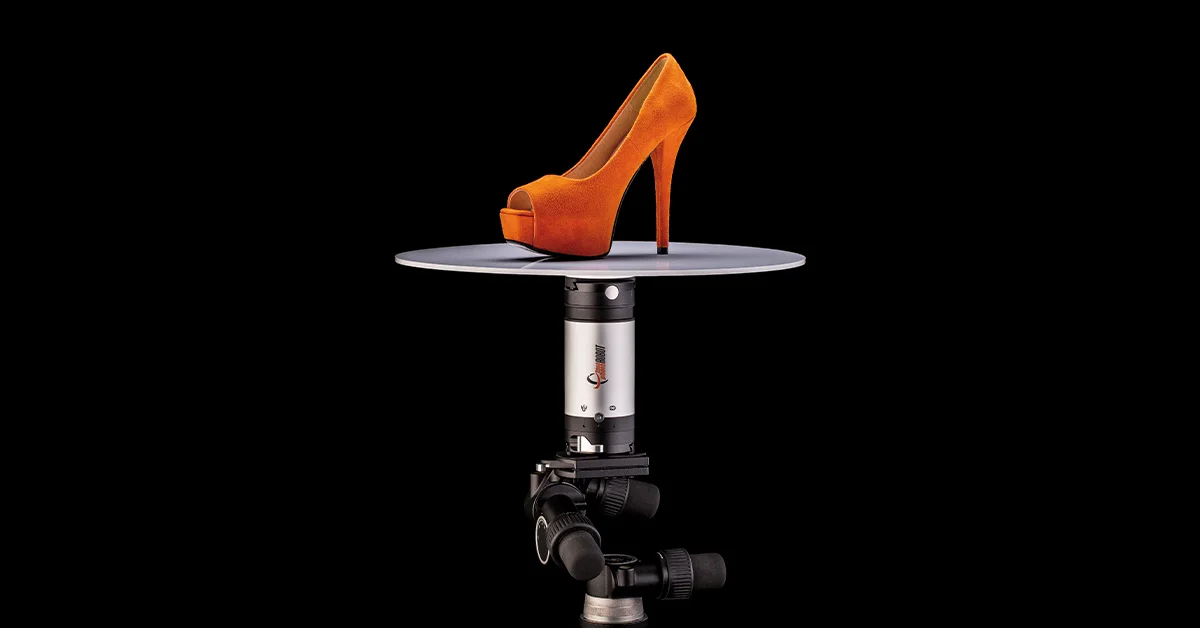
Credit: photorobot.com
This type of product photography is super useful for products that customers want to see from every angle. Think tech gadgets, jewelry, or furniture. 360-degree photography takes multiple shots of a product and combines them to create a rotating image. It’s like giving your customers the power to spin the product around and see it in detail from every direction.
Tip: Use a turntable to make sure your product rotates smoothly. You can also try software that automatically stitches together your photos for a seamless 360-degree view.
Macro Photography
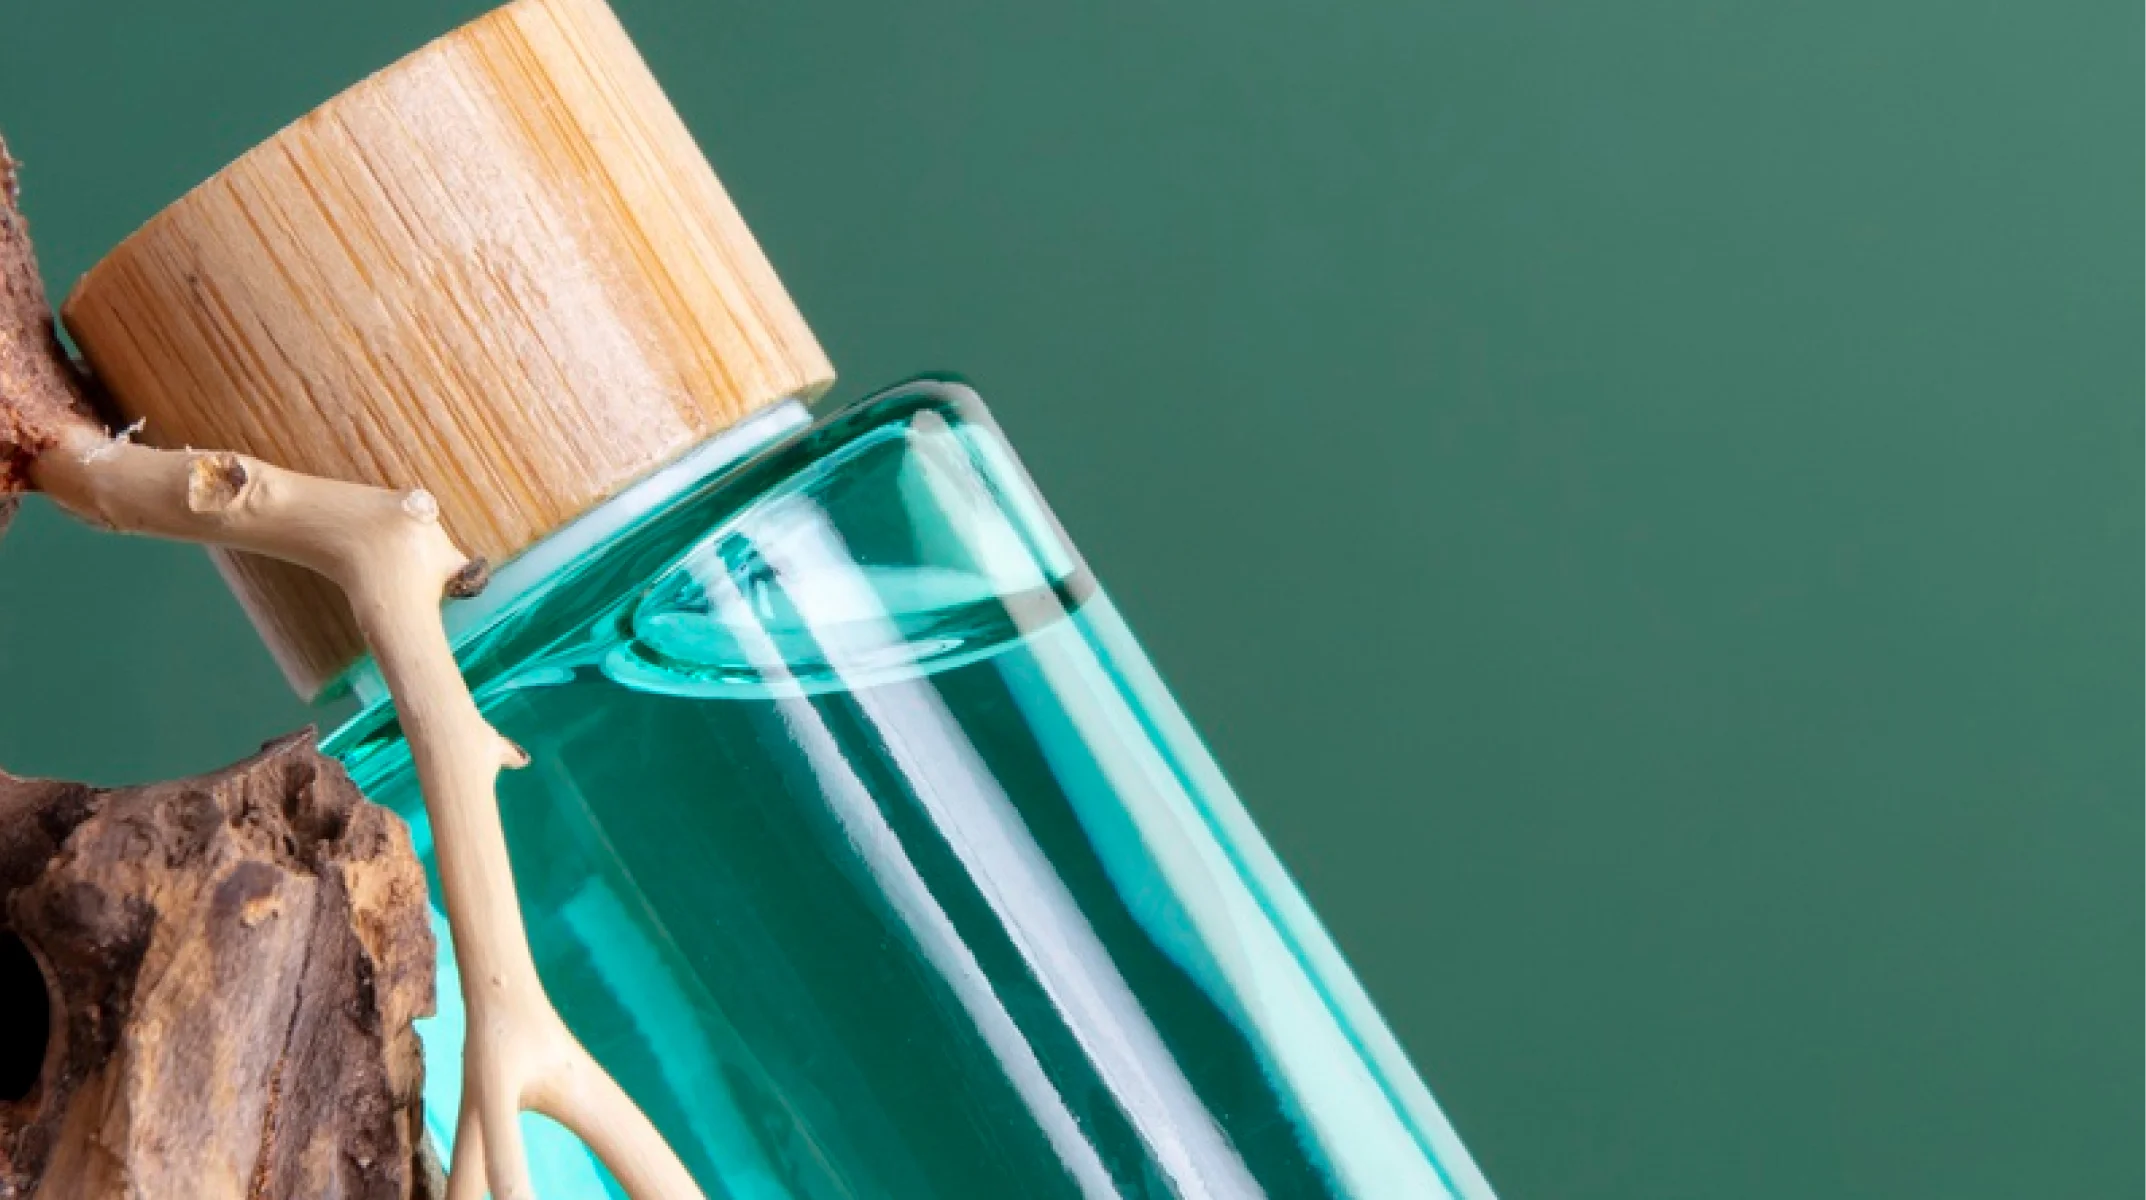
Credit: welpix.com
If your product has intricate details or textures that need to be showcased—like jewelry, beauty products, or art—macro product photography is the way to go. This style allows you to capture very fine details that would be missed in a regular shot. Macro shots help customers see the quality of your product up close, which can really set it apart.
- Capture small, intricate details
- Ideal for jewelry, beauty products, or artwork
Tip: Use a macro lens and set your aperture to a narrow setting to focus sharply on the product’s small details.
Flat Lay Photography
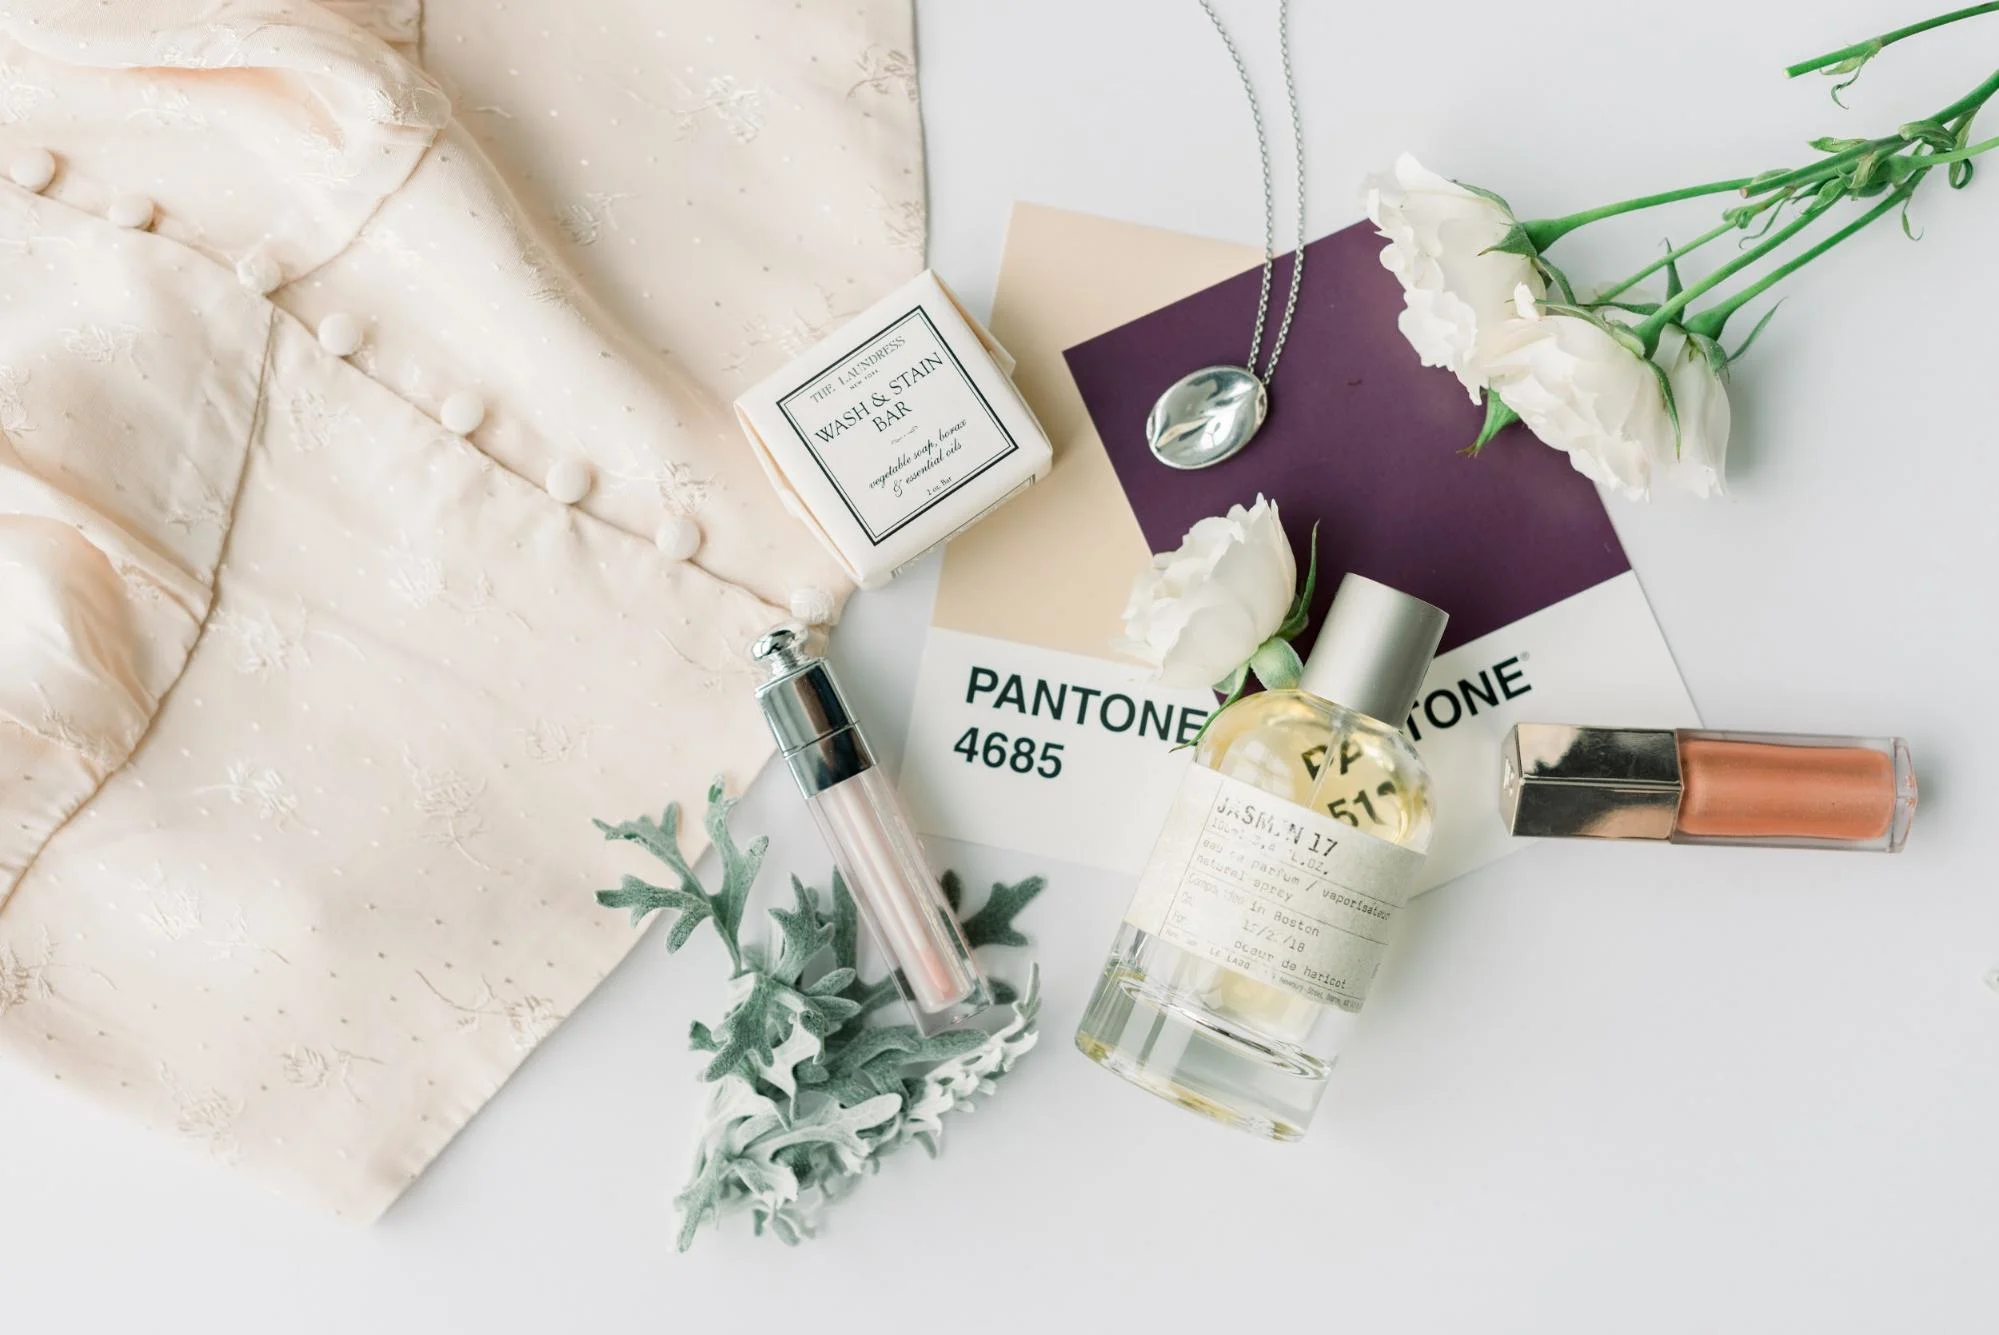
Credit: quotablemediaco.com
And then comes flat lay photography. It involves laying your product out on a flat surface and photographing it from above. This is popular for items like fashion accessories, stationery, and even food. The key here is arranging the products in an aesthetically pleasing way so that they look well-organized while still showing off each item clearly.
Tip: Use props sparingly and make sure the layout is clean. A cluttered flat lay can distract from the product itself.
How Do You Take Product Photos?
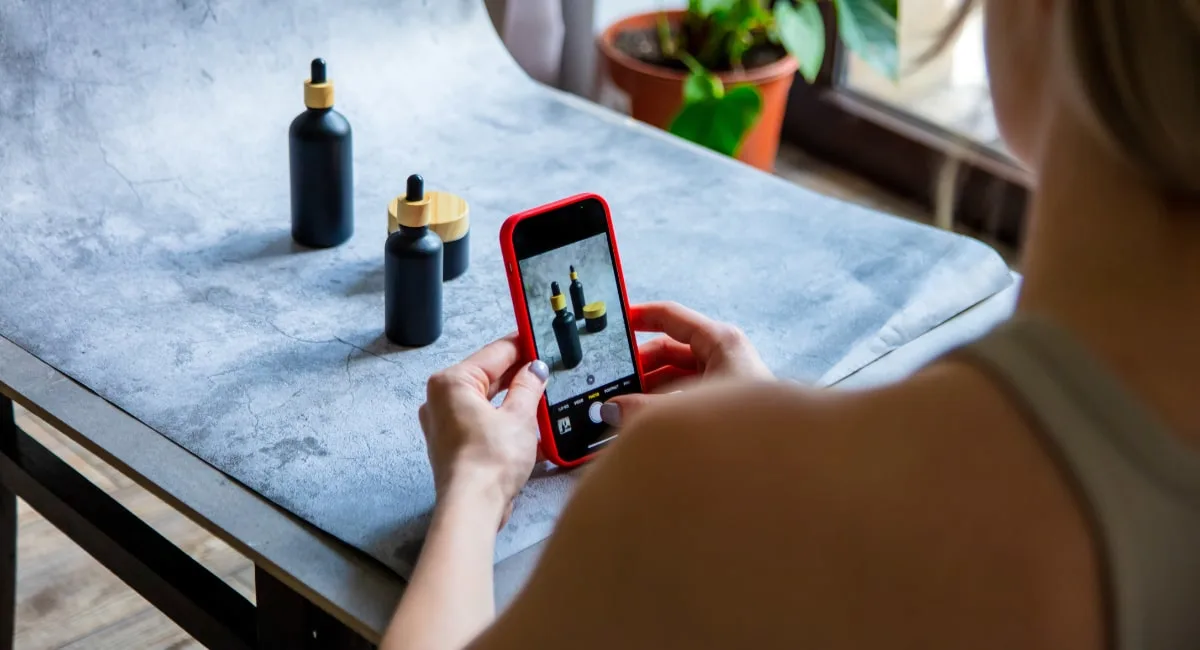
Credit: mobiletransaction.org
So, now that we know the types of product photography, let’s talk about the practical stuff: how do you actually take these photos? Don’t worry, you don’t need to be a professional photographer. With the right tips and tools, you can capture high-quality product photos on your own.
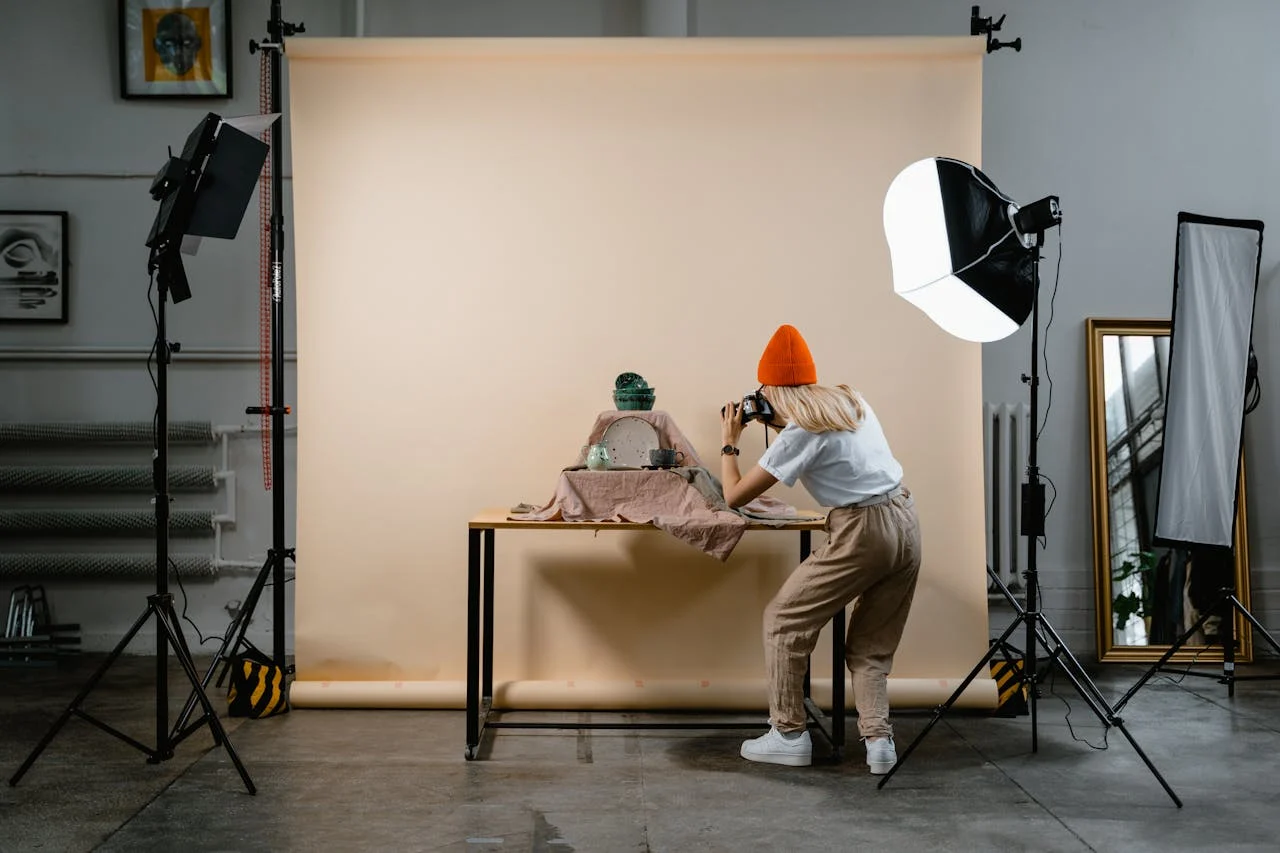
Get the Right Lighting
Lighting is everything in product photography. If you’re taking photos indoors, natural light is your best friend. If you can, set up near a window to take advantage of the soft, natural light. If that’s not an option, you can always use studio lights or LED panels to create a bright, evenly lit environment. Just be careful with harsh light—it can create unwanted shadows and reflections.
- Tip: To avoid harsh shadows, you can use reflectors (which are often just simple white surfaces) to bounce light back onto the product.
Consider Composition
When you’re taking photos, think about how you position the product in the frame. It should be the focal point of the image, so try not to overcrowd the shot. Make sure the product is well-centered, and take a look at the background. Does it complement the product? Or is it too busy and distracting? Keep it clean and simple, so your product really stands out.
- Tip: Keep the product slightly off-center for a more dynamic and visually interesting composition.
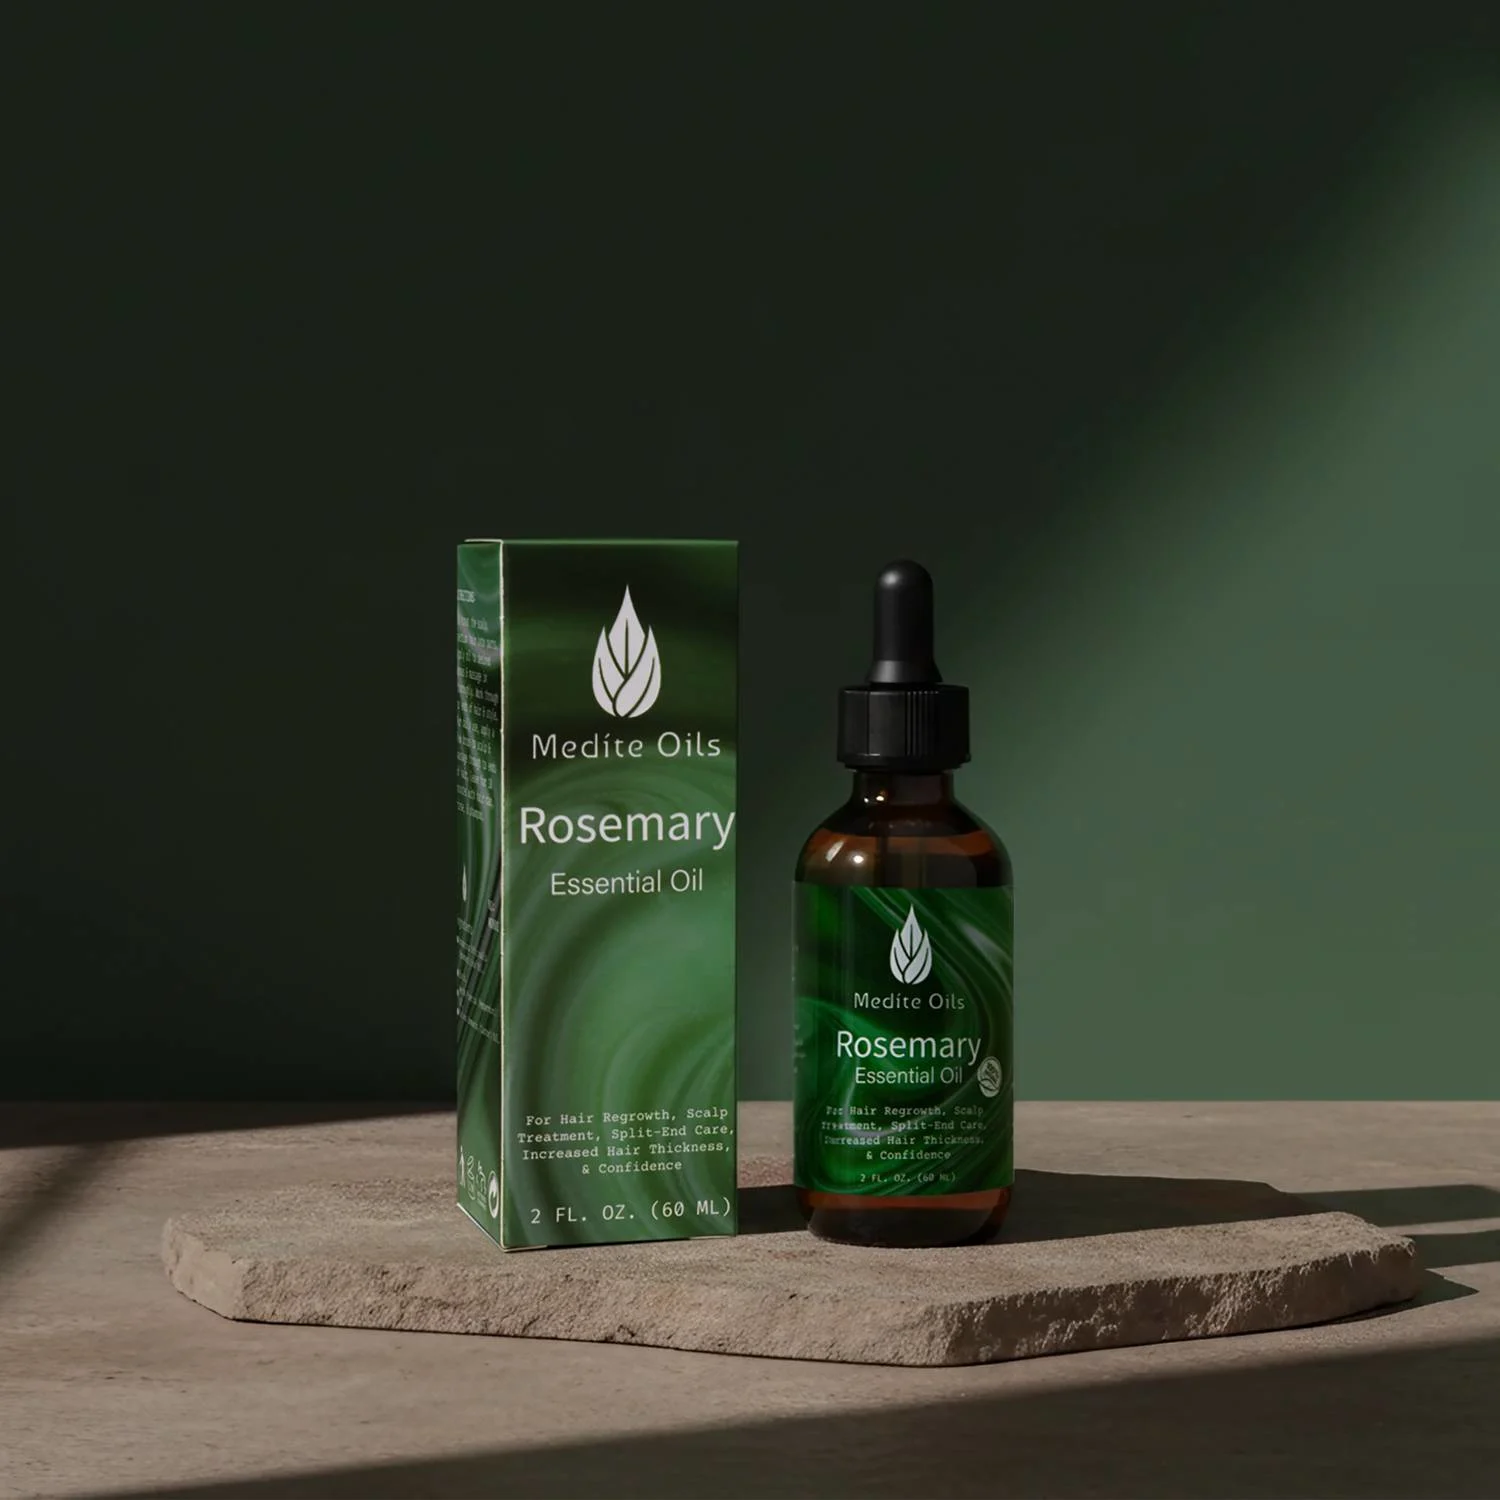
Choose the Right Background
The background you choose can change the mood of the photo. For simple e-commerce product shots, a plain white background works best. It’s clean and professional. But for creative product photography or lifestyle photography, you can experiment with textured or colorful backgrounds to fit your brand’s style. Just make sure the background doesn’t take away from the product itself.
- Tip: If you’re using a colored background, try to use a color that complements the product. Don’t let the background compete with it.
Focus on Details
When you’re photographing your product, zoom in on the little details. This is especially important for products like jewelry, shoes, or gadgets, where small features can make a big difference. A sharp focus on the finer details shows off the quality and craftsmanship of your product.
- Tip: Use a macro lens or zoom in on areas of the product that need highlighting, such as stitching, logos, or texture.
Edit Your Photos
Once you’ve got your photos, don’t forget about post-production. It’s normal for photos to need a little adjustment. Brighten up the image, enhance the colors, and make sure everything looks crisp. But remember, don’t go overboard with editing! The goal is to make your product look its best, not to create a fantasy version of it.
- Tip: Don’t overdo the filters. You want your product to look as real and authentic as possible.
Equipment for Product Photography
Credit: hypop.com.au
You don’t need to break the bank to get started with product photography. But having the right tools can make the process much easier and more effective. Here’s a list of the basic equipment you’ll need:
Camera
You don’t need a fancy DSLR to take great product photos. Even a smartphone camera can do a good job if it has a decent lens and allows you to adjust settings like exposure and focus. But if you want more control, a digital camera with manual settings will give you more options.
- Tip: If using a smartphone, try using the pro mode (if available) to control focus, exposure, and ISO settings manually.
Tripod
A tripod is essential. It keeps your camera steady and eliminates the risk of blurry photos from shaky hands. It’s especially important for those detailed shots and when you need consistent angles.
- Tip: If you’re shooting with a phone, get a smartphone tripod that allows you to lock in the perfect position.
Lighting Gear
While natural light works great, lighting equipment like studio lights or LED lights can help you achieve more control over the lighting. This ensures your photos are bright, clear, and free of shadows or dark spots.
- Tip: Invest in a good lighting kit that offers soft, even lighting for all types of products.
Backdrop
For clean, simple product shots, you’ll need a neutral backdrop. A white background works well, but you can also experiment with other colors or textures that fit your brand’s style.
- Tip: A portable backdrop stand is a great investment if you’re shooting multiple products at once.
Props
If you’re taking lifestyle photography, you might want to use props to set the scene. Just make sure the props don’t overshadow the product itself. Keep them simple and relevant to your product’s use.
- Tip: Less is more—don’t overcrowd the scene with too many props. The focus should always be on the product.
Tips and Best Practices for Product Photography
Credit: befunky.com
Now that you’ve got the basics down, let’s talk about a few best practices to help you improve your product photography.
Find the Right Angle
Sometimes, the best angle for a product isn’t the obvious one. Play around with different perspectives and see which one makes your product look the most appealing. Sometimes shooting from above, below, or at a slight angle can make a big difference.
- Tip: If you’re shooting something with texture, like shoes or a handbag, try shooting from a lower angle to highlight its depth and dimension.
Eliminate Distractions
When you’re framing your shot, be mindful of anything in the background that could distract from the product. Keep the focus on what you’re selling—anything that doesn’t add value to the image should be removed.
- Tip: Use a clean, uncluttered background to make sure the product stands out.
Shoot in RAW Format
Shooting in RAW format gives you more flexibility when editing. It keeps the image data intact, so you can make adjustments without losing quality.
- Tip: RAW files are larger and take up more storage, but they’re worth it if you want to get the best results in post-production.
Maintain Consistency
If you’re creating a series of product photos for your ecommerce product site, consistency is key. Make sure the lighting, backgrounds, and style of the photos stay the same. This creates a clean, professional look across your entire site.
- Tip: Take a few test shots to ensure you’ve got the look right before doing a full photo shoot.
Test Different Options
Don’t be afraid to try different setups. Experiment with lighting, angles, and compositions until you find the look that works best for your product.
- Tip: Don’t rush the process; take your time to perfect your shots.
Product Photography Statistics
Still wondering how important product photography is? Well, here are some eye-opening stats to back up its importance:
- 93% of consumers say that visual appearance is the most important factor when making a purchase decision.
- 75% of online shoppers rely on product photos to help them decide what to buy.
- High-quality product images lead to 49% higher conversion rates than low-quality images.
Ending Remarks
So, it all comes down to that product photography is an art and a science, but most importantly, it’s a crucial part of building your brand. Whether you’re using a smartphone or a DSLR, the goal is to showcase your products in their best light.
So, take the time to do it right. Your business will thank you.
Frequently Asked Questions
Let’s clear up any confusion you might have about product photography.
Do I need a professional camera for product photography?
Nope! While a professional camera can help, modern smartphones can take great product photos, especially with the right lighting.
What’s the best background for product photography?
For simple shots, a white background is ideal. It’s clean and professional. But for creative shots, feel free to experiment with textures or props.
How do I get good lighting for product photos?
Natural light is best, but studio lights or LED panels work great indoors if you don’t have enough natural light.
How do I make my product photos stand out?
Focus on the details, use different angles, and make sure your photos are edited to look bright and crisp.
How important is product photography for my business?
Very important! High-quality product images can increase trust, drive conversions, and boost sales. It’s a key part of your branding.