
Let’s be real for a second. You’ve got amazing pet products. Maybe it’s an ergonomic dog harness, a luxury cat bed, or a chew toy that lasts longer than anything on the market. But if your photos look like they were taken under a bathroom lightbulb, nobody’s buying. Product companies often pour everything into the product itself. Then the photography becomes an afterthought. And that’s where sales die quietly. Here’s the good news: you don’t need a $10,000 studio to take photos that sell. You need a smart product photography studio setup, the right gear, and a plan. This guide walks you through everything, step by step. No fluff. Just what actually works.
Let’s build your studio.
Step 1: Pick the Right Space
Credit: frontbackandsides.com.au
Before you buy a single piece of product photography studio equipment, find your space. You don’t need a warehouse. A spare room, a garage corner, or even a section of your living room works. The key is consistency. You want to shoot in the same spot every time. Here’s what to look for:- Size matters, but not how you think. You don’t need a huge room. Most products fit on a tabletop setup. A 10×10-foot space is plenty.
- Watch the windows. Natural light is your best friend. North-facing windows give soft, even light throughout the day. South-facing can be harsh at midday. East or west? You’ll get good light in the morning or afternoon, then it shifts fast.
- Keep it clutter-free. Mess outside the frame will distract you. And props you don’t need have a way of sneaking into shots.
- Pro tip for pet product brands: pick a space where you can occasionally bring in your actual products for scale. A dog leash looks different next to a hand versus next to a 60lb Labrador. Context matters for your customers.
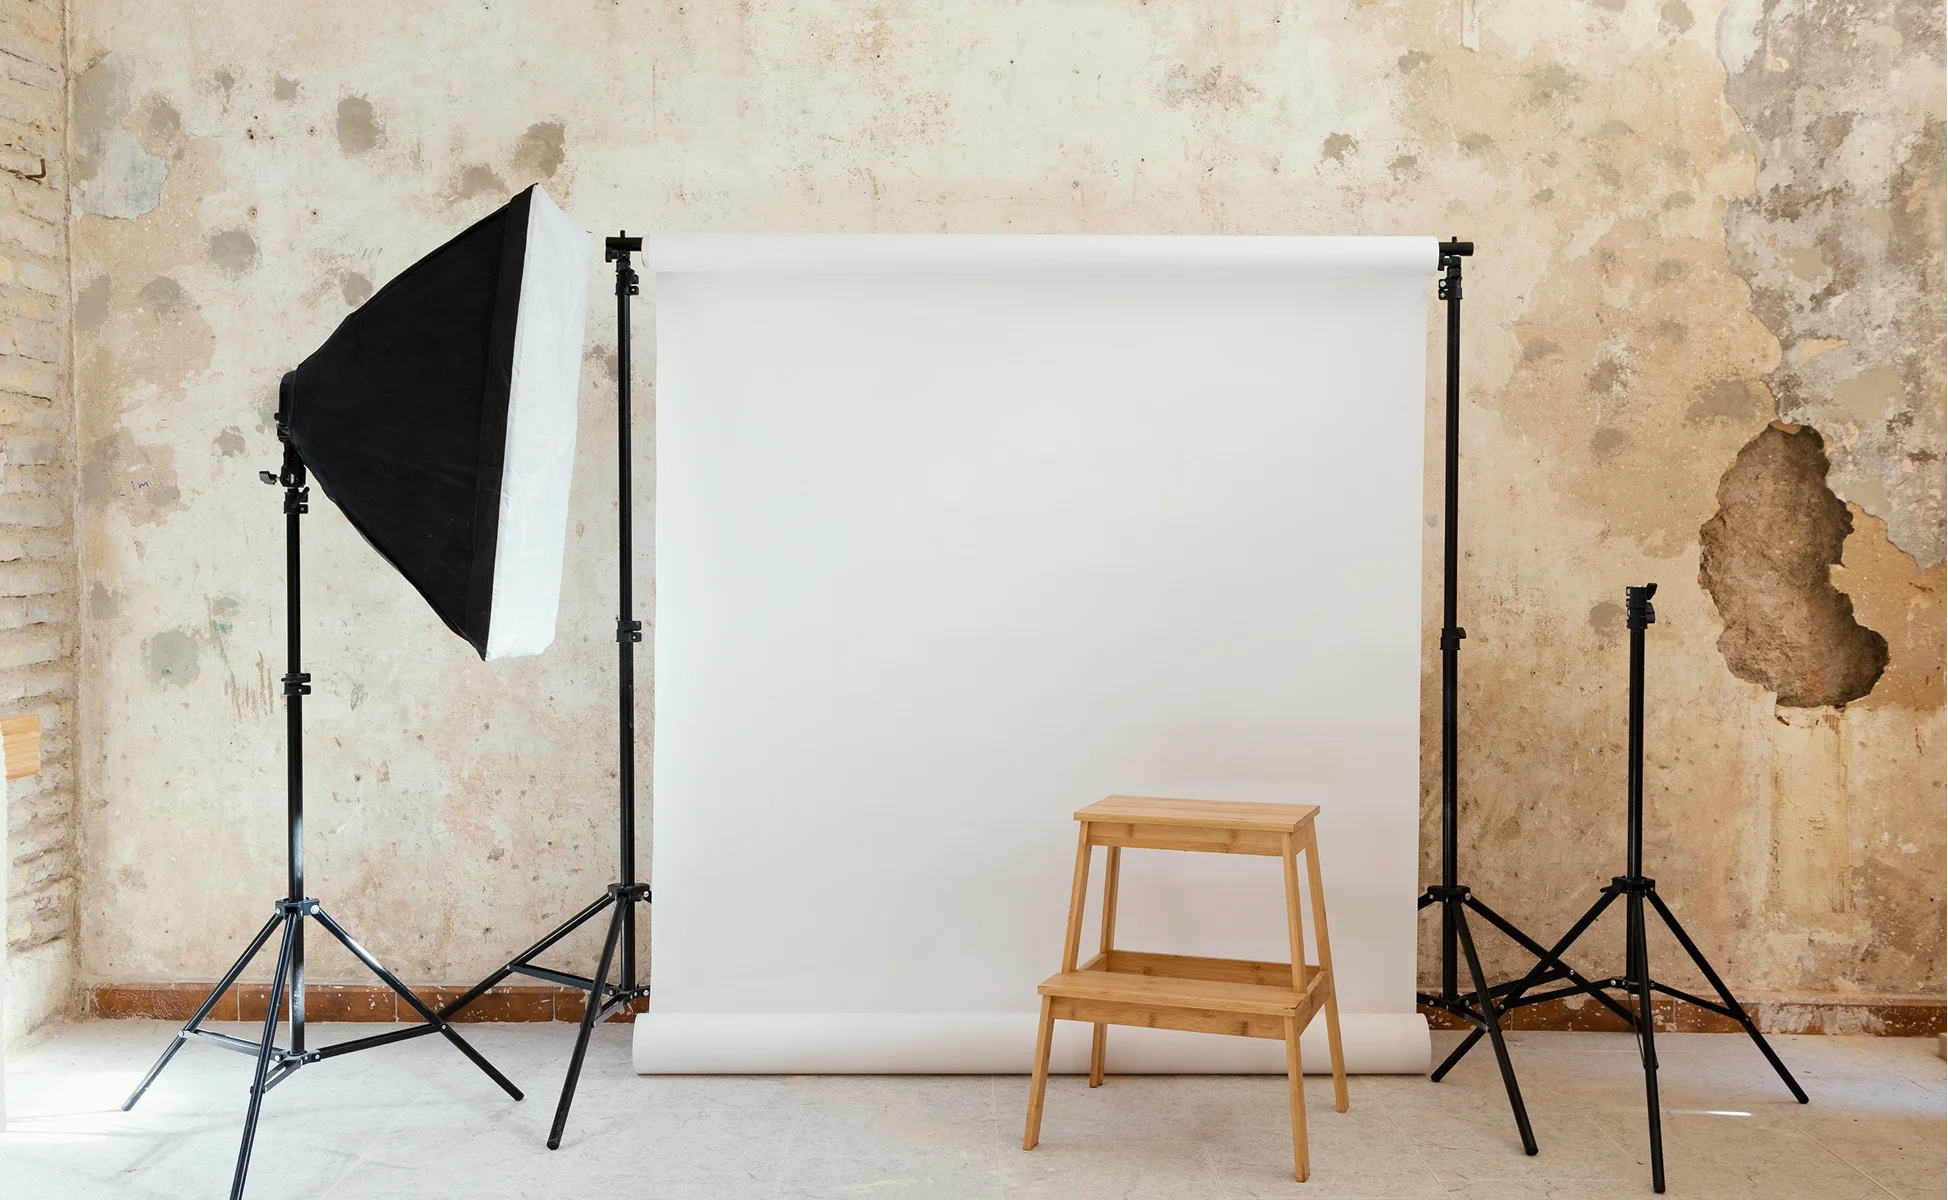
Step 2: Choose Your Background
Credit: welpix.com
This is where most beginners overthink it. Start with white. A simple white background is the standard for e-commerce. It’s what Amazon and other eCommerce stores use. It removes distraction. It puts the product front and center. Your background options:- White seamless paper roll is the go-to. It gives you a clean, wrinkle-free background. You can buy a roll online for under $30. Mount it on a stand behind your table and let it curve down onto the shooting surface. This creates a “sweep” — no visible corner, no harsh line.
- White foam board works for smaller products. A few boards from a dollar store can create a clean, professional look. Position one behind the product and one underneath.
- Colored or textured backdrops come later. Once you’ve nailed white, you can experiment. For pet brands, earthy tones, soft greens, and wood textures often perform well. They feel natural, outdoor-friendly, and trustworthy.
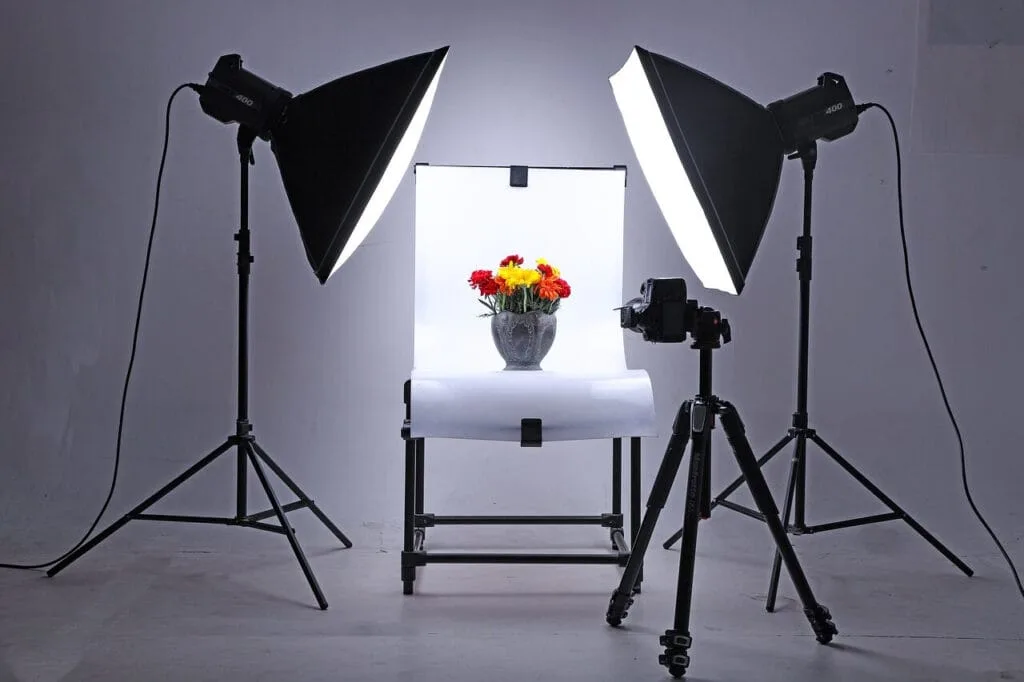
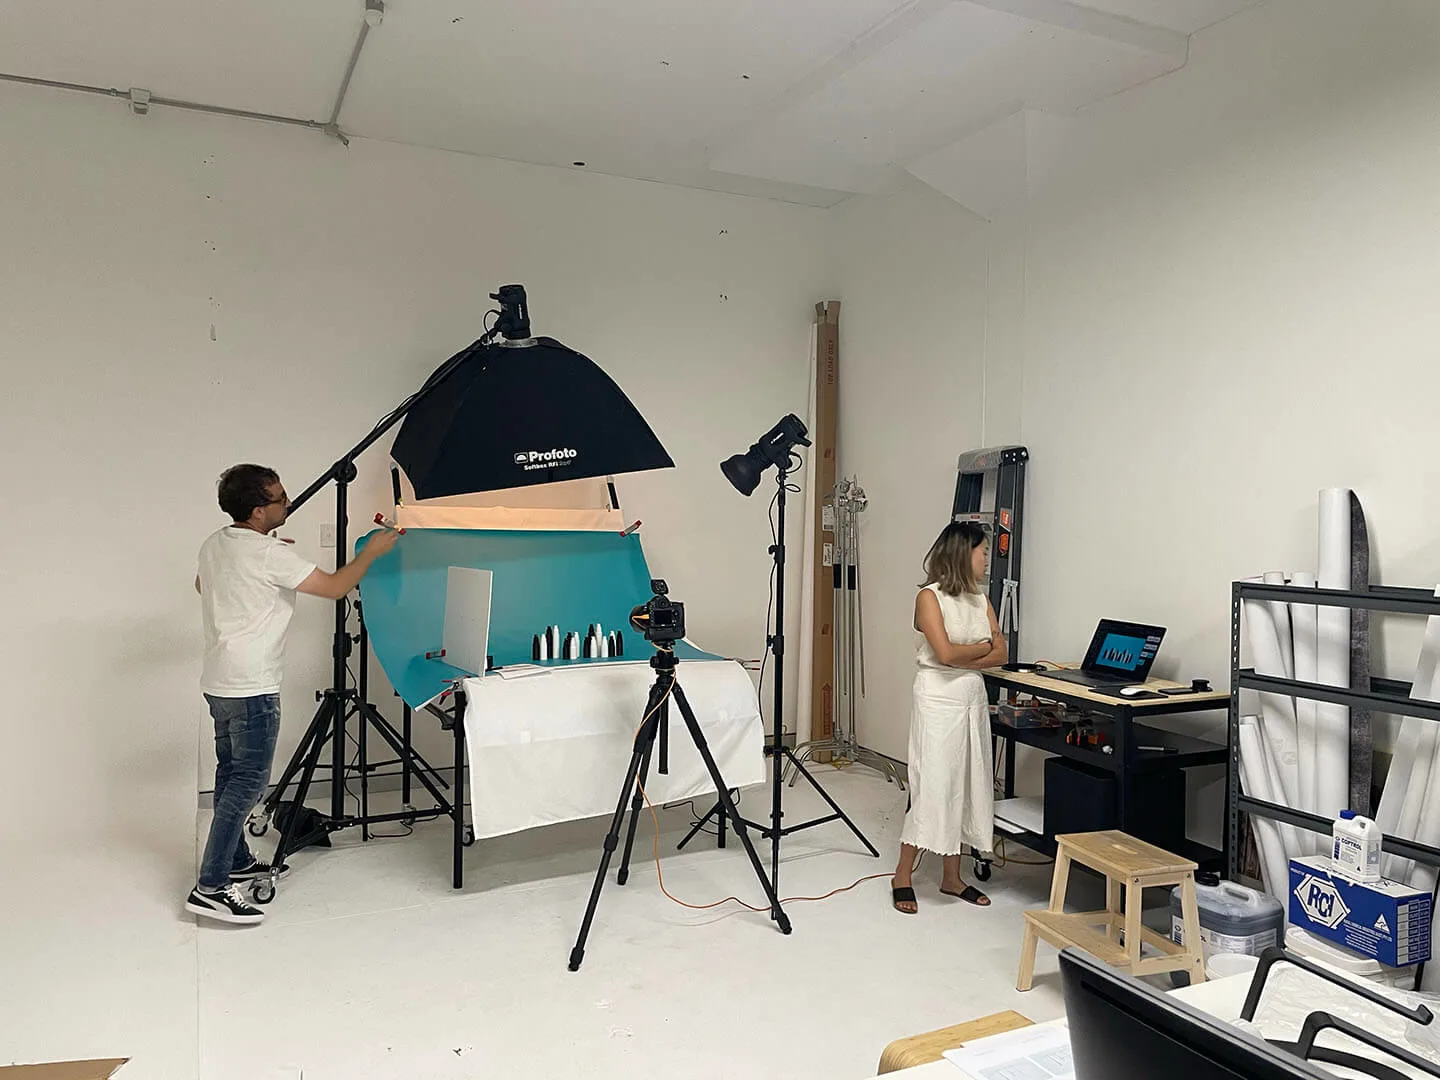
Step 3: Build Your Lighting Setup
Credit: fdsmasterclass.com
Lighting is the single biggest factor in your photo quality. More than your camera. More than your lens. Knowing how to set up studio lighting for product photography is the skill that separates average shots from images that actually convert. Here are three approaches, from zero budget to moderate investment:Option A: Natural Window Light (Free)
- Set your table right next to a large window. The window acts as a giant softbox. It spreads light evenly across your product.
- Use a white foam board or reflector on the opposite side of the window. This bounces light back and fills in shadows. Without it, one side of your product goes dark.
- Cover the window with a white sheet or diffusion paper if the sun is too harsh. Direct sun creates sharp, ugly shadows.
Option B: Softbox Lighting (Under $100)
Studio lighting for product photography doesn’t have to be complicated. A two-softbox kit is the entry-level studio standard.- Place one softbox on each side of your product at 45-degree angles. This creates even, shadow-minimizing light. It looks clean and professional.
- LED softboxes are the way to go. They run cool, use less power, and let you work all day without overheating your studio space.
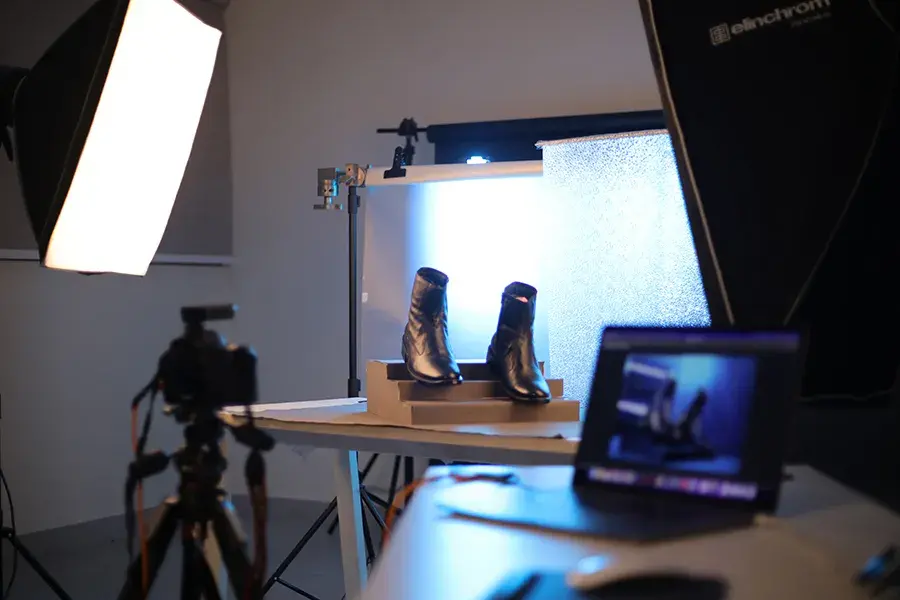
Option C: A Light Tent or Lightbox
For small products — pet collars, ID tags, leashes, and small toys — a lightbox is incredibly efficient. It’s a box with white diffusion walls and built-in LED strips. You put your product inside, shoot through the front opening. Everything is automatically soft and even. You can find decent lightboxes for $30 to $60. For small-to-medium pet products, it’s one of the fastest ways to get consistent results.Step 4: Get Your Camera and Lens Right
Credit: rtings.com
Here’s what you actually need to hear: your camera is less important than your lighting. A modern smartphone with a good camera can produce excellent product shots in the right conditions. Don’t let gear paralysis stop you from starting. That said, if you’re serious about volume and quality, here’s what to invest in:- Camera body: A DSLR or mirrorless camera in the $400–$800 range is more than enough. Canon, Sony, Nikon, and any of the major brands have solid entry-level options.
- Lens: A 50mm or 100mm macro lens is ideal for product photography. The 50mm lens gives a natural perspective. The macro lets you get close for detail shots.
- Smartphone option: If you’re starting out, use your phone. Shoot in portrait mode for depth. Use the back camera, never the front. And always use a tripod.
Step 5: Add a Tripod — Non-Negotiable
Credit: michaelscamerahire.com.au
A tripod is not optional. It stabilizes your camera. It keeps your framing consistent across an entire product line. It lets you shoot in lower light without getting blurry. You don’t need an expensive one. A basic tripod in the $20–$40 range is completely fine for tabletop product photography. For pet products with reflective surfaces — think stainless steel pet bowls or metallic collar hardware — a stable camera lets you control exactly how reflections appear in the frame.Step 6: Style Your Products Like a Pro
Credit: professionalproductphotography.com
Setup done. Now let’s talk about studio product photography ideas that actually work for pet brands. This is where pet product brands can really differentiate themselves. Anyone can take a flat photo of a dog bowl on white. Not everyone can make it look like something a customer falls in love with.- Clean your products. Every fingerprint, every piece of lint, every scratch shows up on camera. Wipe down hard surfaces. Use a lint roller on fabric items.
- Use props intentionally. A dog leash next to a small dog bowl and a worn leather glove tells a story. It puts the customer in a lifestyle moment. But don’t overdo it. One or two props max.
- Show scale. Pet product customers need to know how big something is. A flat-lay shot of a cat toy means nothing without context. Add a hand. Add a recognizable item next to it.
- Try multiple angles. Shoot straight-on, top-down (flat lay), and 45-degree angles. For pet products like harnesses, show the buckle, the padding, and the adjustment points. Make the customer feel like they’re inspecting it in person.
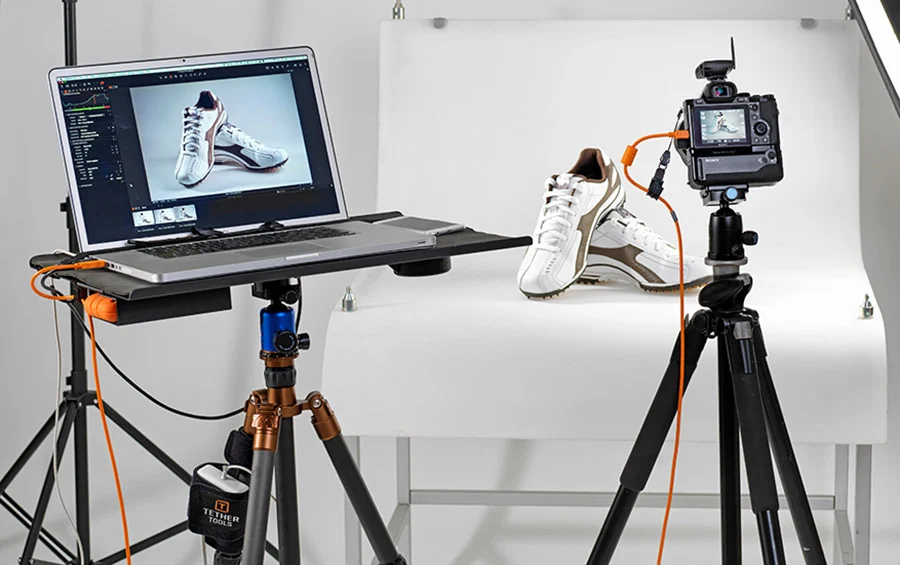
Step 7: Shoot Tethered or Review Immediately
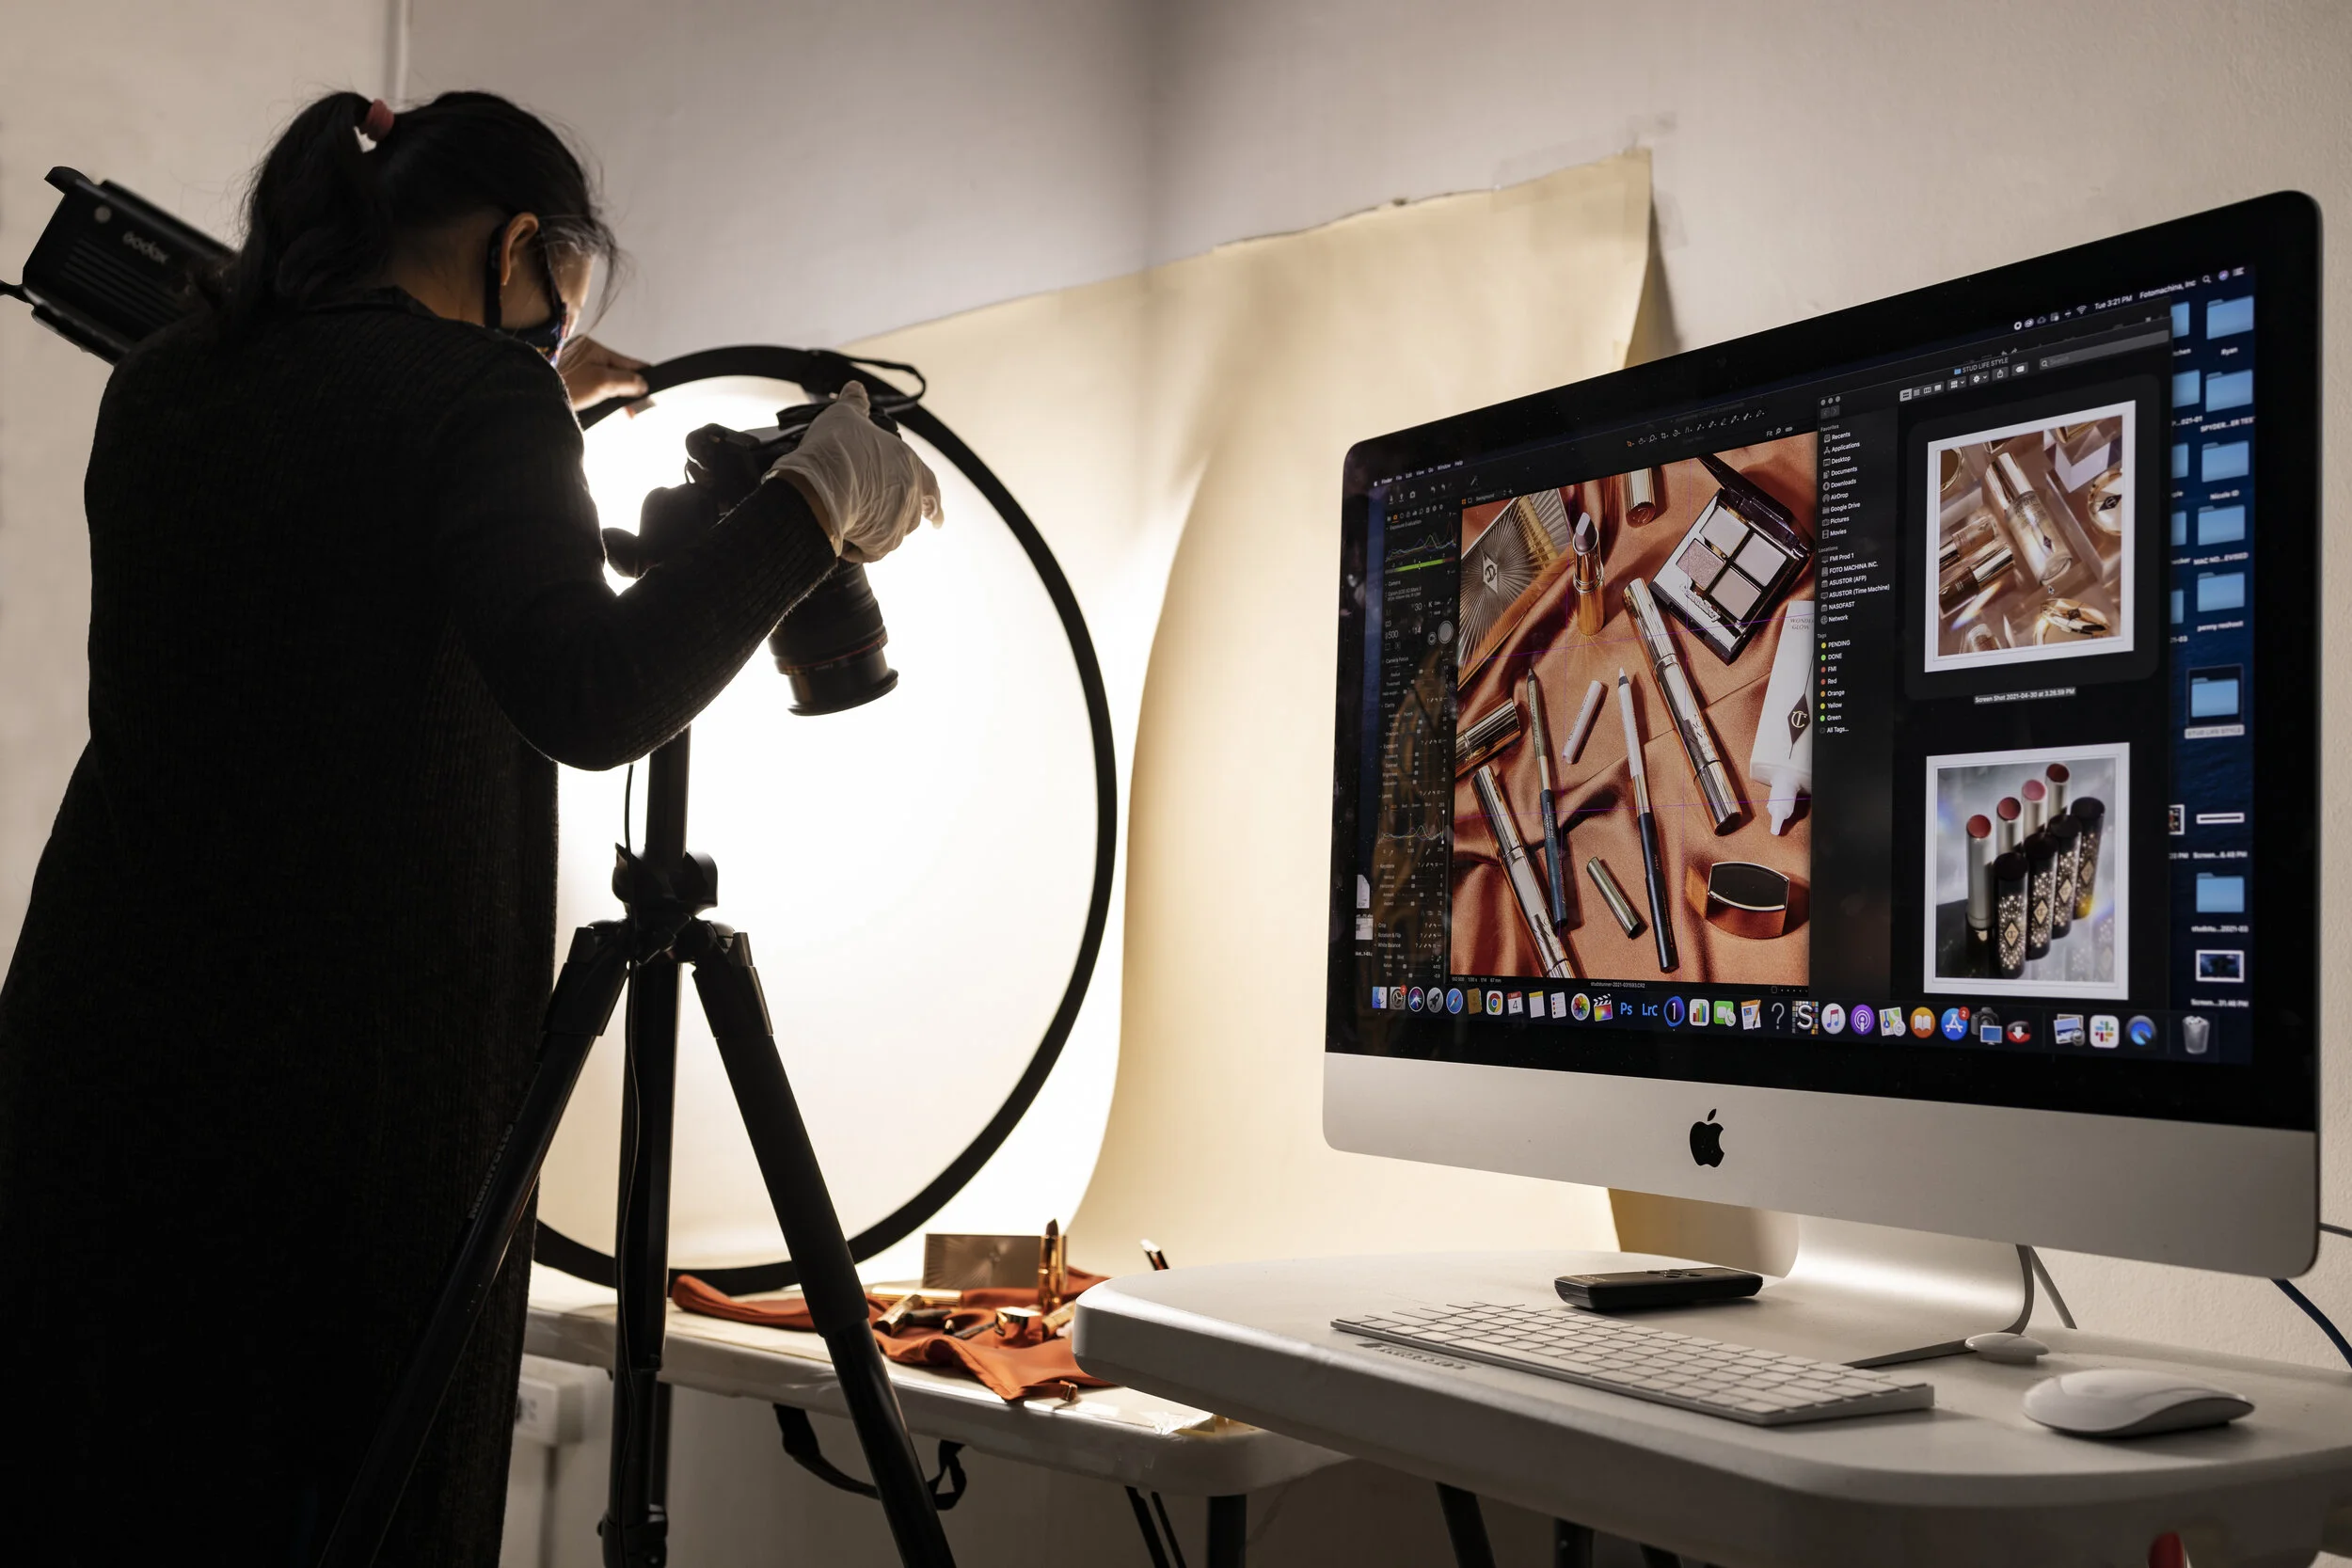
Credit: prophotostudio.net
One habit that separates serious product photographers from everyone else: reviewing images as you shoot. If your camera has Wi-Fi, connect it to your phone or laptop. See every shot in real time. Catch problems before you’ve packed everything up. No Wi-Fi on your camera? Plug in via USB and use tethering software. Capture One and Lightroom both support this. At a minimum, review shots on a larger screen after every few frames. Your camera’s small LCD lies to you. A slightly blurry shot that looks fine on a 3-inch screen becomes a rejected image the next morning.Step 8: Edit Consistently
Credit: fotomachina.ph
Photography doesn’t end when you put the camera down. Basic editing is non-negotiable. You don’t need to become a Photoshop wizard. You need to handle four things:- White balance. Make sure your whites are actually white. Not yellow. Not blue. True white. This is critical for e-commerce compliance on platforms like Amazon and Chewy.
- Exposure. Brighten underexposed shots. Bring down highlights if product details are blown out.
- Background cleanup. Even on a white background, you’ll often need to boost brightness or remove minor shadows. Lightroom, Photoshop, or even free tools like Remove.bg can help.
- Cropping and consistency. Keep your product centered, with consistent spacing around it. When your product line looks uniform, it builds trust.
The Complete Photography Studio Equipment Checklist
Before your first shoot, run through this. Missing even one item can slow down an entire session:- White seamless paper roll or foam boards
- Two softbox LED lights (or a lightbox for small items)
- Light stands for your softboxes
- Reflector or white foam board for fill light
- Camera body (DSLR, mirrorless, or smartphone)
- 50mm or macro lens
- Sturdy tripod
- SD memory card (16GB minimum)
- Laptop or tablet for tethered review
- Lint roller, microfiber cloth, and cleaning supplies
- Props relevant to your pet product niche
Common Mistakes Product Brands Make
Let’s be direct about what not to do:- Shooting in mixed light. Window light on one side, a yellow overhead bulb on the other? Your colors will look wrong. Pick one light source.
- Ignoring shadows. A harsh shadow behind your product looks cheap. Use reflectors or fill lights to soften them.
- Inconsistent backgrounds across your catalog. White on one product, gray on another, lifestyle shot for a third. It looks disorganized. Pick a system and stick to it.
- Not cleaning products before shooting. Hair, dust, and smudges are invisible to the naked eye in a busy warehouse. Under studio light and a camera lens, they’re glaring.
- Skipping the tripod. Slightly blurry product images are rejected by major retail platforms and look unprofessional on your own site.