

When it comes to product photography, lighting is your secret weapon. Seriously—think of it as the magic ingredient that can take your product shots from “meh” to “wow!” Whether you’re capturing stunning visuals for an e-commerce site, a catalog, or just trying to up your Instagram game, a killer product photography lighting setup is key. Trust me, once you master it, your photos will pop like never before.
So, let’s dive in! I’m here to guide you step-by-step through the essentials of creating a lighting setup that’ll make your products shine. Whether you’re a newbie or a seasoned pro, by the end of this guide, you’ll have all the tips and tricks to set up your product photography lighting setup like a true expert. Ready? Let’s light up your product shots!
Why Is Lighting Everything in Product Photography?
Here’s the thing: no matter how awesome your product is, if the lighting’s off, your photos will suffer. Think about it—if you’re showing off a stunning watch, but the lighting makes it look like a dull hunk of metal, your customer won’t feel that “wow” factor. That’s why lighting is the star of the show in product photography. It brings out all the little details, from the textures to the colors, and gives your product that professional shine.
What Happens Without Proper Lighting?
Without the right lighting setup, you might end up with:
- Harsh shadows that hide the product’s details
- Overexposed areas that make your product look washed out
- Reflections that distract from your subject (especially if it’s shiny or glass)
- Flat images that lack depth and dimension
But don’t worry! A little know-how and a solid product photography lighting setup will fix all of these issues and more.
The Basics of Product Photography Lighting Setup
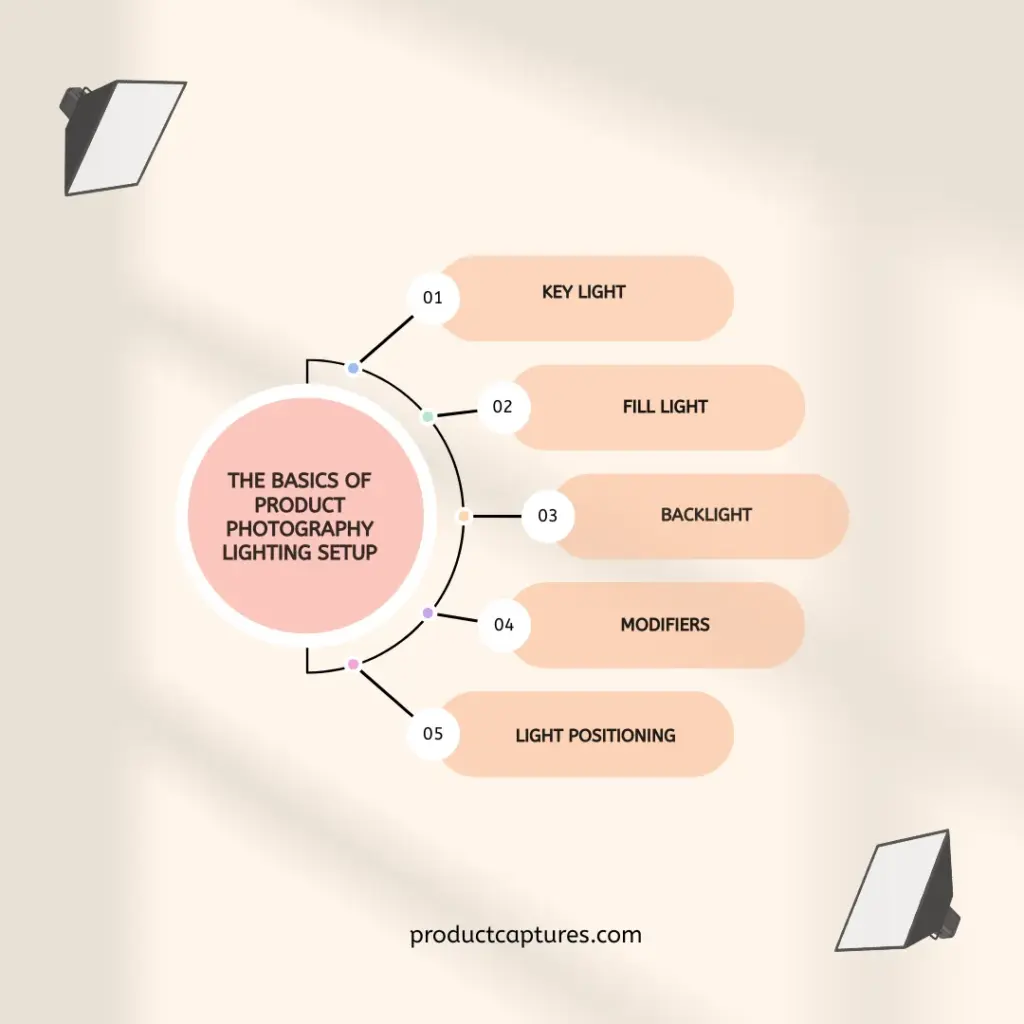
Before we jump into the nitty-gritty of gear and techniques, let’s break down the two main types of lighting you’ll encounter:
Natural Light vs. Artificial Light: Which One is Right for You?
- Natural light is awesome for creating a soft, airy vibe. But here’s the catch—it’s unpredictable. The weather could ruin your plans, and you might not get consistent lighting throughout the day.
- Artificial light is the go-to for controlled, consistent results. Whether you’re shooting indoors or in a studio, artificial lighting gives you total power over your shots. Plus, you don’t have to worry about the sun setting on you!
Tip: If you’re shooting indoors, I highly recommend artificial lighting. It gives you the ability to shape the light exactly the way you want it.
Comparing Lighting Options for Product Photography
Now that we know the basics, let’s talk about the actual light sources you’ll be using. There are two main types of lighting for product photography setup: continuous lights and strobes.
- Continuous Lights: These lights stay on, giving you a constant source of light. This makes it super easy to see how your lighting affects the shot in real time. Great for beginners, but keep in mind they may require a higher ISO setting.
- Strobes: These are flashes of light that happen in an instant. They’re powerful and great for freezing action. They also give you more control over the light intensity and are perfect for those crisp, sharp shots. But strobes take a bit more skill to master.
The Magic of Modifiers: Shaping Your Light
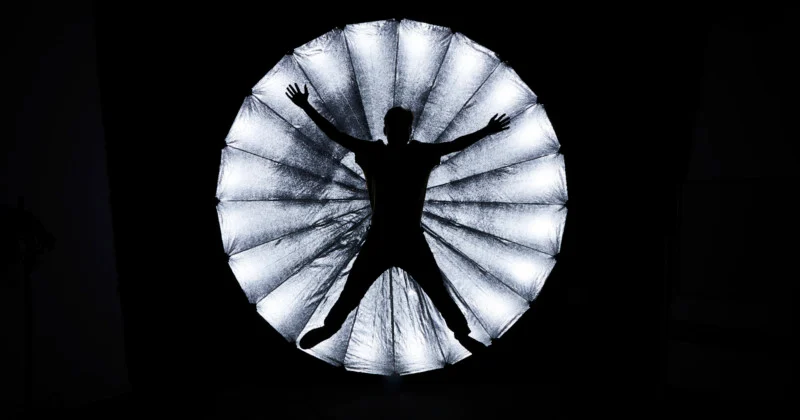
Credit: petapixel.com
Okay, let’s say you’ve got your lights set up. But how do you shape that light to make it look just right? That’s where light modifiers come into play. Think of these as the tools that help you sculpt your light into exactly what you need.
Here’s the rundown on the most common light modifiers:
- Softboxes: These diffuse the light, creating soft, even lighting that minimizes harsh shadows.
- Umbrellas: They bounce light for a broader, softer effect, perfect for filling in those tricky shadow areas.
- Reflectors: Use them to bounce light back onto your subject, filling in shadows and adding that glowing look.
- Diffusers: These soften harsh light, giving you a dreamy, flattering glow.
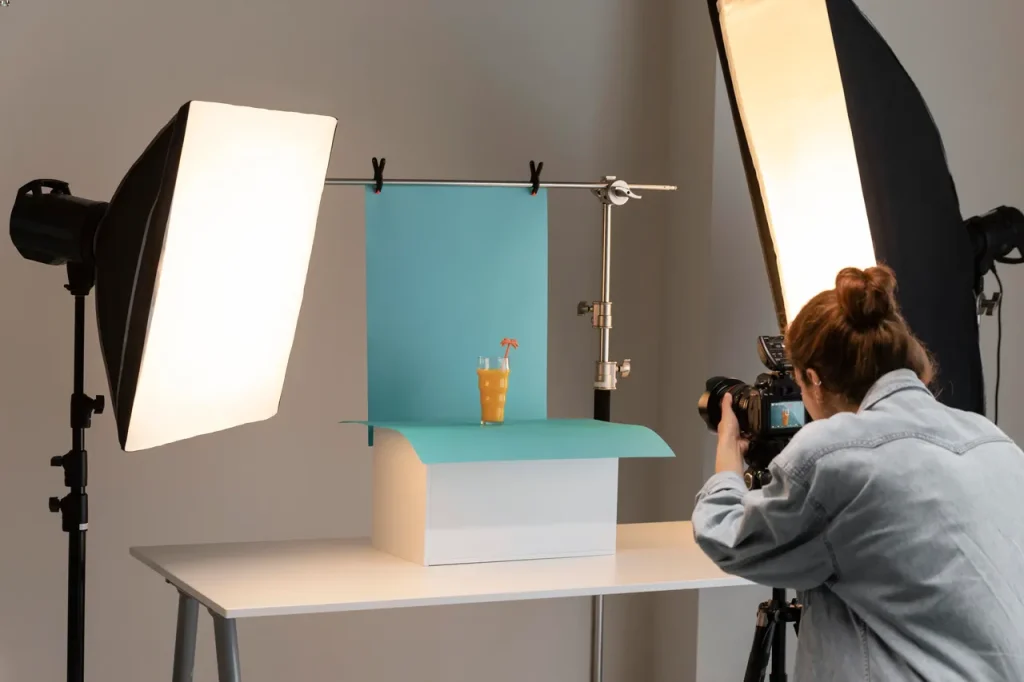
Mastering Classic Lighting Setups
Now that you’ve got your lighting gear ready, it’s time to set up your shots. I’ll walk you through a few classic setups that will give you professional product photos every time.
a. The One-Light Setup: Simple Yet Powerful
If you’re just getting started or shooting small products, the one-light setup is perfect for you. It’s straightforward and gives beautiful results with minimal gear. Here’s how to do it:
- Place your key light in front of the product at a 45-degree angle.
- Add a reflector on the opposite side to bounce light and soften the shadows.
Boom! You’ve got a solid shot with minimal effort. It’s perfect for capturing smaller products like jewelry or tech accessories.
b. Building the Two-Light Setup: A Little More Depth
Want to take it up a notch? A two-light setup gives you more control over shadows and highlights. Here’s how to do it:
- Position your key light at a 45-degree angle to the product.
- Place your fill light on the opposite side, but at a lower intensity. This will soften any harsh shadows from the key light.
This setup works great for medium-sized products and adds a lot more dimension to your photos.
c. The Full Three-Light Setup: For the Pros
This is where things get fancy! The three-light setup is the industry standard for high-end product photography. Here’s how to create this setup:
- Key Light: This is your main light, positioned at a 45-degree angle.
- Fill Light: Positioned on the opposite side to soften shadows and balance the lighting.
- Backlight: Positioned behind the product, this light creates a beautiful halo effect and separates your product from the background.
The three-point lighting setup is perfect when you want your product to truly stand out, with shadows, highlights, and depth that make it pop.
Credit: techcloudltd.com
Shooting products that are reflective, like glass or shiny metals? That can be tricky! But don’t worry, I’ve got a few tricks up my sleeve to help you get the perfect shot.
- Use Diffusers: A large diffuser softens the light and reduces harsh reflections.
- Control the Angle: Angle your key light so that it doesn’t reflect directly off shiny surfaces.
- Light Tents: Create a light tent to wrap your product in soft, even light and avoid unwanted reflections.
DIY Product Photography Setup at Home: Making It Work
You don’t need a fancy studio to take professional-level shots. With a simple DIY product photography setup, you can shoot from home! Here’s how:
- Use Available Lights: Start by using what you’ve got—desk lamps, floor lamps, or even your phone flashlight.
- Create a White Background: A clean, white backdrop (like a sheet of paper or a white poster board) helps your product stand out.
- Use Household Items as Modifiers: Soft pillows, tissues, or even a piece of fabric can work as makeshift diffusers.
With a little creativity and effort, you can create a professional-looking product photography setup at home without breaking the bank.
Are you ready to elevate your product photos? Discover how product captures can transform your shots and take your photography to the next level!
Syncing Your Camera Settings with Your Lighting
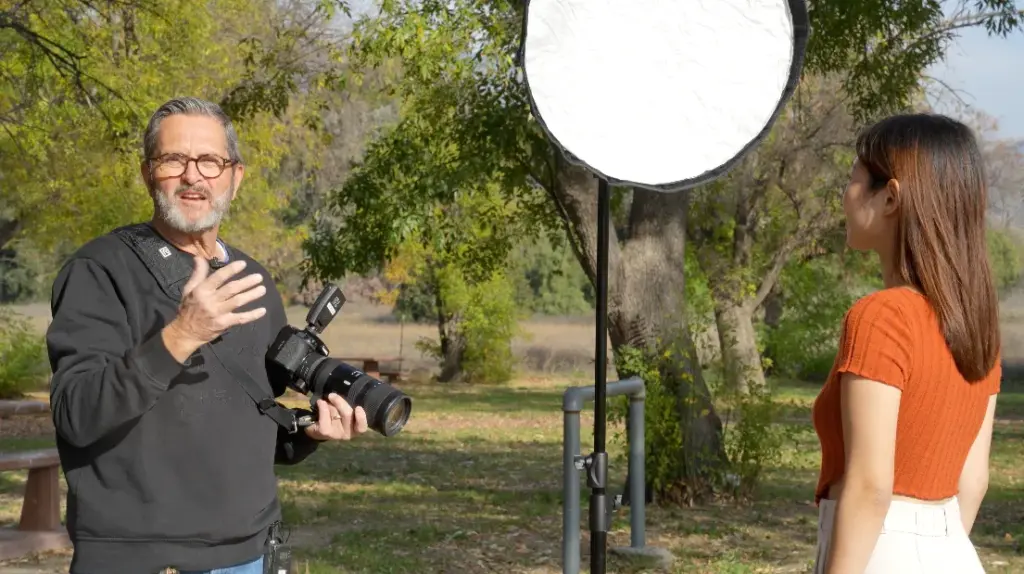
Credit: theslantedlens.com
Now that your lighting setup for product photography is on point, let’s make sure your camera settings are dialed in too.
ISO and Aperture
- ISO: Keep it low (100-400) to avoid grainy images.
- Aperture: Use a smaller aperture (like f/8 or f/11) for a sharp image from front to back.
Shutter Speed and White Balance
- Shutter Speed: Keep it slow (around 1/100) to allow enough light to hit your product.
- White Balance: Make sure it matches your light source to avoid strange color tones.
Wrapping Up
So, there you have it! Whether you’re working in a studio or creating a DIY product photography setup at home, the key is understanding how to control light. With the right lighting setup for product photography and a little practice, you’ll be capturing stunning shots in no time. Go ahead—light up your products and watch them shine!
FAQ’s
Here’s a look at some of the most frequently asked questions when it comes to product photography lighting setups. These answers will help you troubleshoot any issues you might encounter while perfecting your shots.
What’s the best lighting setup for product photography?
A three-light setup is the most versatile and professional choice for product photography. It gives you control over shadows, highlights, and depth.
Can I use natural light for product photos?
Absolutely! Natural light works great for softer, more natural-looking product shots. Just make sure you control the light direction.
How do I avoid reflections in shiny products?
Use diffusers, adjust your light angles, and consider shooting inside a light tent to control reflections.
What is the key light used for?
The key light is your main light, responsible for illuminating the product and creating depth and dimension in your photos.
What if I only have one light?
No problem! A one-light setup is perfect for small products and can still create stunning photos with the right placement.