

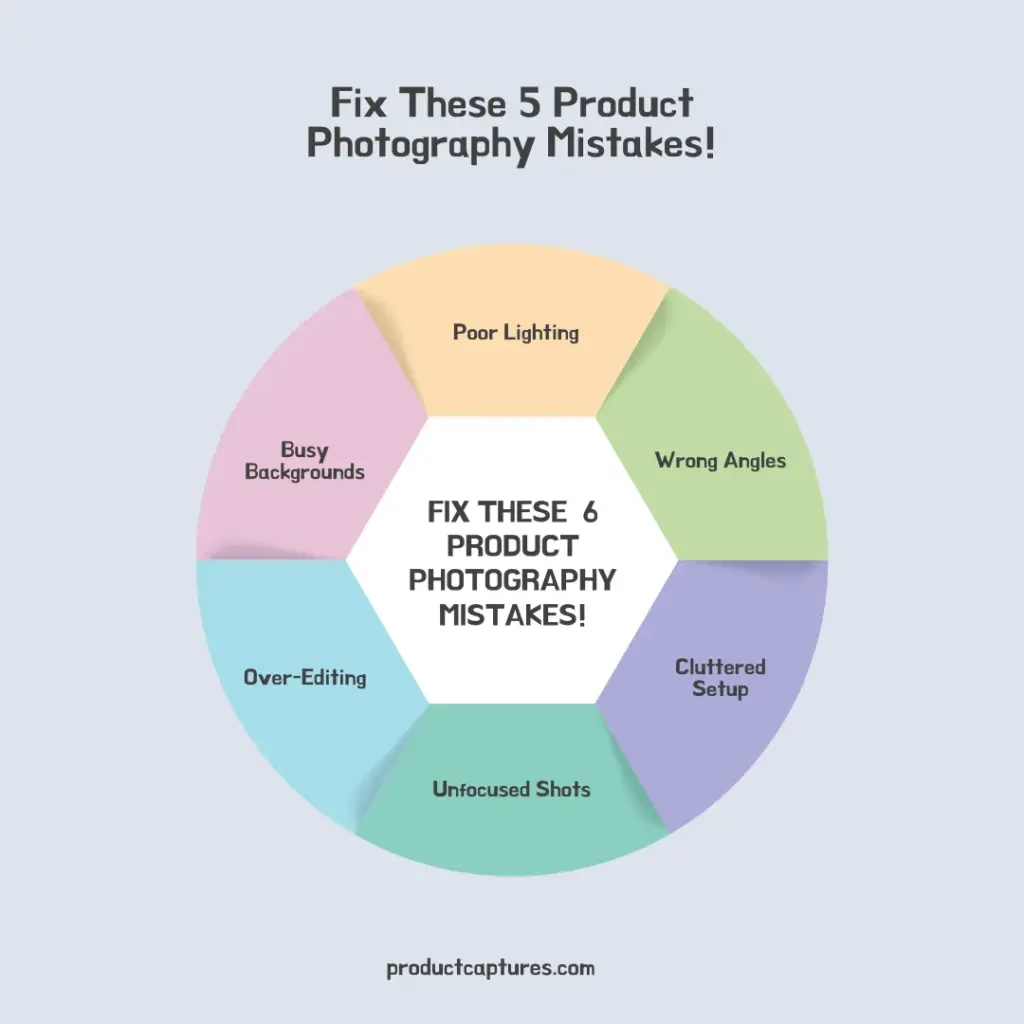
We’ve all been there—snapping photos of a product, only to feel like something’s just off. Whether you’re photographing for an online store, a blog, or just to show off something cool, product photography can be trickier than it seems. A few common mistakes can quickly turn your shots from “wow” to “meh,” leaving you frustrated and wondering what went wrong. But don’t stress! The good news is, with a few simple tweaks, you can avoid these pitfalls and take your photos from blah to brilliant. Let’s dive into some of the most common DIY product photography mistakes and explore easy fixes that will make your images pop, stand out, and look professional—no fancy equipment required!
Poor Lighting: The Silent Killer of Great Shots
Lighting can make or break your photo. And trust me, I’ve made the mistake of relying too heavily on poor light sources.
a) Natural Light vs. Artificial Light
Natural light can create a beautiful, soft effect, but not all lighting is created equal. If you’re using natural light, you need to pay attention to when and where the light is best. Overcast days are ideal, as they provide diffused lighting, whereas harsh midday sunlight can create unwanted shadows and highlights.
On the other hand, artificial light from lamps or lightboxes can help control the brightness and tone of your shot. If you’re using a lamp, always ensure the light sources are even.
b) Shutter Speed and Light Control
When working with light sources, don’t forget to adjust your camera settings, especially the shutter speed. Too fast a shutter speed might not capture enough light, while too slow can lead to motion blur. Experimenting with this can drastically improve your shot quality!
c) Light Sources and Placement
Think about the light sources you’re using. For product photography, you’ll want to avoid shadows that distract from your product. Place your light at the right angle to reduce harsh shadows and glares. And always avoid mixing multiple different light sources with varying color temperatures—it can lead to awkward color shifts in your photos.
Ignoring the Background: Make It Simple and Clean

Credit: lifepixel.com
Here’s a secret: a white background is one of the best ways to make your products stand out, especially for online marketplaces like Amazon. A busy or cluttered background can distract from the item you’re showcasing.
a) Avoid Distracting Elements
If your background is cluttered or distracting, your audience will be distracted too. For a clean and professional look, stick to white backgrounds or neutral tones that complement your product. Keep props minimal unless they serve a clear purpose to show how the product is used.
b) DIY Tip: A Good Idea for a Clean Shot
If you’re on a budget, consider using a large white sheet, poster board, or even a wall to create a simple backdrop. You don’t have to go all-out with professional studio equipment to make a stunning product image.
c) Top Mistakes in DIY Product Photography
Many beginners fall into the trap of overcomplicating their background, but the simpler, the better. Stick to a clean backdrop and focus your energy on lighting and angles.
Out-of-Focus Images: Pay Attention to Focus!

Credit: digital-photography-school.com
It might sound simple, but many people overlook this mistake—focusing. A blurred image can instantly ruin your shot, and it’s one of the most common mistakes beginners make in photography.
a) Lock Focus on the Product
Make sure the product is in sharp focus. You can use manual focus if your camera allows, but most modern cameras have an autofocus function that does a pretty good job. Take a moment to double-check your focus before clicking the shutter.
b) Avoid the “Bokeh” Trap
While a blurry background might look artsy in some photos, in product photography, you usually want everything in focus. So, be mindful of how much blur you introduce into the shot. A sharp, clear shot with no distractions around it will always win over a blurry product image.
Ignoring Composition: Frame It Right!
The way you frame your shot is crucial to how your audience will perceive your product. Many times, people shoot their products without thinking about composition, and the result is a lackluster image.
a) The Rule of Thirds
A good idea is to use the rule of thirds to make your photos feel more dynamic. Imagine your frame is divided into three equal parts, both horizontally and vertically. Position the product along these lines or at their intersections to make the composition more pleasing.
b) Top Mistakes in DIY Product Photography: Overcrowding the Frame
When framing your shot, be cautious of overcrowding the image with too much product or props. You want to highlight the product, not bury it under unnecessary details.
Post-Processing: Don’t Overdo It!

Credit: improvephotography.com
After taking the perfect shot, the next step is post-processing. But here’s the thing: don’t go overboard. While it’s tempting to make every image perfect with filters and edits, over-editing can lead to unnatural results.
a) Make Subtle Adjustments
Adjust brightness, contrast, and saturation to make the image pop, but avoid filters that drastically change the original look of your product. The goal is to enhance your product, not turn it into something it’s not.
b) Mistakes in Product Photos: Over-Editing
Excessive retouching or altering colors can make the product look unrealistic and may even turn potential customers away. Stick to basic touch-ups and always keep the final image as true to the actual product as possible.
Camera Settings: The Devil’s in the Details
Many photography errors happen because people don’t pay attention to their camera settings. If your photos aren’t turning out as expected, it’s time to adjust your settings.
a) F-Stop and Depth of Field
If you want your product to stand out with a beautifully blurred background, you’ll need to adjust your f-stop to a lower number. This increases the depth of field and isolates your product in sharp focus while blurring the background.
b) Shutter Speed and Exposure
If your images are too dark or blurry, check your shutter speed and exposure settings. If your shutter speed is too slow, the image will appear blurry, especially if there’s any camera shake. If it’s too fast, it might result in dark images.
Mistakes Beginners Make: The Power of Practice

Credit: jeremyberman.co
Let’s face it, learning photography takes time. But the more you practice, the better you’ll get.
a) Take Multiple Shots
Don’t be afraid to take several shots from different angles and settings. With product images, it’s all about variety. You can then choose the one that best highlights the unique features of the product.
b) Review and Adjust Settings
After each shot, review your image, adjust your camera settings if necessary, and try again. Even small tweaks can lead to significant improvements in your photos.
The Bottom Line
Avoiding common photography mistakes can make your product shots stand out and attract more attention. With good lighting, a clean background, and attention to detail, you’ll be on your way to taking professional-looking photos in no time. Keep practicing, and remember, the more you shoot, the better you’ll get!
FAQ’s
Here’s a quick glance at some of the most frequently asked questions.
What are common mistakes in product photography?
Poor lighting, distracting backgrounds, out-of-focus shots, and not paying attention to camera settings are some of the most common photography mistakes to avoid.
How can I avoid common photography mistakes?
Use natural light, focus on the product, and make sure the background is clean and simple. Pay attention to your camera settings, like shutter speed and aperture.
Why is lighting so important in product photography?
Lighting determines the look and feel of your photo. The right lighting can enhance the product, while poor lighting can cause unwanted shadows and highlights.
How do I improve product photos for Amazon listings?
Use a white background, focus on the product, adjust the lighting, and ensure the image is clear and sharp. For more tips, check out our Amazon product photography.
What is the best background for product photography?
A white or neutral background works best to ensure the product stands out. Avoid busy or cluttered backgrounds that can distract from the product.