Photographers worldwide have unlocked the secret to creating mesmerizing bird’s eye view masterpieces that make viewers stop mid-scroll and stare. There’s something irresistibly captivating about flat lay product photography — the way it transforms everyday items into carefully curated visual symphonies that tell compelling stories from above. Whether it’s elegant clothing arrangements, stunning cosmetic collections, or lifestyle products that spark desire, flat lay photography has become the golden ticket to creating thumb-stopping content that converts browsers into buyers. Our reveals the insider secrets, creative techniques, and professional tricks that separate amateur snapshots from scroll-stopping sensations. From selecting game-changing flat lay photography equipment to mastering the art of overhead composition, we’re about to dive into the captivating world of flat lay magic—where every angle tells a story and every arrangement creates an experience.
Get ready to transform your photography from ordinary to extraordinary! 📸
What is Flat Lay Photography? (And Why Everyone’s Obsessed)
What is flat lay photography? Simply put, it’s the art of arranging objects on a flat surface and photographing them from directly above. Think of it as creating a curated scene that tells a story—all captured from that satisfying bird’s eye view.
Photographers love flat lay photography because it gives complete control over every element in the frame. Unlike traditional still life product photography, where one works with depth and angles, flat lays allow creators to build perfectly organized, aesthetically pleasing compositions that perform incredibly well on social media.
Why Flat Lays Work So Well?
Now the real question here is why the flat lays work so well? Let’s find out.
- They create instant visual organization
- Perfect for showcasing multiple products together
- Highly shareable on Instagram and Pinterest
- Easy to maintain consistent branding
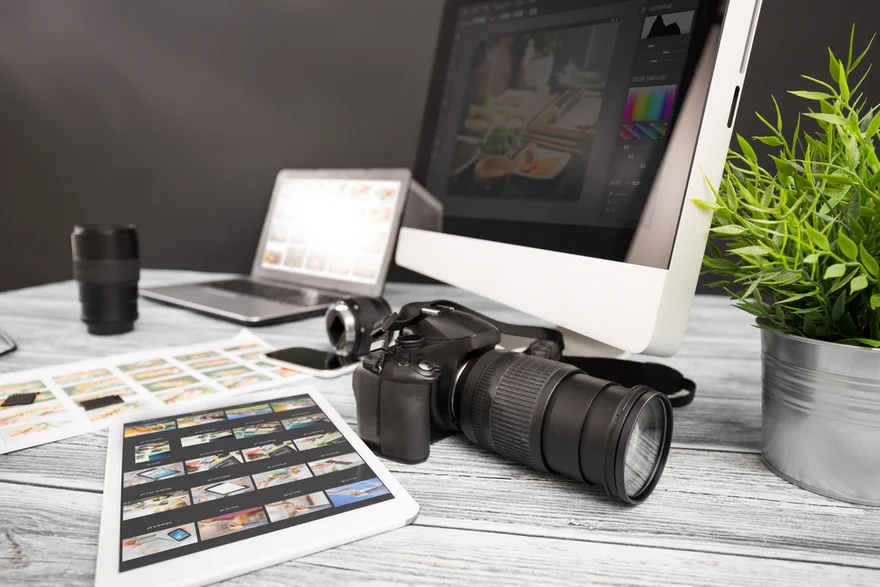
Essential Flat Lay Photography Equipment (The Must-Have Arsenal)
Credit: shotkit.com
Professional photographers rely on specific flat lay photography equipment that transforms their shooting capabilities. You don’t need to break the bank, but having the right tools makes all the difference.
Camera Setup Essentials
- Tripod for flat lay photography: This is every photographer’s best friend! Professionals recommend a flat lay photography tripod with adjustable legs and a tilting head. When shooting straight down, stability becomes crucial.
- Step ladder: Sometimes photographers need extra height for that perfect eye view. A small step ladder provides the elevation needed to capture larger scenes without distortion.
- Camera with manual controls: Whether it’s a DSLR, mirrorless, or even a high-quality smartphone, photographers need control over settings for consistent results.
Surface and Background Essentials
The flat lay photography background sets the entire mood of any shot. Here’s what professionals always keep in their kit:
- Flat lay photography mat: Neutral-colored mats provide clean, consistent backgrounds
- Photography backdrops: Paper rolls, fabric, marble boards, or textured surfaces
- Cutting boards: Marble or wooden cutting boards add instant sophistication
- White poster board for clean, minimalist looks
Pro Tip: Always shoot on a completely flat surface. Even tiny bumps or wrinkles can create shadows that ruin perfectly planned compositions!
Lighting Setup: The Secret to Professional Flat Lay Photos
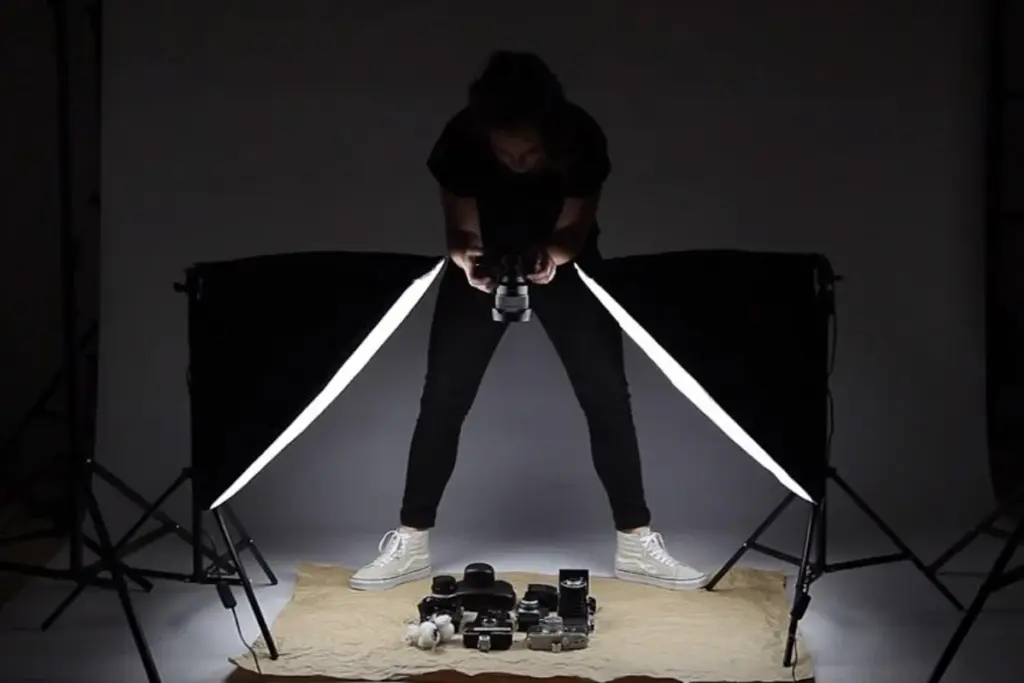
Credit: hypop.com.au
Great photography lighting can make or break flat lay shots. Photographers learn this through experience and countless reshoot sessions! Here’s the professional approach to lighting flat lay product photography:
Natural Light is Your Best Friend
- Window lighting: Position setups near large windows for soft, even illumination. North-facing windows provide the most consistent light source throughout the day.
- Diffusion is key: Use sheer curtains or white fabric to soften harsh direct sunlight.
- Reflectors: White foam boards or reflectors help fill in shadows and create even lighting across entire scenes.
Artificial Lighting Solutions
For consistent results regardless of weather, professionals rely on product photography lighting setups. Softboxes positioned at 45-degree angles create beautiful, even illumination for flat lay shots.
Remember to set white balance correctly—nothing ruins a perfect flat lay like color temperature issues in post production!
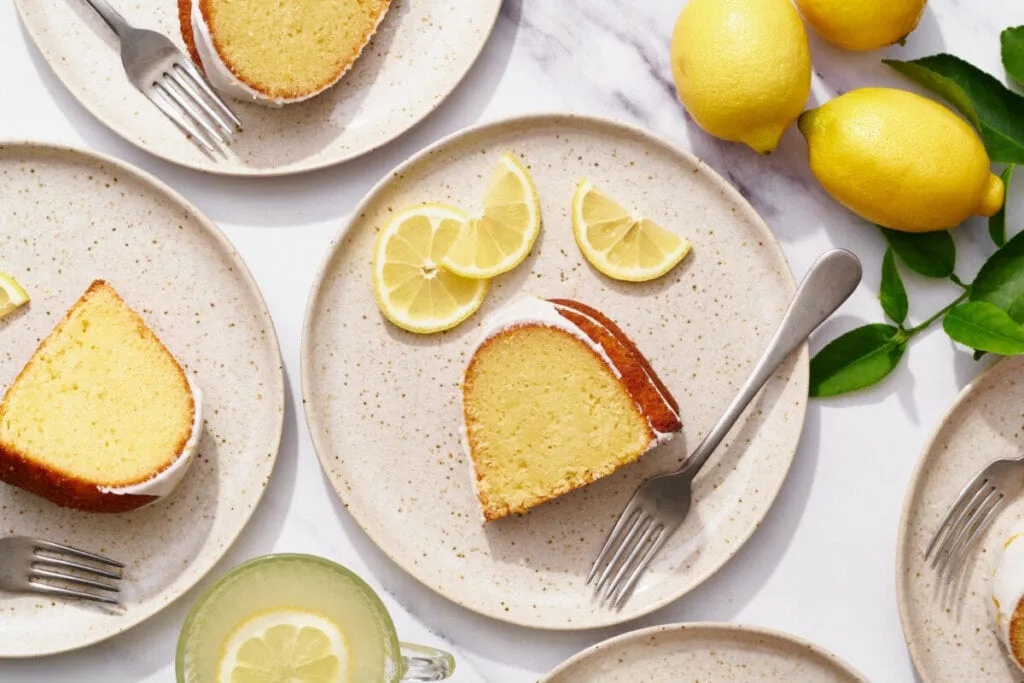
Flat Lay Clothing Photography: Fashion-Forward Techniques
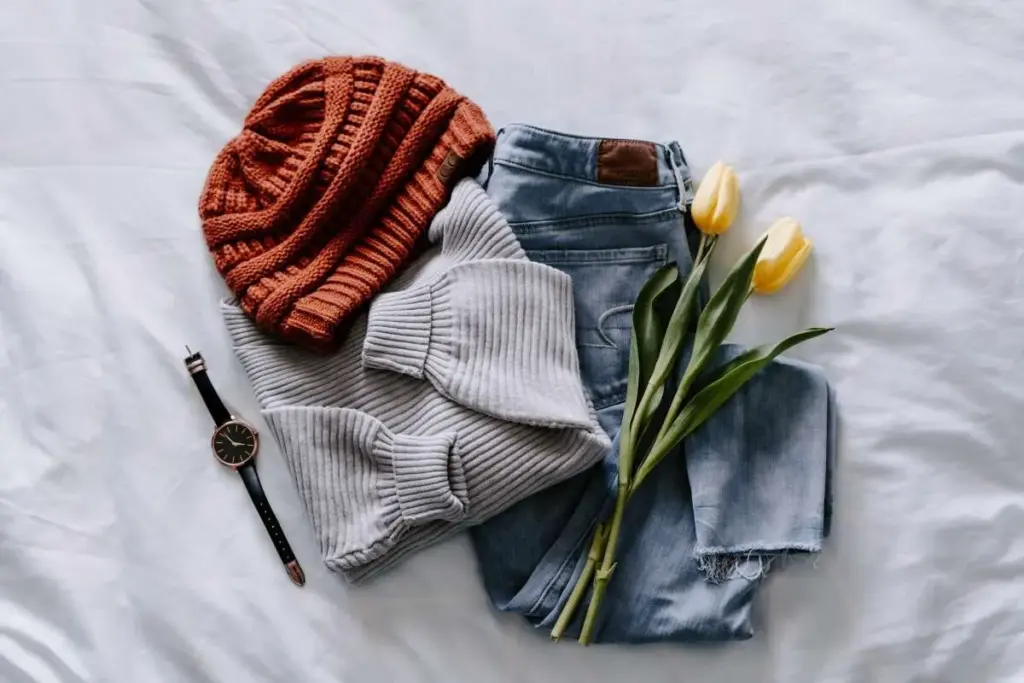
Credit: wildromanticphotography.com
Flat lay clothing photography requires special attention to styling and arrangement. Photographers who work with everything from luxury fashion to everyday apparel know what works:
Styling Flat Lay Clothing Like a Pro
- Create natural shapes: Arrange sleeves and legs as if someone is wearing the garment. This creates life and movement in flat lay images.
- Layer strategically: Combine different textures and colors to create visual interest in flat lay apparel photography.
- Add lifestyle elements: Include accessories, shoes, or props that tell a story about the clothing’s lifestyle appeal.
The Professional Flat Lay Clothing Photography Setup
- Steam or iron all garments beforehand
- Use clips behind the fabric to create natural curves
- Add complementary accessories within the scene
- Maintain consistent spacing between elements
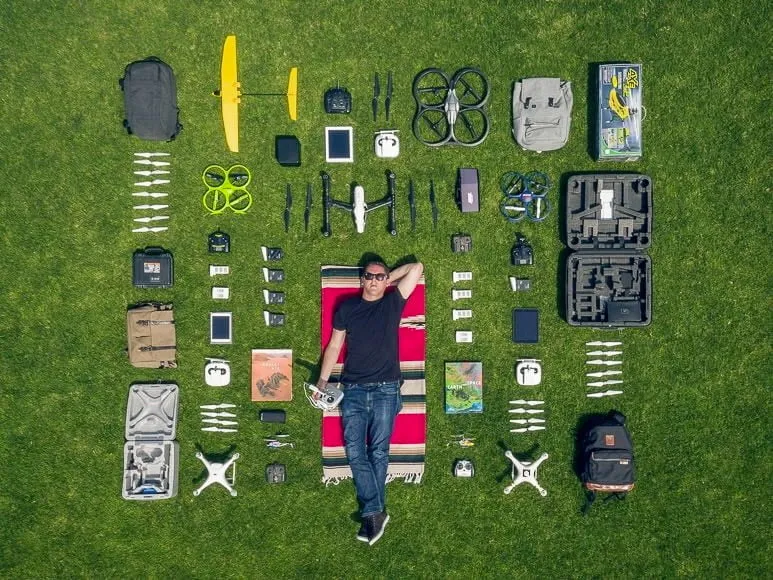
Creative Flat Lay Photography Ideas That Convert
Photographers constantly experiment with new flat lay photography ideas to keep their work fresh and engaging. Here are some proven approaches:
Product Storytelling Through Flat Lays
- Lifestyle integration: Show products in context with items the target audience uses daily. This approach works brilliantly for lifestyle product ecommerce photography.
- Seasonal themes: Incorporate seasonal elements to make flat lay photos timely and relevant.
- Color coordination: Create cohesive color palettes that align with brand aesthetics.
Advanced Composition Techniques
When shooting product photography flat lay style, professionals always consider these compositional elements:
- Rule of thirds for balanced layouts
- Leading lines created by product arrangement
- Negative space for text overlay opportunities
- Symmetrical vs. asymmetrical arrangements for different moods
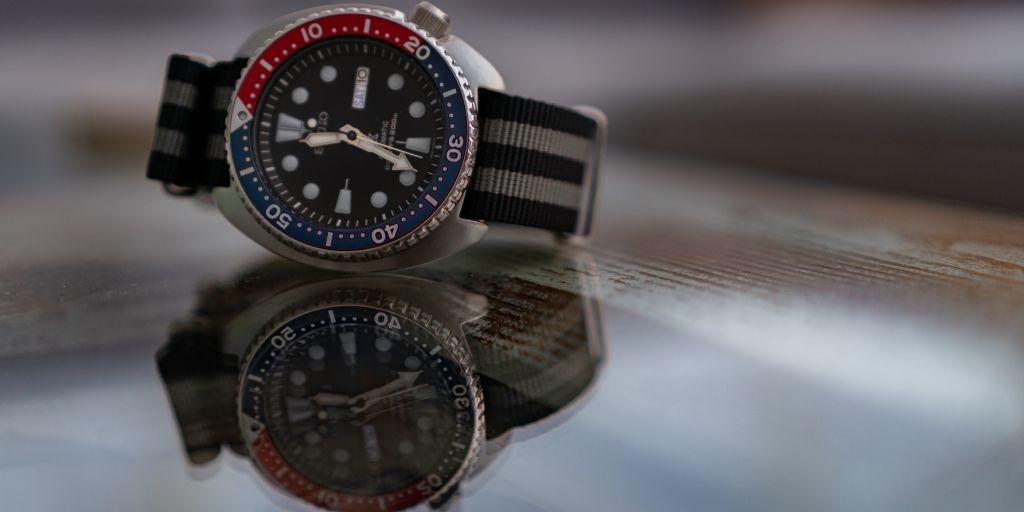
Technical Mastery: Camera Settings and Shooting Tips
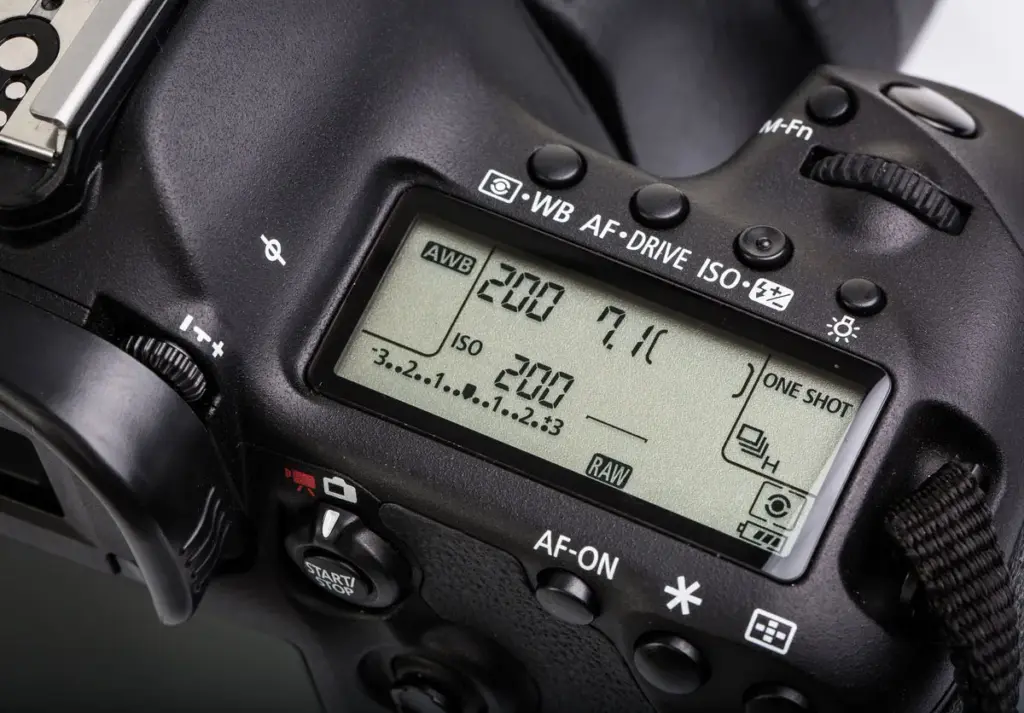
Credit: photographypro.com
Here’s the technical side of creating stunning flat lay photos. These settings have been game-changers for professional work:
Camera Settings for Sharp, Detailed Flat Lays
- Aperture: Professionals typically shoot between f/8 and f/11 for optimal sharpness across the entire frame.
- ISO: Keep it as low as possible (usually ISO 100-400) for clean, noise-free images.
- Shutter speed: Use a tripod and whatever shutter speed gives proper exposure, camera shake isn’t an issue when everything’s locked down.
Pro Tip: Shoot in RAW format for maximum flexibility in post production. Photographers will appreciate this later when fine-tuning colors and exposure!
Post Production Magic: Bringing Your Flat Lays to Life
Great lay photography doesn’t end when photographers put down the camera. Post production is where good shots become great ones:
Essential Editing Steps
- Color correction and white balance adjustment
- Exposure fine-tuning for consistent brightness
- Shadow and highlight recovery
- Sharpening for web or print delivery
- Dust spot removal (photographers always find them!)
Always edit with the final platform in mind. Images for social media might need more contrast and saturation than those for print catalogs.
Common Flat Lay Mistakes (And How to Fix Them)

Credit: editingwithjazzie.com
Every photographer makes these mistakes, so here’s how to avoid time and frustration:
- Uneven lighting: Always check for shadows before shooting. That perfect arrangement means nothing if half of it’s in shadow.
- Cluttered compositions: Less is often more. Don’t try to fit everything into one shot.
- Ignoring negative space: White space gives eyes a place to rest and makes products pop.
The Bottom Line
Mastering flat lay product photography takes practice, but the results are absolutely worth it. Photographers should start with simple compositions and gradually add complexity as they develop their eye for arrangement and lighting. Remember, every great flat lay image tells a story. Whether showcasing the latest fashion trends through lay clothing photography or creating lifestyle scenes that make customers dream, the key is connecting with audiences through thoughtful, beautiful imagery. Keep experimenting with different flat lay equipment, backgrounds, and compositions. The more photographers shoot, the more natural it becomes to see those perfect overhead opportunities.
Ready to elevate your product photography game? Start with one simple flat lay setup today, and you’ll be hooked on this incredibly versatile and rewarding photography style!
FAQs
Still have questions? Here’s everything you need to know about creating backdrops that make your products absolutely irresistible!
What camera settings work best for flat lay photography?
Use aperture priority mode with f/8-f/11 for sharp focus across the frame, keep ISO low (100-400), and adjust shutter speed for proper exposure. Manual focus often works better than autofocus for consistent results.
How do photographers avoid shadows in flat lay photography?
Use soft, diffused lighting from multiple angles. Window light with reflectors or softboxes positioned at 45-degree angles work best. Avoid direct overhead lighting which creates harsh shadows.
What’s the best height to shoot flat lay photos?
Shoot from 3-6 feet above subjects, depending on the scene size. Use a tripod with an adjustable center column or a step ladder for consistent height and to avoid camera shake.
Can photographers create flat lay photos with smartphones?
Absolutely! Modern smartphones produce excellent flat lay photos. Use a tripod mount for phones, shoot in the highest resolution available, and ensure good lighting for professional results.
How do photographers make flat lay clothing look natural and not flat?
Use clips, tissue paper, or small props under fabric to create natural curves and dimension. Arrange sleeves and legs as if someone is wearing the garment, and add accessories to complete the look.