Let me be honest with you. When I first started shooting products, I thought the surface didn’t matter that much. I’d throw my product on a random table, find decent lighting, and call it a day. The photos were… fine. But fine doesn’t sell. Fine doesn’t stop the scroll. Fine gets ignored. Here’s the thing: your surface is doing more work than you realize. It sets the mood, frames the product, and tells a story, before anyone reads a single word of your caption. The wrong surface competes with your product. The right one makes buyers reach for their wallets. So let’s talk about it properly. No fluff, no vague advice. Just a real guide to choosing product photography surfaces that actually work.
What’s the Difference Between a Surface and a Backdrop?
People mix these up all the time. Let’s clear it up fast.
- A backdrop sits behind your product vertical, in the background. A surface is what your product sits on, the foreground platform. Both matter. They work together.
- Think of it like a stage. The surface is the floor. The backdrop is the curtain. A backdrop is placed behind the product, while the surface is where the product sits. Both complement each other to enhance the visual appeal.
When people search for surfaces for product photography, they often mean both. In this guide, we’ll cover both. Because you can’t choose one without thinking about the other.
Why Your Surface Choice Is a Business Decision
This isn’t just about aesthetics. Your surfaces directly affect your bottom line.
- High-quality images with optimized backdrops can deliver significantly higher conversion rates. That’s not a small thing. That’s the difference between a product that sells and one that sits.
- The perfect product photography background can increase click-through rate, reduce post-editing costs, evoke emotions, and strengthen brand recognition.
- And there’s a practical side too. Consistent surfaces across your catalog build a recognizable visual identity, which builds trust with buyers over time.
So yes, it’s worth thinking carefully about which surfaces you invest in.
The 6 Most Common Product Photography Surfaces
Here are the top six surfaces commonly used in product photography, each offering unique benefits for different types of shoots.
White Seamless Paper
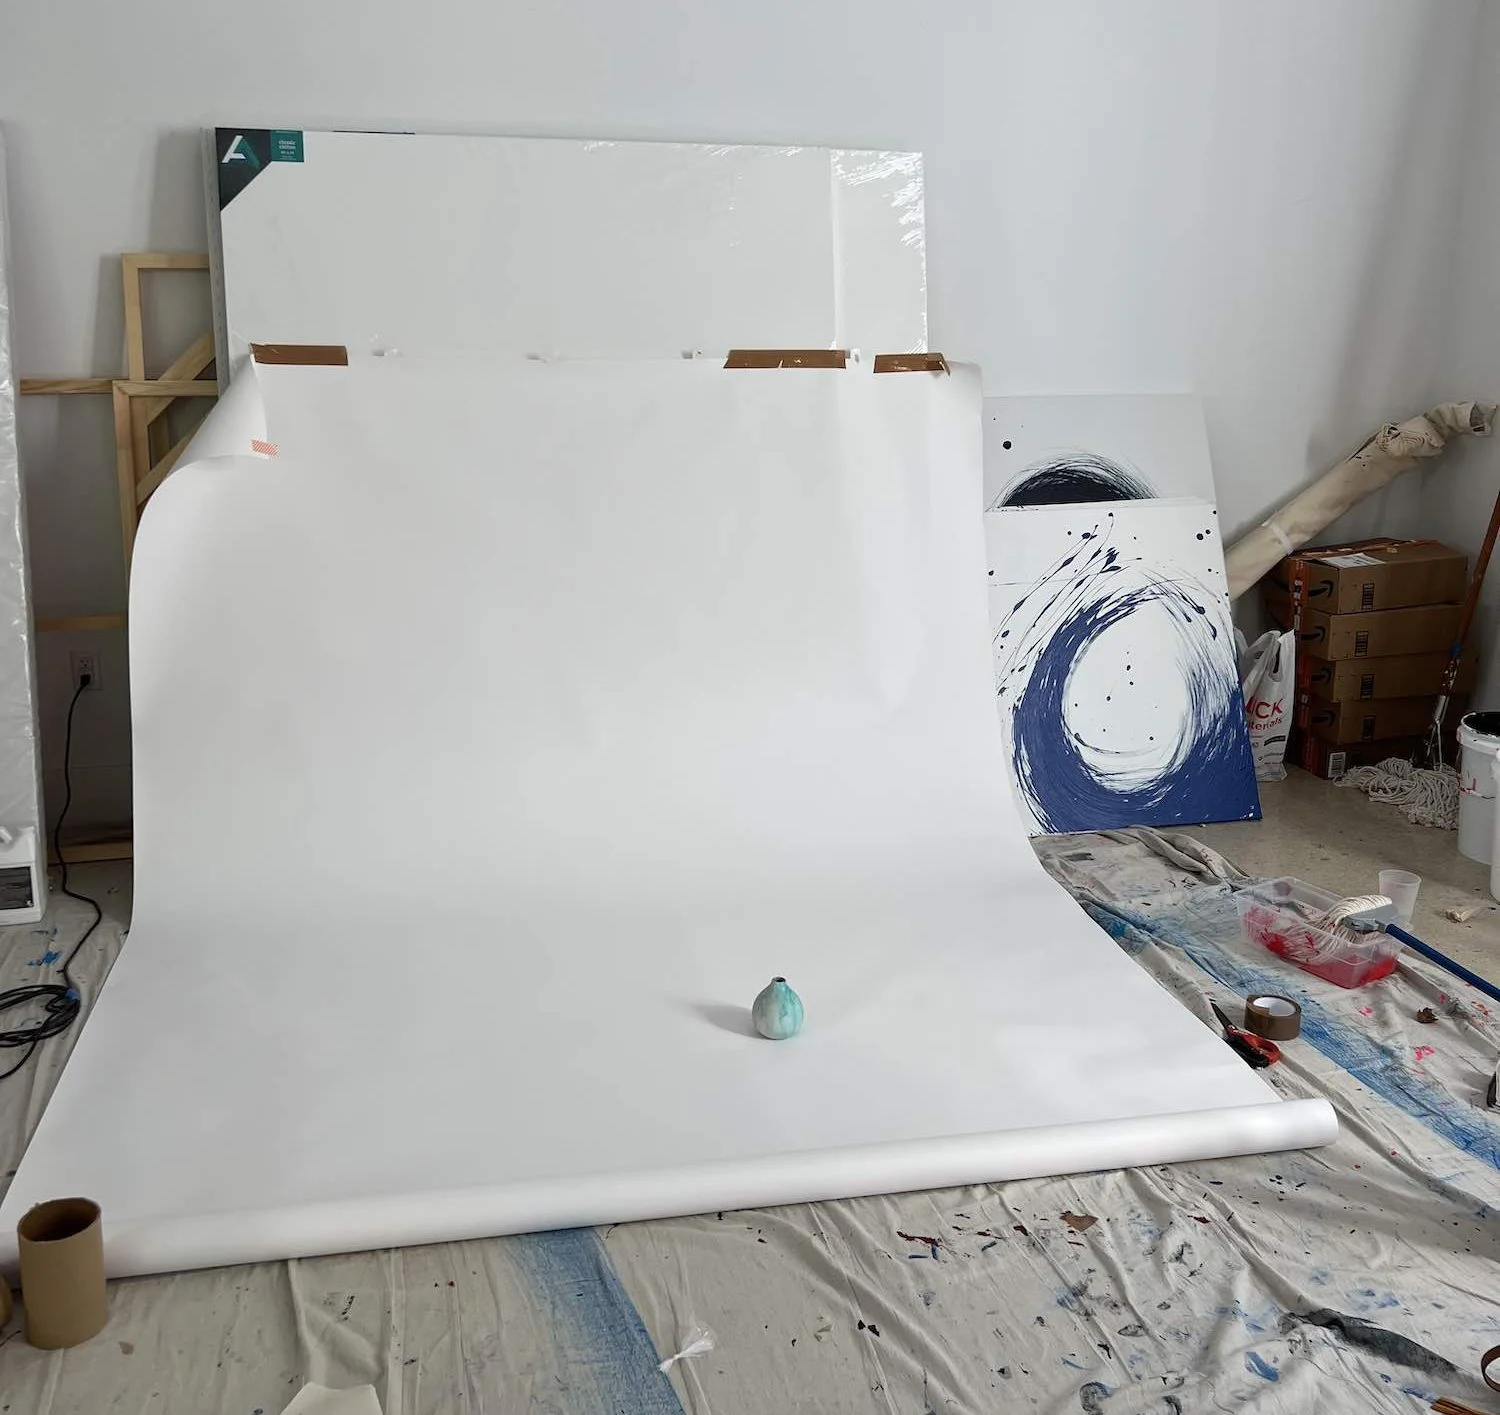
Credit: practicalecommerce.com
This is the starting point for almost every product photographer.
- It’s clean and neutral. And it lets your product be the only thing the viewer notices. Seamless paper is the studio standard; it gives you that perfect, distraction-free surface.
- It’s also what major platforms require. Amazon mandates a pure white background for main product images. If you shoot for e-commerce, you need this in your toolkit.
The downside? In a home studio, it can be damaged easily. You’ll find yourself replacing rolls more often than you’d like. But for the price, it’s still one of the best surfaces for product photography when you’re starting out.
Best for: Amazon listings, clean e-commerce shots, product detail photos.
Vinyl Surfaces
Credit: poppybeesurfaces.com
Vinyl has a bad reputation. But that’s mostly because people bought cheap vinyl.
- Quality vinyl? It’s genuinely great. Good vinyl backdrops offer high durability, a waterproof nature, and come in over 100 colors and textures. They can mimic marble, concrete, wood, and stone convincingly.
- The waterproof nature of vinyl also makes it ideal for food photography, splash shots, and messy shoots where spills are inevitable. That’s a real practical advantage.
- From a logistics standpoint, vinyl wins on portability. It’s lightweight, easy to store, more affordable than rigid boards, and simple to transport to location shoots.
The key rule with vinyl: always go matte. A product photography glossy surface creates lighting nightmares. The matte finish prevents harsh glares and reflections that distort image quality. More on that in a moment.
Best for: Home studios, location shoots, food photography, budget-conscious setups.
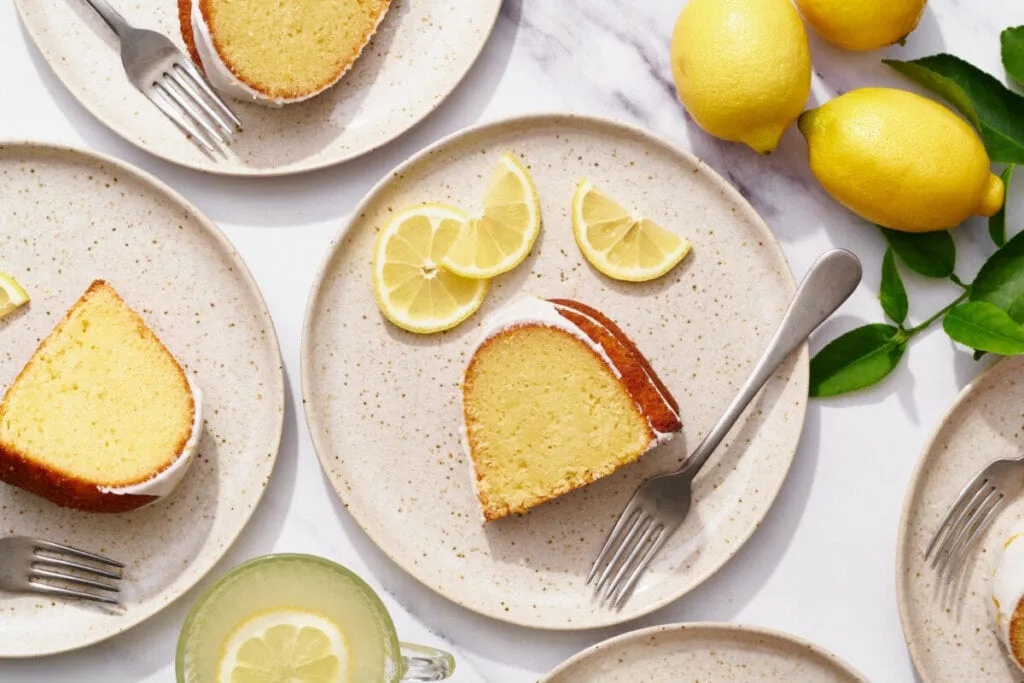
Wood Surfaces
Credit: fstoppers.com
It brings warmth, texture, and authenticity that’s hard to fake. We can say that it’s a staple in lifestyle and artisan product photography.
- Real wood surfaces offer genuine texture that adds depth to photos. They’re easy to swap during a shoot, and you can source custom textures and sizes from specialty suppliers.
- The trade-off is weight. Real wood boards are heavy to transport, and some can warp or stain over time. But in terms of what they do for your photos — the grain, the depth, the natural feel, it’s hard to match with any other material.
A rustic reclaimed wood surface instantly works with handmade products, candles, food, skincare, and anything with an artisan feel. It’s a classic choice in flat lay photography, too, where the surface often carries as much visual weight as the product itself.
Best for: Artisan products, food, candles, skincare, lifestyle shots.
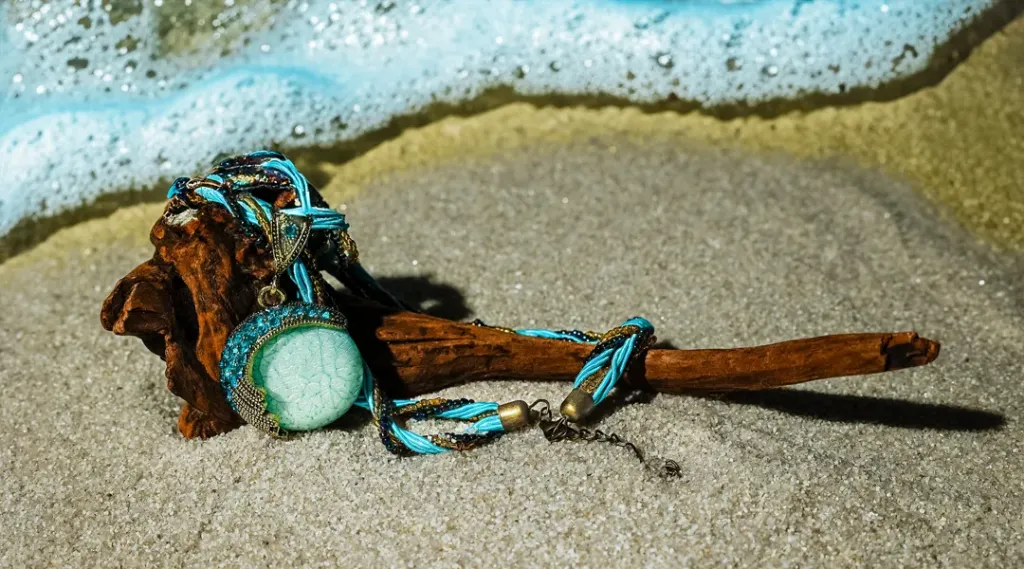
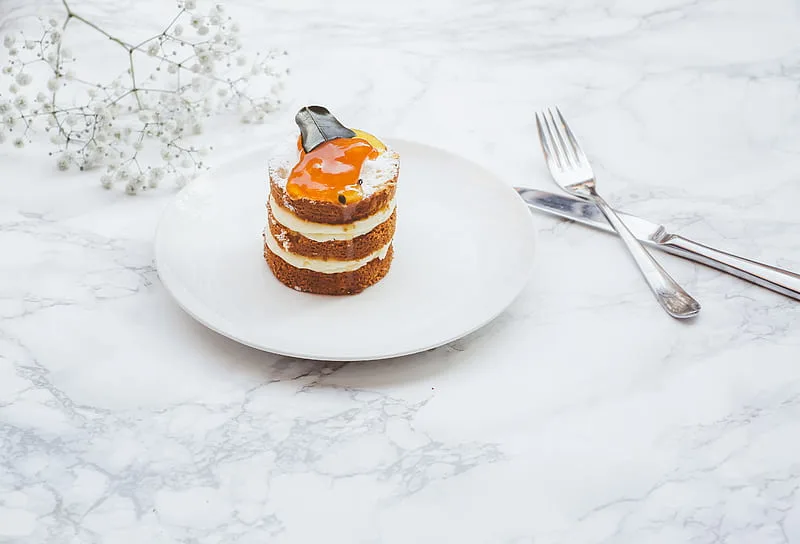
Marble and Stone
Want to communicate luxury instantly? Marble is your answer.
It’s elegant. It photographs beautifully. And it pairs effortlessly with high-end skincare, jewelry, perfume, and beauty products. A marble surface adds instant luxury to any product it holds.
Real marble is expensive and heavy. But faux marble vinyl boards replicate the look convincingly. High-resolution printed vinyl can mimic the texture of marble, concrete, and stone, producing a professional, true-to-life setting without the weight or cost.
Stone and sand as natural surfaces can also provide grit and depth. Some of the best jewelry photos use raw stone to highlight the luminescence of the product against a rough, organic surface.
Best for: Luxury products, jewelry, beauty, cosmetics, perfume.
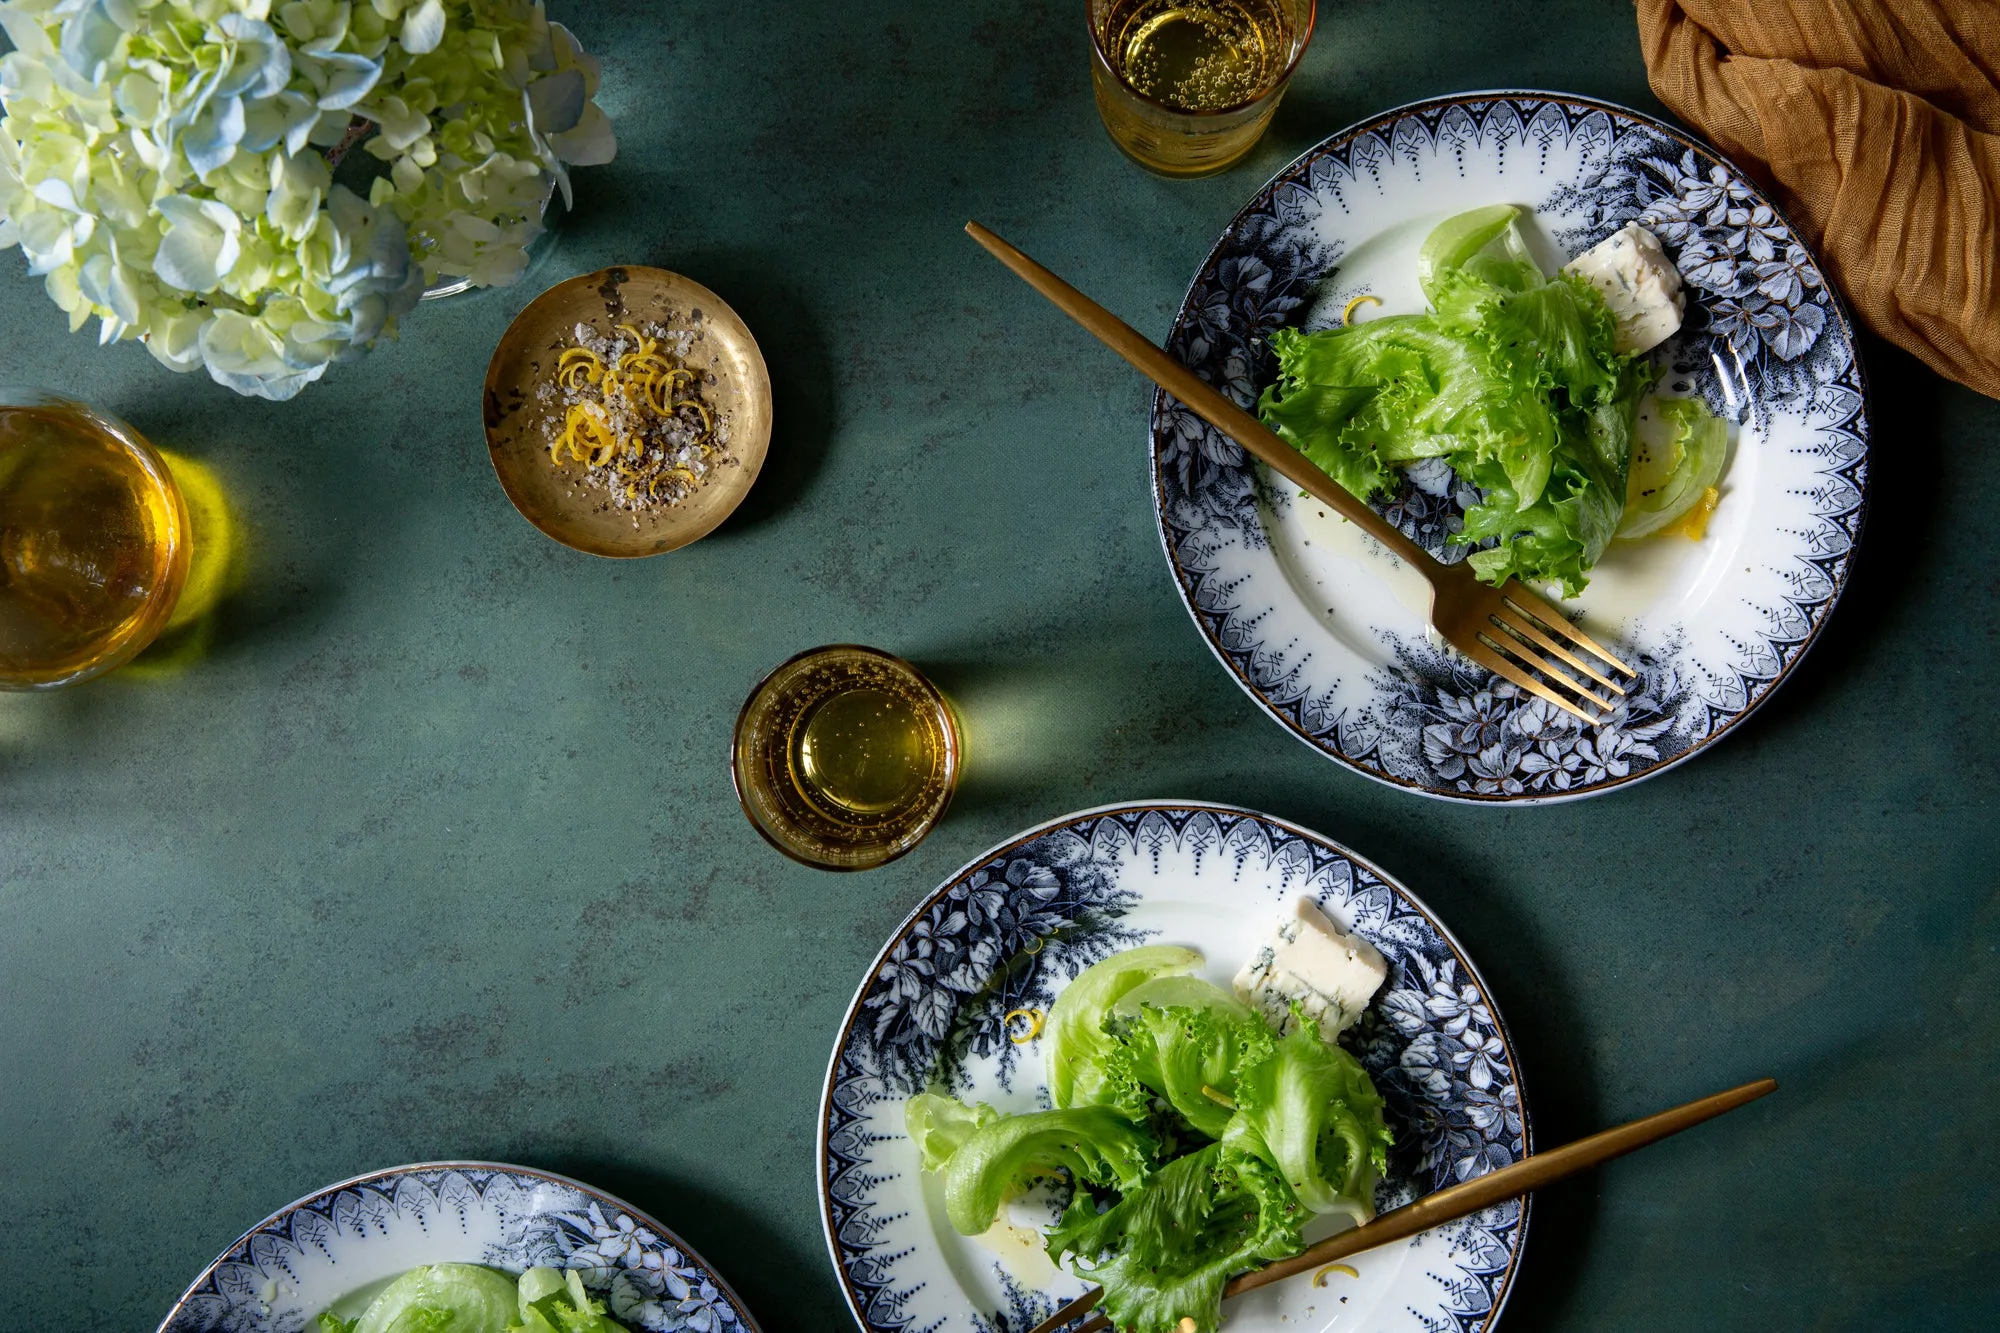
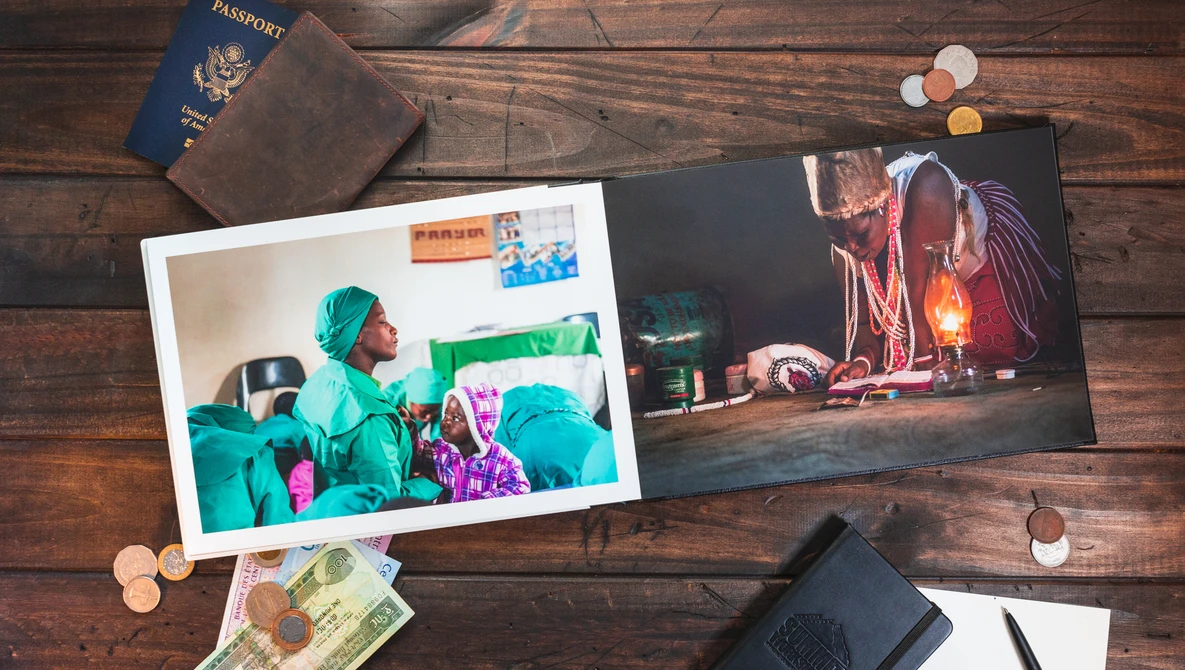
Fabric and Textured Surfaces
Credit: tomcrowl.com
Fabric adds softness. It works well for lifestyle-forward brands that want warmth and approachability over clinical precision.
Linen, cotton, burlap, velvet; each one communicates a different feeling. Soft textures convey warmth. Rough surfaces suggest ruggedness. Using the right fabric in your flat lay product photography surface setup can completely transform the mood of an image.
The challenge with fabric is control. Wrinkles show up clearly in photos. Patterns can distract. Use it deliberately, not as a default.
Best for: Fashion accessories, baby products, wellness brands, cozy lifestyle imagery.
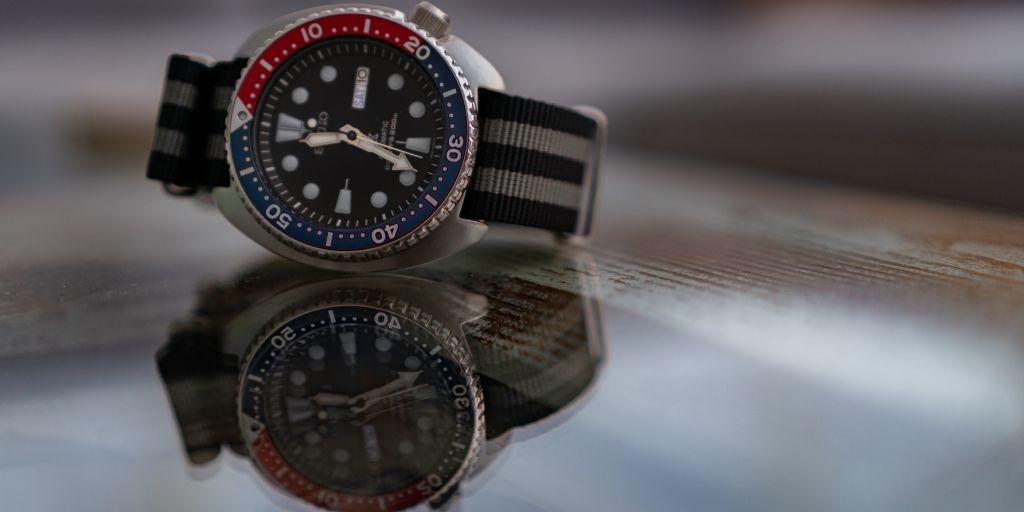
Metallic and Reflective Surfaces
Credit: allanwallsphotography.com
This is where things get interesting and where most photographers get tripped up.
A metallic surface product photography setup can look incredibly striking. Think chrome, brushed steel, copper, or gold-toned surfaces. They add drama, modernity, and a premium feel that few other surfaces can match.
But here’s the honest truth: product photography with reflective surfaces is genuinely difficult to shoot. A product photography on a metal or mirror surface will reflect everything around it, your camera lens, your light source, your hands, and even the ceiling.
So how do you handle it?
Diffusing lights is your first line of defense. Soft, diffused light sources reduce harsh hotspots on shiny surfaces. A softbox or a large bounce card placed close to the product spreads light evenly and minimizes unwanted reflections.
- Polarizing filters are another essential tool when photographing reflective surfaces. They cut surface glare dramatically without affecting the product’s color or detail.
- Bounce cards help control where light falls. By positioning them carefully around a reflective object, you shape the reflections intentionally, turning them from a problem into a design element.
- Shutter speed also plays a role. A faster shutter speed reduces the chance of motion blur when working with tricky lighting setups on shiny surfaces.
When it comes to product photography on glass surface work, or glass photography in general, the same principles apply. Photographing glass products, bottles, vases, and glassware on a glass or reflective surface creates beautiful layered reflections. But it demands careful placement of your light source to avoid a blown-out, overexposed mess.
A product photography session on a glossy surface, like acrylic or Plexiglas, can add an extra dimension by capturing a clean reflection underneath the product. It works especially well for cosmetics and perfumes. Just keep it spotless; fingerprints and dust are merciless on a glass product shoot.
For product photography on a mirror surface, go slow. Test your angles. Use diffusing lights generously. And plan on some time in post-production to clean up any remaining reflections your setup couldn’t fully eliminate.
Post-processing tools like Lightroom and Photoshop are your safety net. But the less cleanup you need there, the better your final image will look. Fix it on set first.
Best for: Beauty, tech, jewelry, beverages, luxury goods, cosmetics.
Ceramic Tiles and Flat Lay Surfaces
Credit: peakpx.com
Tiles are underrated as a flat lay product photography surface. They’re cheap, durable, and endlessly varied.
Glossy ceramic tiles add sophistication. Matte-finish tiles provide a more understated, elegant look. You can find them at any hardware store and combine them for custom-looking setups that look genuinely high-end.
Stack a few together, and you’ve got a modular surface that works beautifully for cosmetics, food, small home goods, and flat lay compositions.
Best for: Flat lays, cosmetics, food, kitchen, and home products.
How to Deal With Shiny Surfaces (The Honest Guide)
Let’s spend a moment here. Shiny surfaces and reflective surfaces cause more frustration than almost anything else in product photography.
Here’s a simple framework:
- Control your light first. Before anything else, think about your light source. Soft, large light sources are your best friend when shooting shiny metal, glass, or any product photography reflective surface. Hard light from a small source creates specular highlights that are nearly impossible to fix in post-processing.
- Use polarizing filters on your camera lens. A polarizing filter on your camera lens is one of the most underused tools in product photography. It cuts reflections from non-metallic surfaces significantly. For glass photography or any glass scenario, it’s practically essential.
- Build a reflection-free zone. For product photography on a mirror surface or polished metal, surround your set with white or black cards. This controls what the surface reflects. White cards fill in dark, unwanted reflections. Black cards create clean, defined edges on shiny metal products.
- Use bounce cards strategically. Bounce cards fill in shadow areas and soften contrast on reflective surfaces. They’re cheap, flexible, and more powerful than most people realize.
- Plan your post-production. Even with a perfect setup, some cleanup in post-production is normal when working with reflective surfaces. Cloning out small hotspots, adjusting highlights, and using frequency separation are all standard tools in the post-processing workflow for reflective products.
How to Choose the Right Surface (A Practical Framework)
Ask yourself these four questions before you buy anything.
- What are you shooting?
Your product is the best guide. A luxury perfume needs a different surface than a children’s toy. The right surface depends entirely on the type of product and the story you want to tell. - Where will the images live?
Marketplace listings often require white. Social media invites creativity. A colored or textured photography surface is powerful on Instagram. It may get your listing rejected on Amazon. - What mood do you want?
Surfaces carry emotion. Dark charcoal feels moody and modern. Warm wood feels approachable. Bright white feels clean and clinical. If you’re on a limited budget, start with neutrals, textured off-whites, warm woods, and dark charcoals, which go with almost everything. - Is it matte?
This is non-negotiable for beginners. A product photograph on a glossy surface is tough to control. Always start with matte until you understand how light behaves on your specific set.
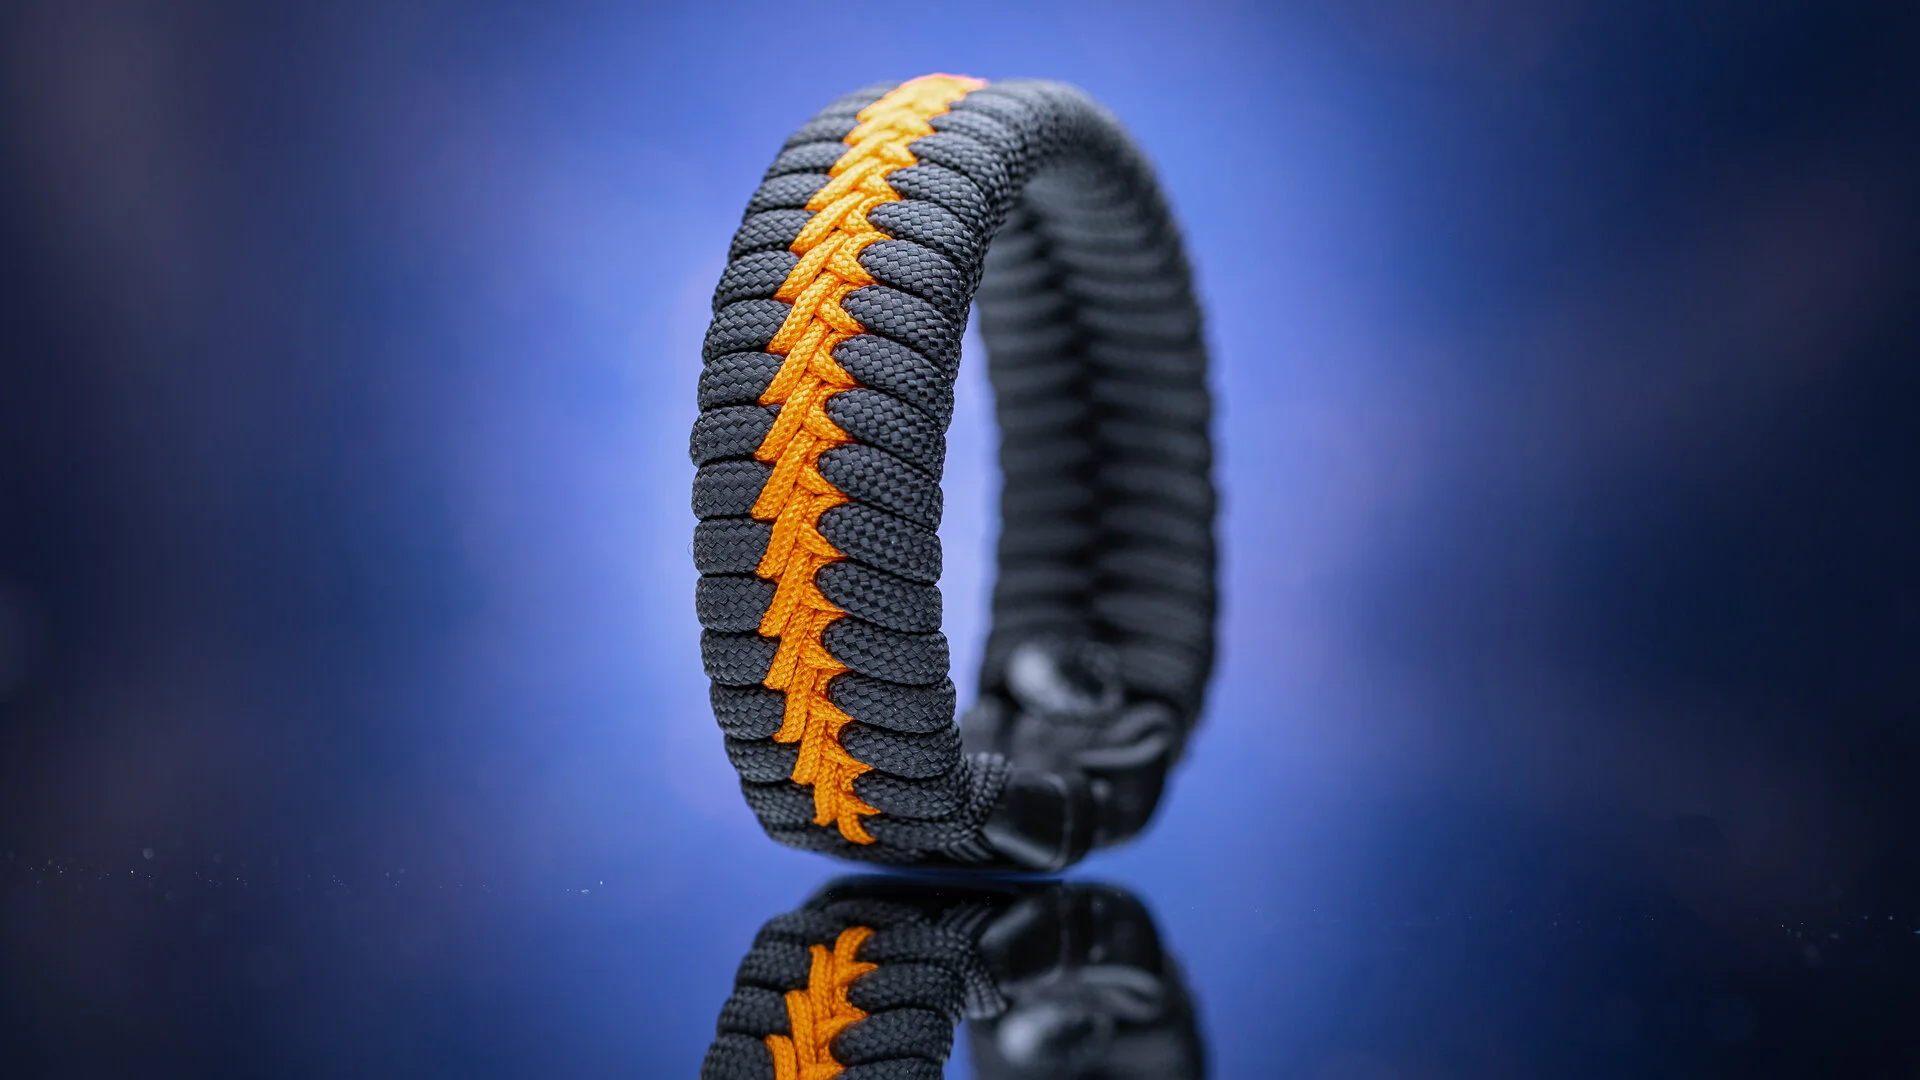
The Texture Rule: Don’t Skip It
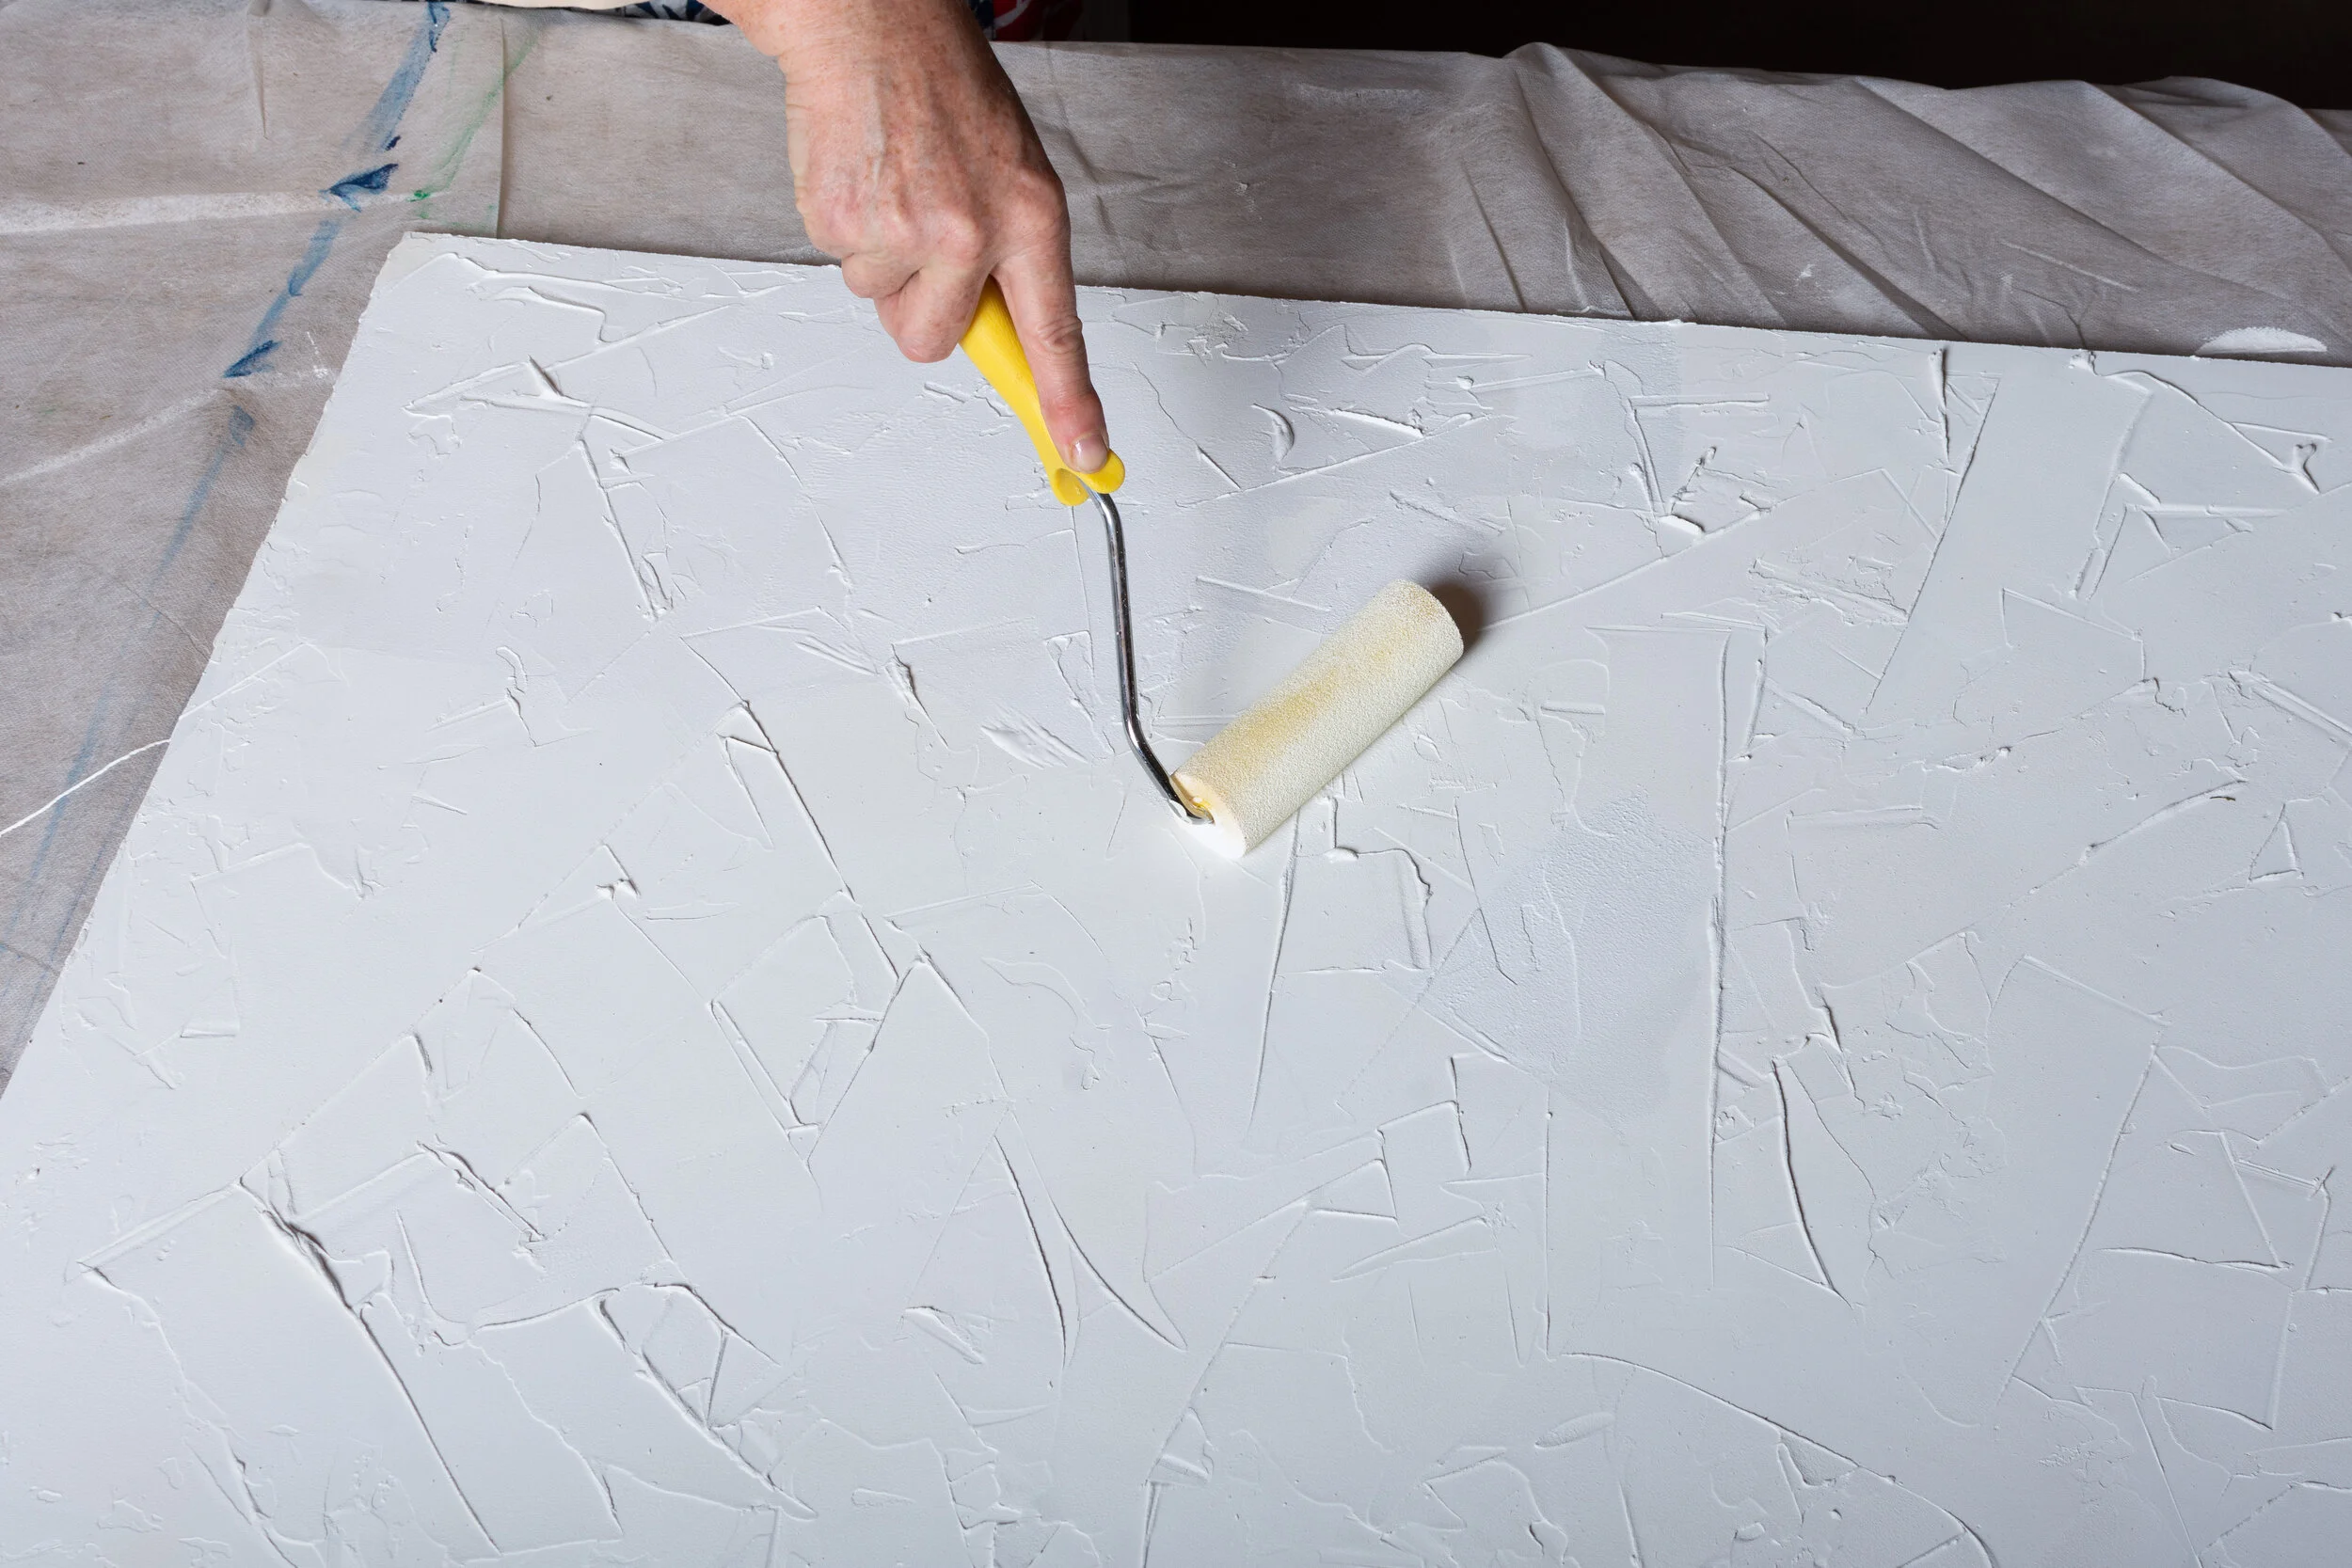
Credit: rachelkimberley.com
One thing separates amateur product shots from professional ones: texture.
Flat, perfectly smooth surfaces look artificial. They photograph as “off” even when viewers can’t explain why. Real-looking texture adds depth and dimension. It makes the viewer feel like they could touch the scene.
This is why even quality vinyl surfaces now invest heavily in embossed, tactile textures, not just printed ones. When shopping for any surface, zoom into the product photos. Does the texture catch light naturally? Does it look three-dimensional? If it looks flat at every angle, keep shopping.
What Size Do You Actually Need?
People consistently buy too small. Don’t make that mistake.
For most setups, a surface between 2×3 ft and 28×47 inches covers you well. For shoes, bags, or grouped products, go bigger. For flat lay product photography surfaces, err on the side of larger, you want room to style without the edges of your surface creeping into the shot.
When in doubt, go bigger. You can always crop in. You can’t add a surface you don’t have.
Building Your First Surface Collection
You don’t need 20 surfaces. You need the right 4 or 5.
Start with a neutral base: one clean light surface, one warm dark surface. Then add one textured option that fits your brand. That’s a working collection.
Here’s a simple starter kit:
- White or light grey matte vinyl — covers all clean and marketplace needs
- Warm wood board — works for lifestyle, food, and artisan products
- Dark concrete or charcoal surface — for moody, dramatic shots
- Marble-look vinyl — adds luxury for beauty and skincare
- One metallic or reflective surface — for premium, high-impact shots when you’re ready to handle the challenge
Ask yourself before every purchase: Is it budget-friendly? Brand-aligned? Marketplace-approved? Durable? And does it work with your lighting setup? If it checks most of those boxes, it belongs in your kit.
A Quick Word on DIY Surfaces
Can you make your own? Absolutely.
Foam boards painted with chalk paint. Concrete-textured wallpaper on rigid board. Real wood planks from a lumber yard. DIY surfaces have launched some incredible photography careers.
The limitation is consistency. Professionally made surfaces are engineered to photograph well under different light conditions. DIY surfaces can be hit or miss. But if you’re just starting out and tight on budget, DIY is a completely valid starting point while you figure out your style and niche.
Ending Remarks
It all boils down to choosing the right product photography surfaces, which isn’t about buying the most expensive boards. It’s about understanding your product, your brand, your platform, and your audience, and then selecting surfaces that serve all four.
Start simple. Start matter. And start with texture. Build your collection over time. And when you’re ready, explore the world of reflective surfaces, metallic surfaces, and glass product shoots; they’re challenging, but the results are worth it.
Now go shoot something stunning.
Frequently Asked Questions
Below are answers to frequently asked questions to help guide you in choosing the best surfaces for your product shots.
What is the best surface for product photography beginners?
Start with a matte white or light grey vinyl surface. It’s versatile, affordable, easy to clean, and works for almost every product type. It also meets marketplace requirements like Amazon’s white background rule. Once you’re comfortable, add a wood or textured option to grow your collection.
How do I photograph products on a reflective or glossy surface without unwanted reflections?
Use diffused light sources, place bounce cards around your set to control what the surface reflects, and use a polarizing filter on your camera lens. For mirror or glass surfaces, build a reflection-free environment using white and black cards. Expect some cleanup in post-production; it’s normal with reflective surfaces.
How big should my product photography surface be?
For small to medium products, a surface between 2×3 ft and 28×47 inches works well. Always size up if you’re unsure. For flat lay product photography surfaces, bigger is almost always better; it gives you more room to compose and style your shot.
Can I use the same surface as both a background and a shooting surface?
Yes. This is called a seamless sweep. You curve the surface from vertical to horizontal behind the product, creating a smooth, uninterrupted background. It works especially well with vinyl and paper rolls.
Are metallic surfaces worth the extra difficulty in product photography?
Yes, when used right. A metallic surface product photography setup communicates premium quality instantly. The key is light control: use large, diffused light sources, polarizing filters, and plan time for post-processing. The results on beauty, tech, and luxury products are hard to match with any other surface.